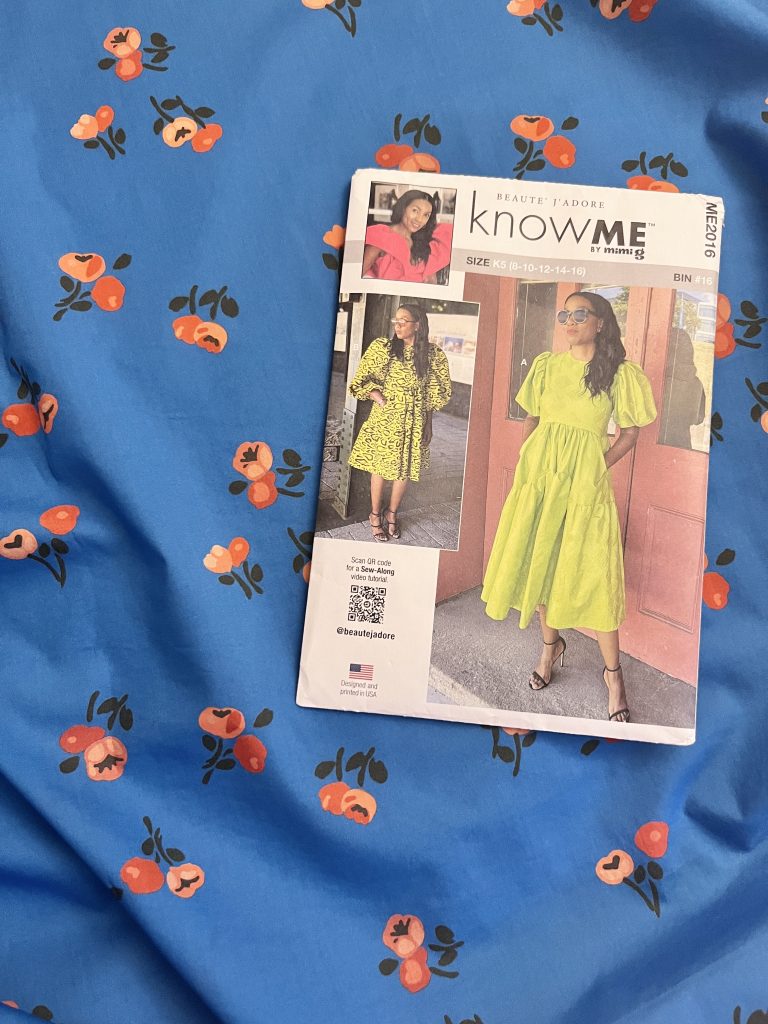
I’ve had my eye on this pattern for a while. I’ve seen few amazing version on Instagram and have been looking for the right fabric for a few months.
The pattern suggests a range of fabric types but really needs something that will hold the structure of the sleeves, and show off all the gathering and seam line details.
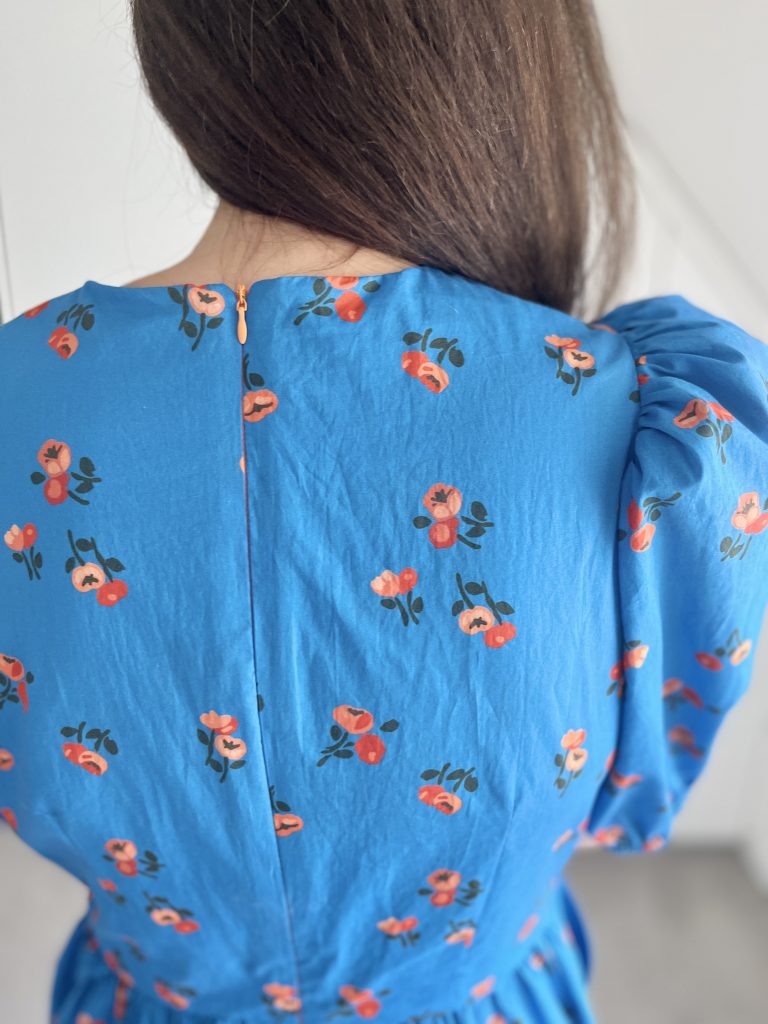
I opted for this cotton lawn fabric called ‘Pesca’ from Fabric Godmother. It’s a really beautiful quality of fabric.
Cutting Out the Pattern
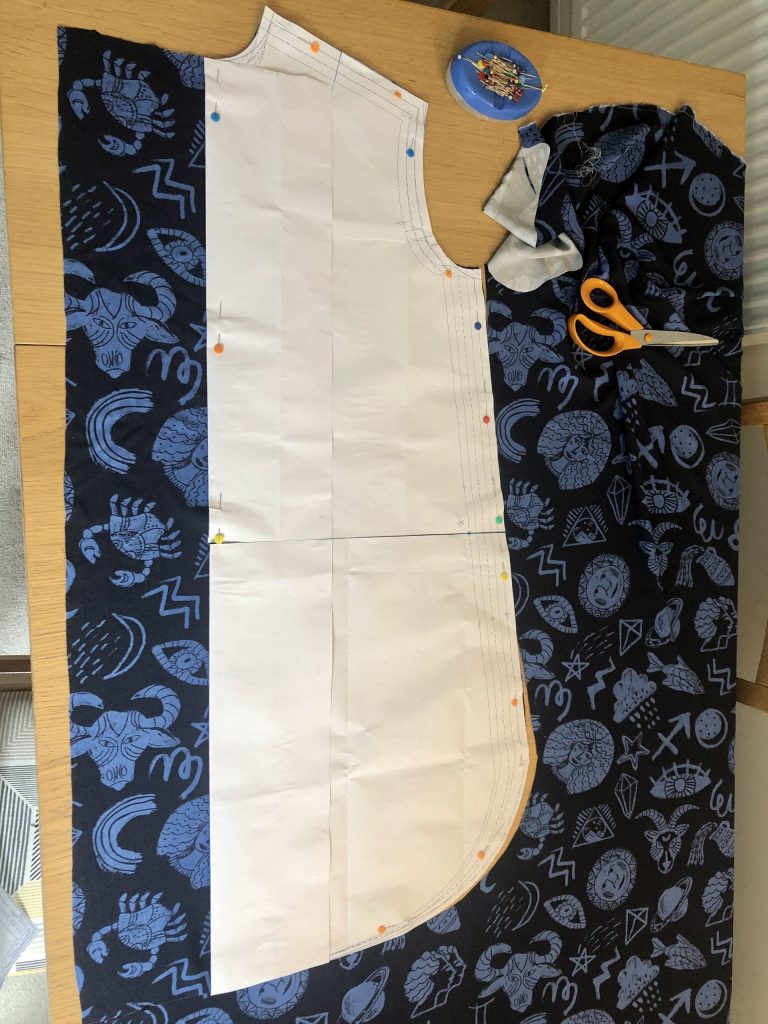
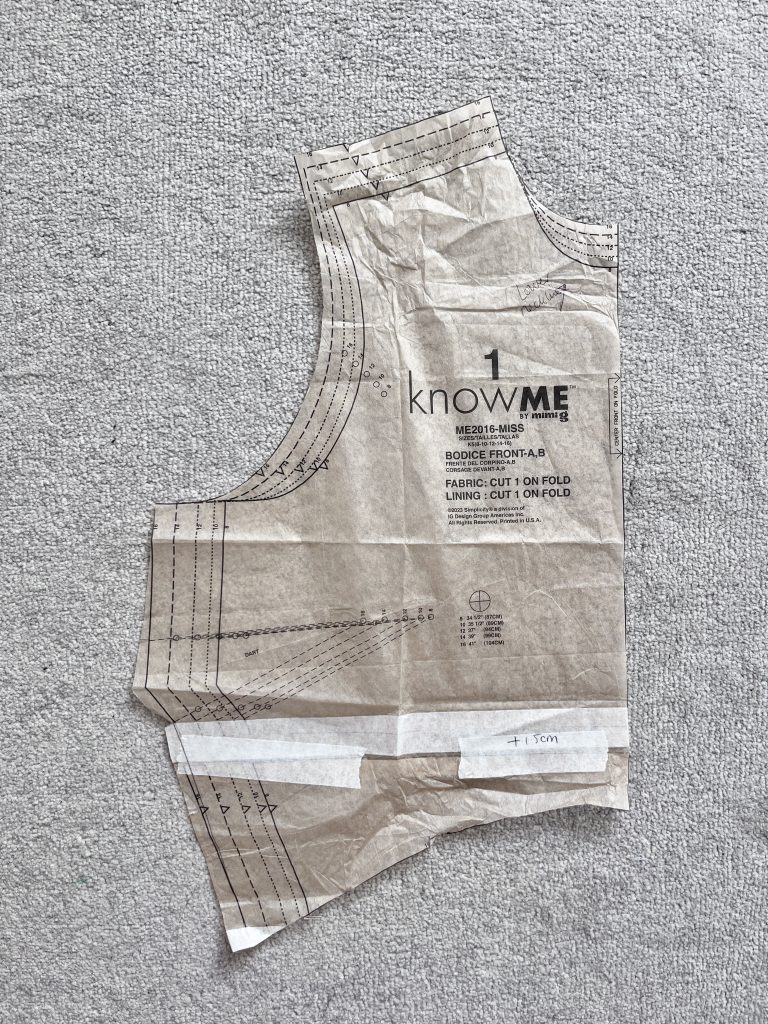
The pattern comes in two size ranges and I bought the smaller one, hoping it would fit. I took my body measurements and fell between a 16 bust and 18 Waist and Hips. The dress has plenty of ease in the waist and hips and the finished garment measurements showed that I didn’t need the larger size so I selected a size 16. I made a toile of the bodice just to check the fit across the bust and length of the bodice. The fit across the bust was a little tight and it was also a little tight at the lower edge, so I added an extra 1.5cm to the side seams for a looser fit. The length of the bodice was also a bit short so I added 1.5cm at the ‘lengthening and shortening’ lines section.
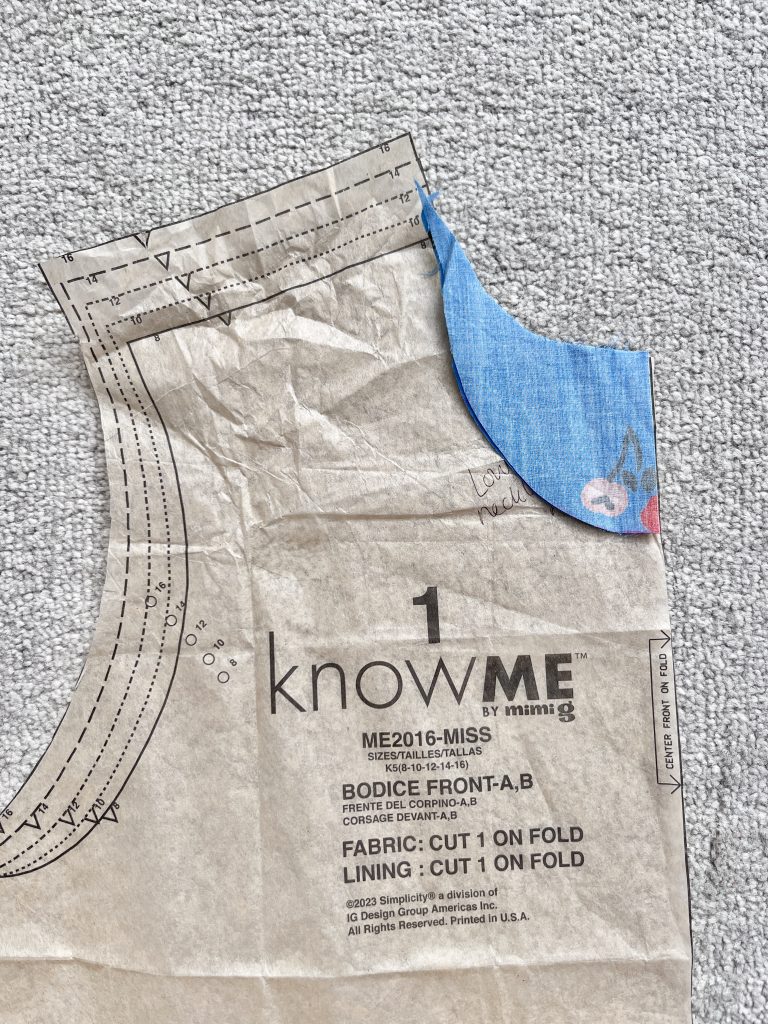
I found the neckline too high so I scooped out 6cm from the centre front of the front bodice to lower this slightly. The piece of fabric on the pattern below is the section I trimmed off.
Once I was happy with the pattern alterations I cut out the rest of the pattern for style A in a size 16 to have the longer length with the shorter sleeve. I didn’t add any extra to the side seams of the skirt section to match the amount I’d added in the side seams of the bodice as the skirt is gathered and I could just have less gathers and make the skirt fit to the bodice.
I’d purchase a number of remnants so I had to make up a pattern layout for the pieces of fabric that I had. Thankfully I managed to fit all the pieces on.
Transferring pattern markings
The seam allowance is 1.5cm, so I cut a tiny snip for notches and transferred the circle markings with tailor’s tacks. It’s really important to do this to make sure all the parts match up correctly, particularly around the front of the skirt, the pockets and the sleeves.
Interfacing
I didn’t use the interfacing around the neckline as the cotton lawn didn’t need additional stabilising and I was worried that as the cotton is lightweight the interfacing might be visible from the right side. I stay-stitched the neckline instead.
If I had used a more drapey fabric like viscose, I would have used interfacing at the neckline and along the pocket openings.
Making up the garment
I used a size 80/12 needle as the fabric is lightweight.
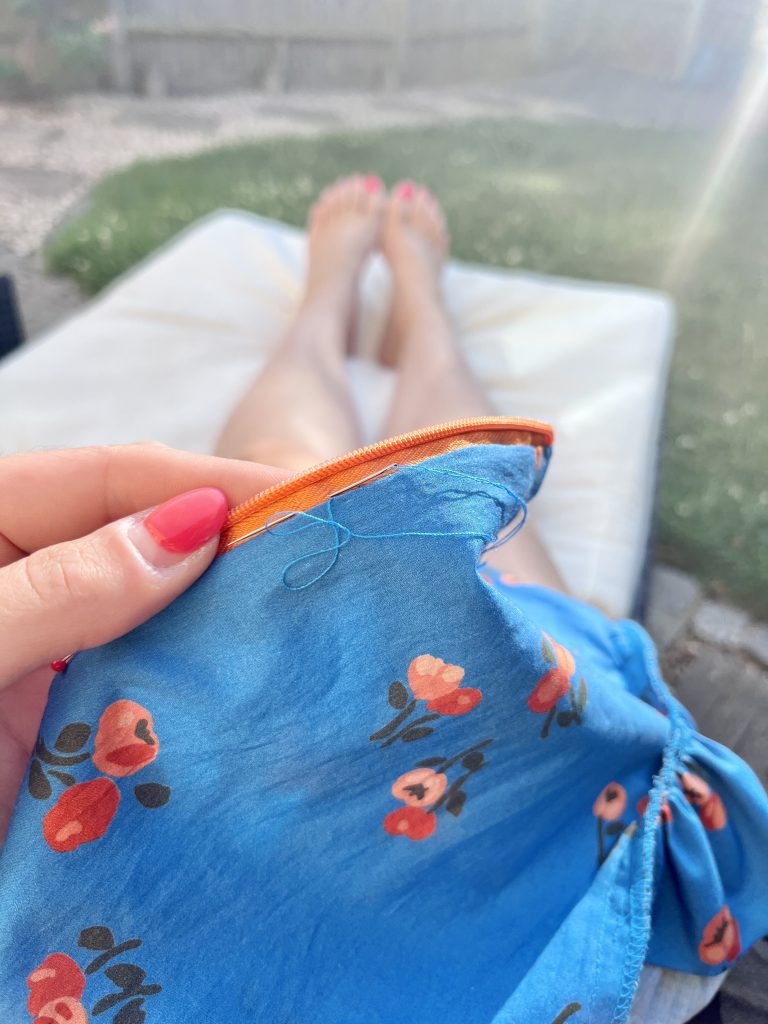
The pattern instructions are straightforward to follow and there is a step by step video tutorial to follow. The only thing I changed was to hand stitch the lining around the zip.
I did run into problems at step 28 and found that the pattern and instructions didn’t quite match up.
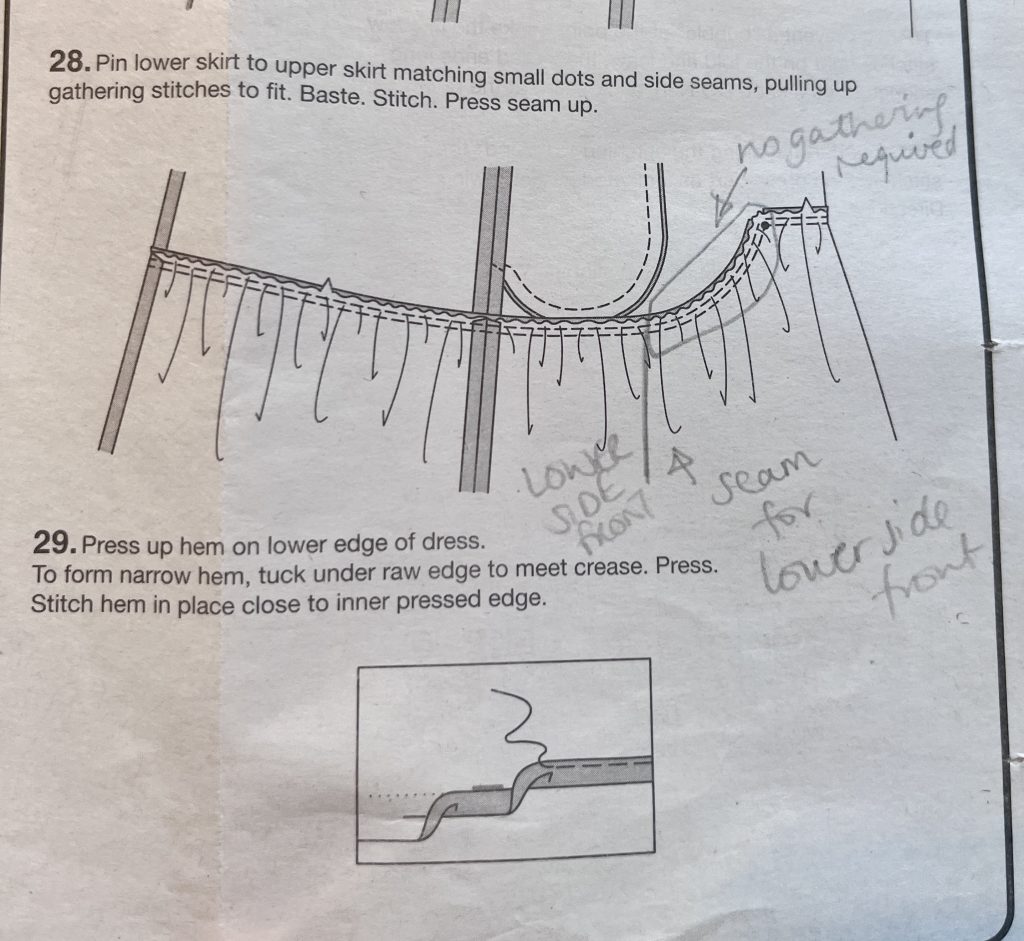
The image in step 28 doesn’t show the lower front and side front seam. I’ve drawn in a pencil line where the seam would appear.
The pattern and the image in the instructions suggest that gathering is required around the curved section of the front but it isn’t. In my photo below you’ll see the 3 pattern pieces for the Upper Front Skirt, Lower Front Skirt and Lower Side Front.
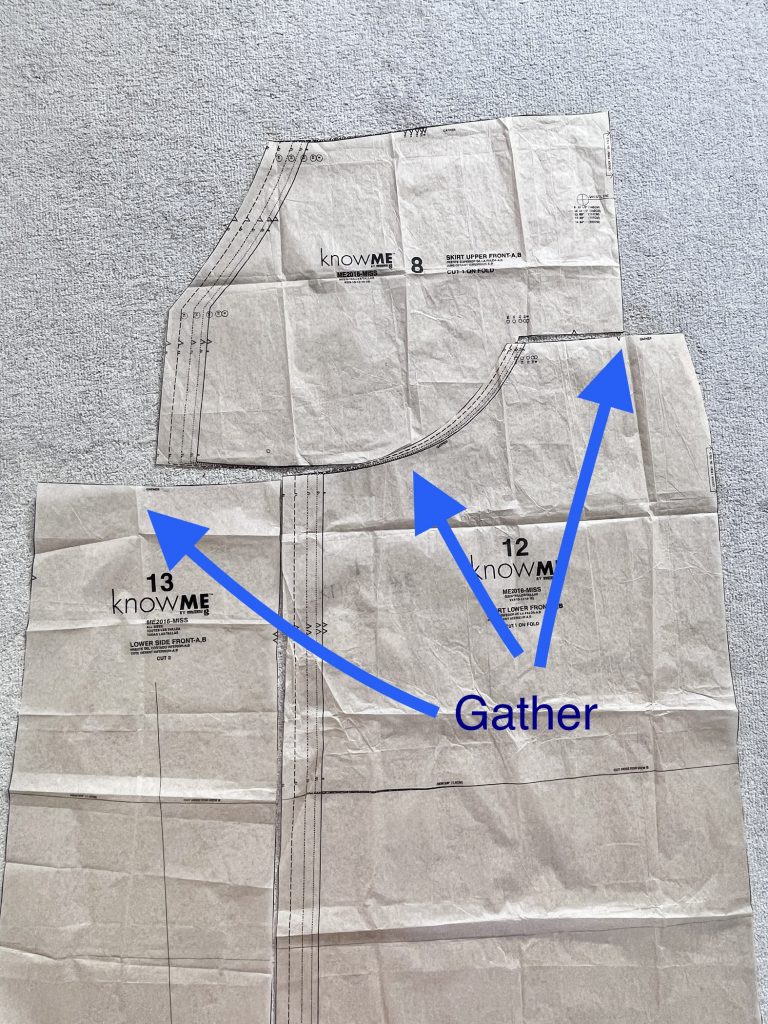
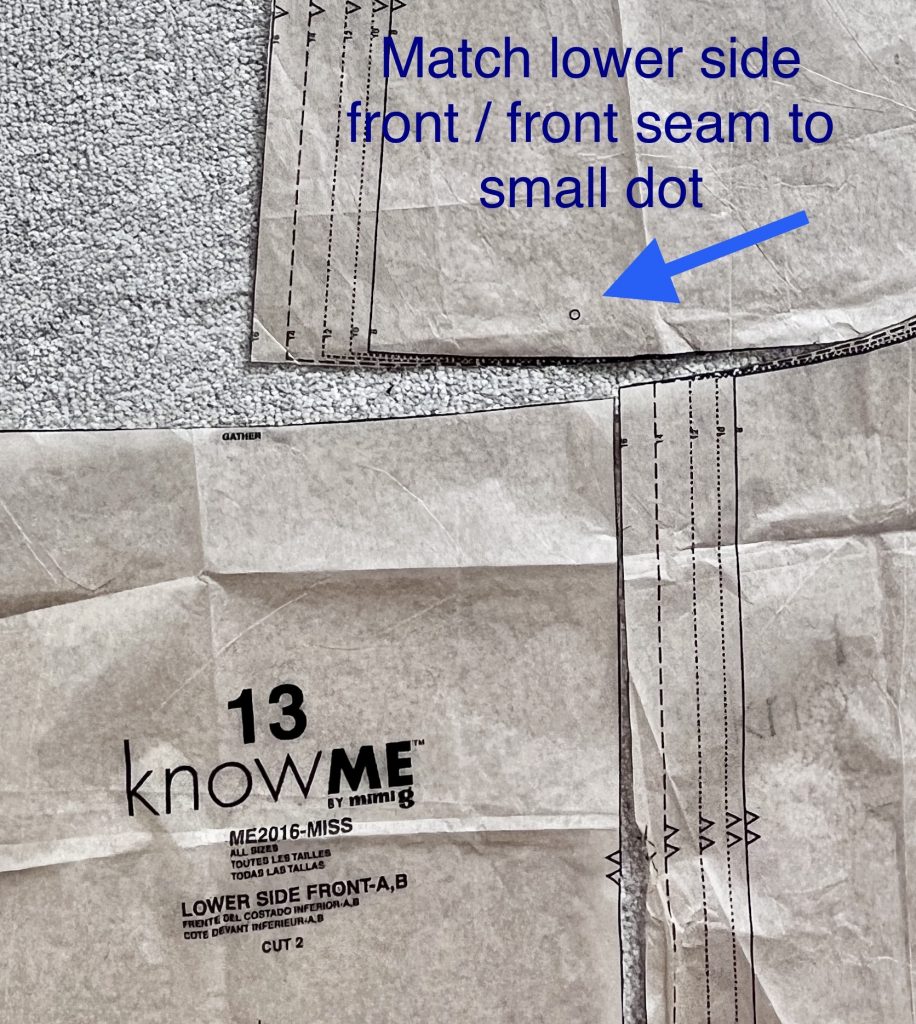
The centre section of gathers along the curved part of the lower front isn’t really required. A small amount of gathering / easing helps to attach the curved sections together but in order for the pieces to fit you need to gather the lower side front and the top straight section of the lower front. The lower front and lower side front seam should match to the small dot on the skirt upper front.
I couldn’t find this part of the construction in the video so I did wonder what I’d done wrong for a while but thankfully it was easily sorted out. You’ll see in the image below that the curved part of the front, to the right of the image, has very little to no gathering at all but there’s lots of gathering in the section below the pocket, from the side seam to the side front / front seam.
I hope, if you’re reading this, that you’ve found my blog post useful.
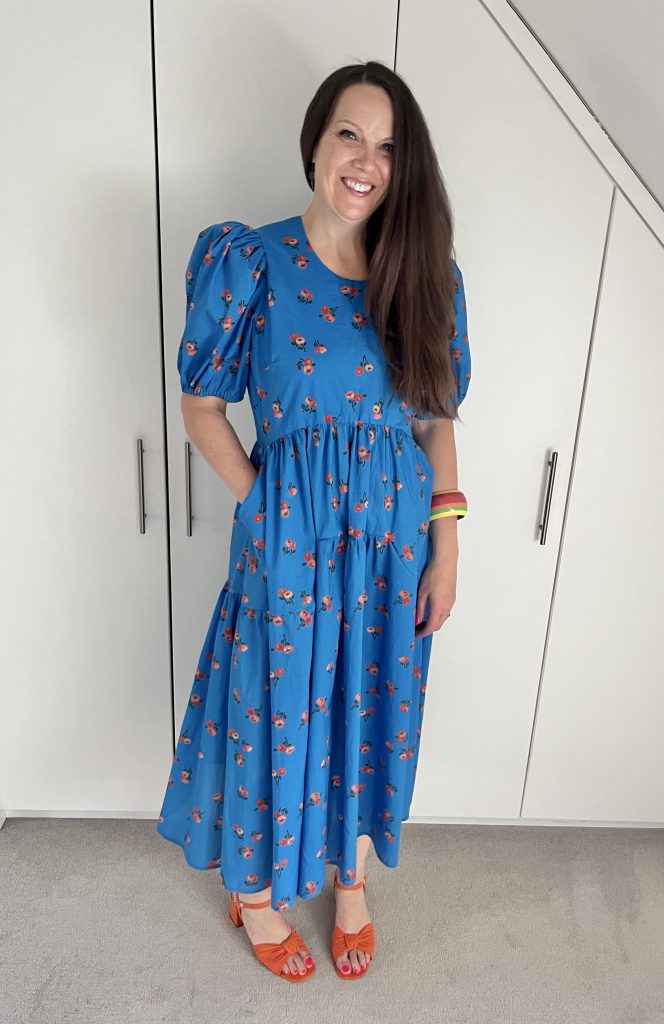
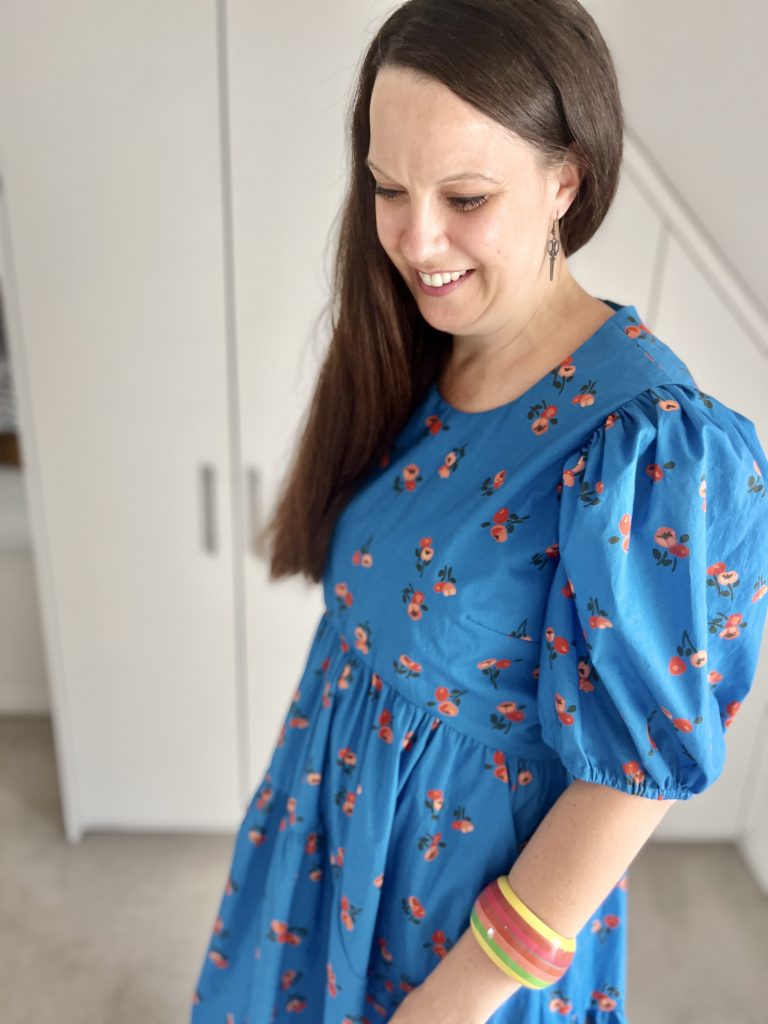
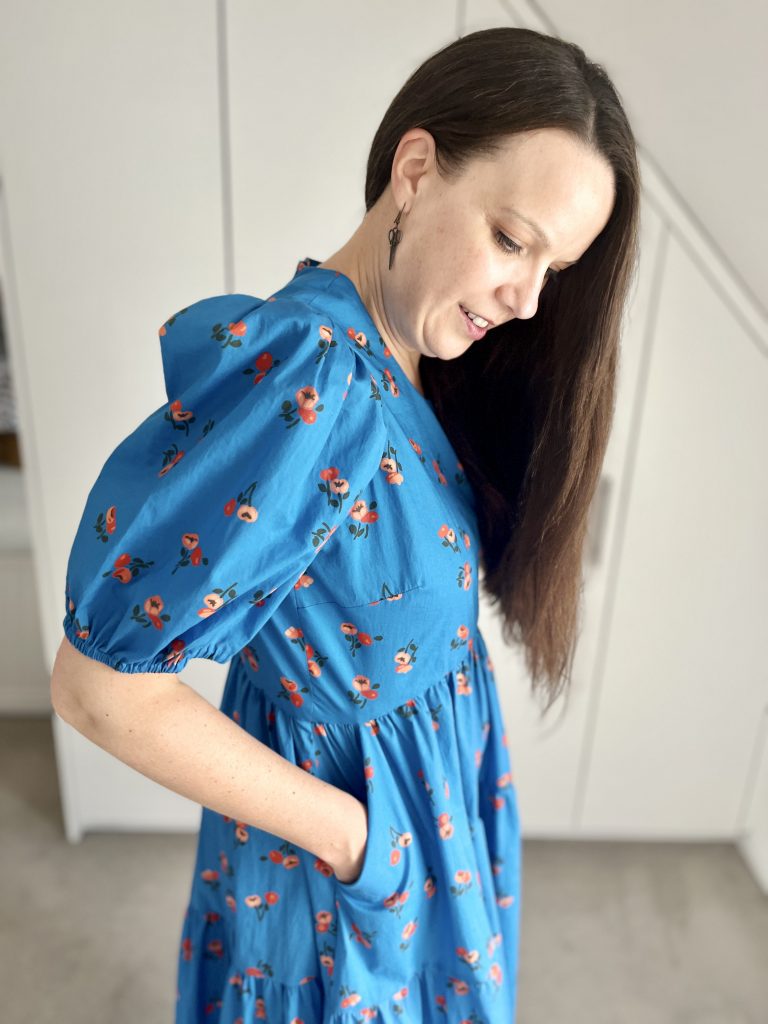
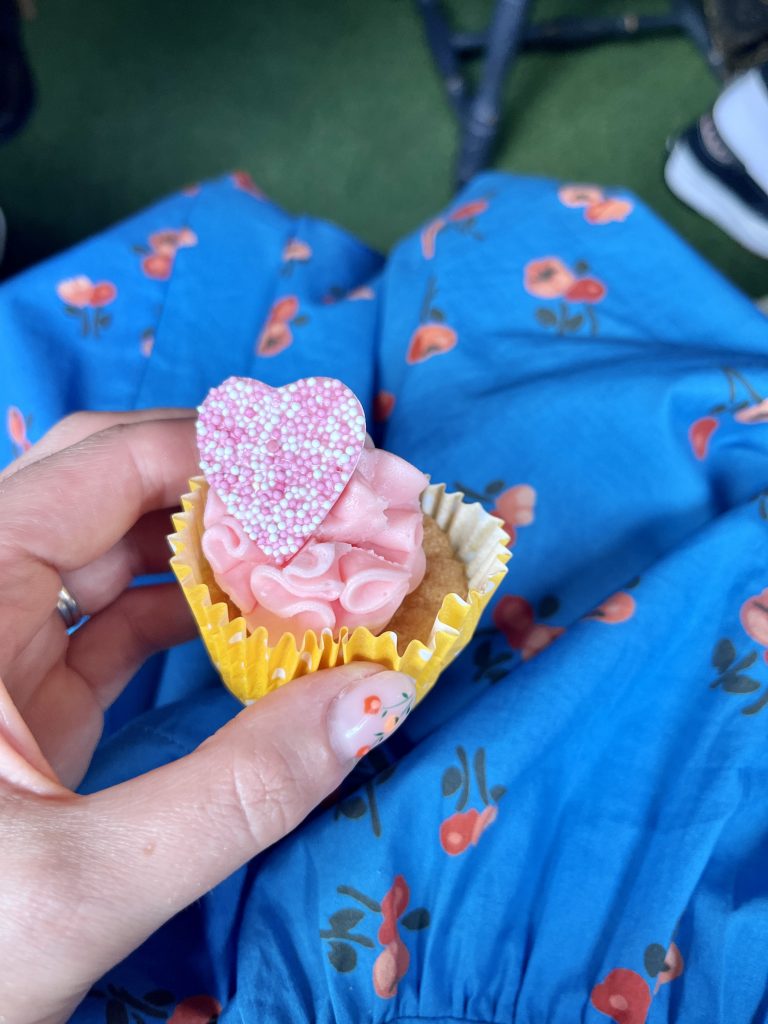
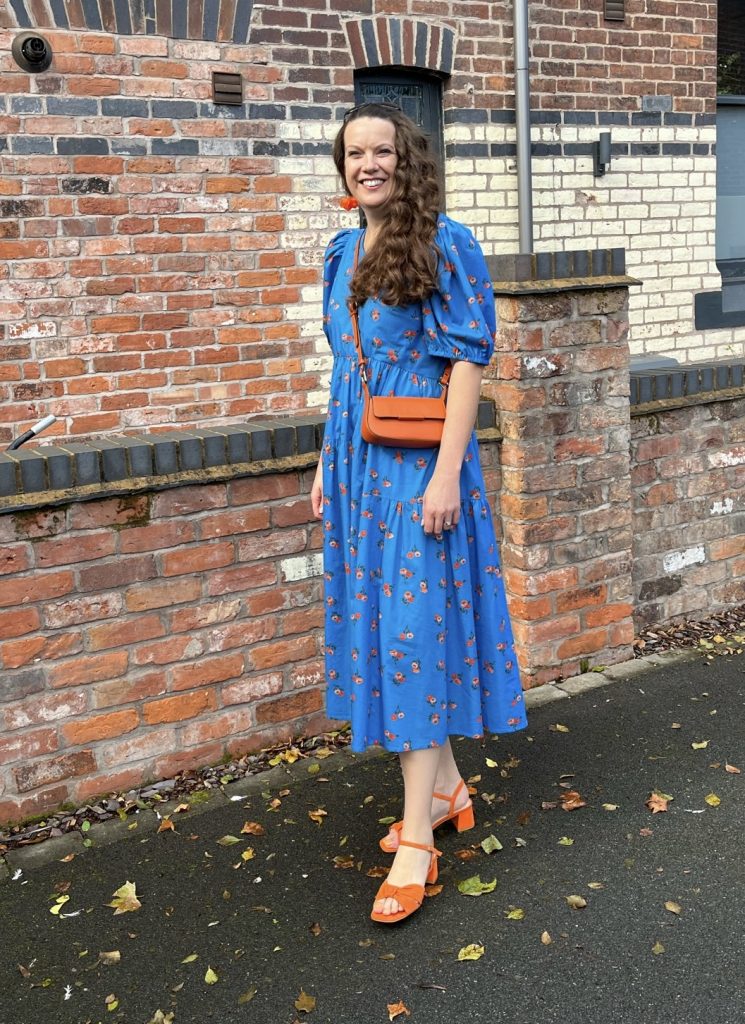
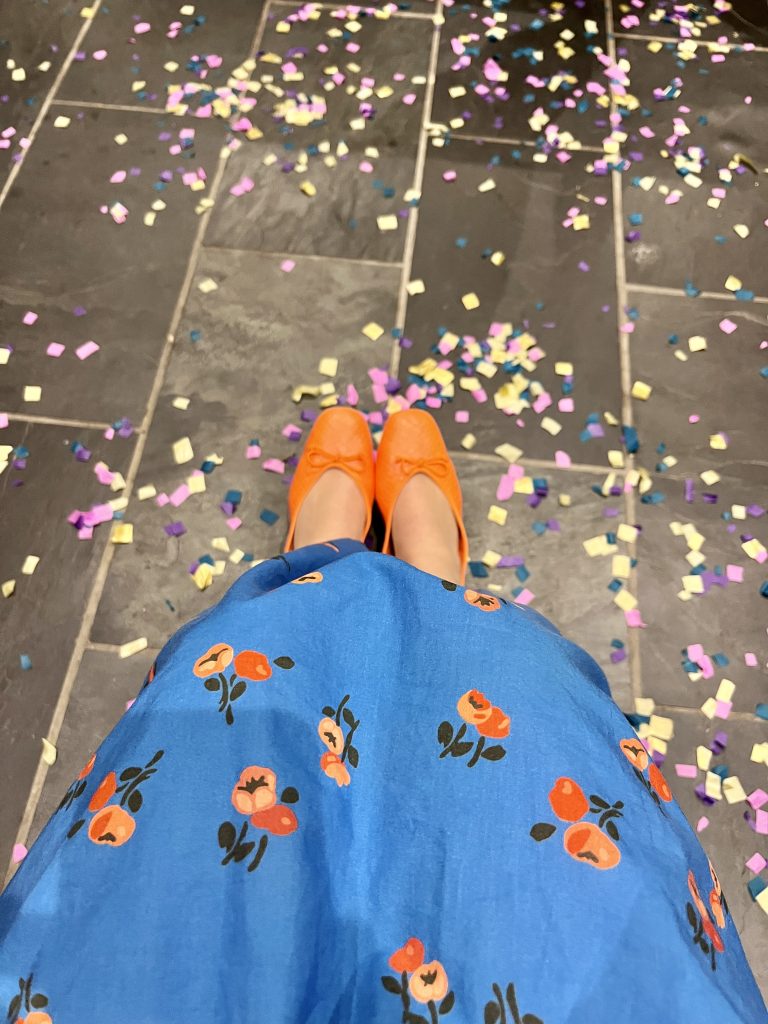
I’m so pleased with the finished dress.
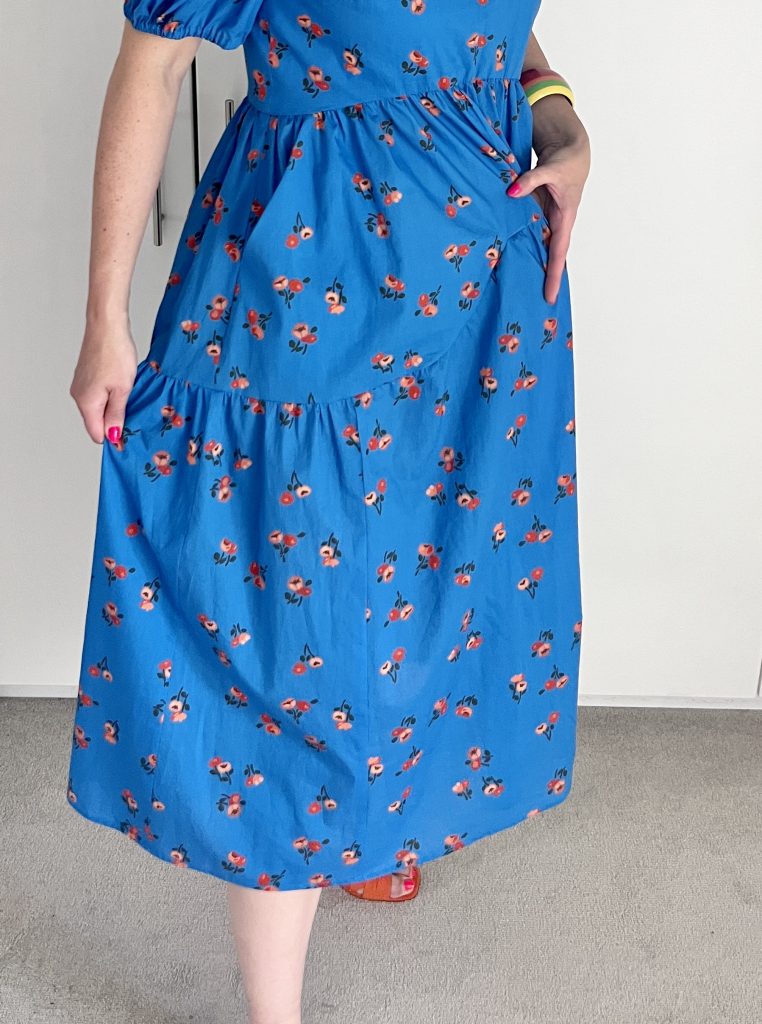
I love the shaped style lines over the front of the skirt and the big sleeves. Plus, as all good garments should, this has pockets!
I had no idea where I was planning to go in the dress (as with many of the items I choose to sew) but I knew I needed it in my wardrobe and I even bought some new shoes to go with it.
I was absolutely thrilled when my sister announced she was getting married and I already had the perfect outfit already made.
The wedding was a small event but an absolutely wonderful day. I had many roles for the day including hair stylist, chief photographer, videographer, reader and witness! Here are some photos from the occasion, plus a few others that I took to show the close up details.
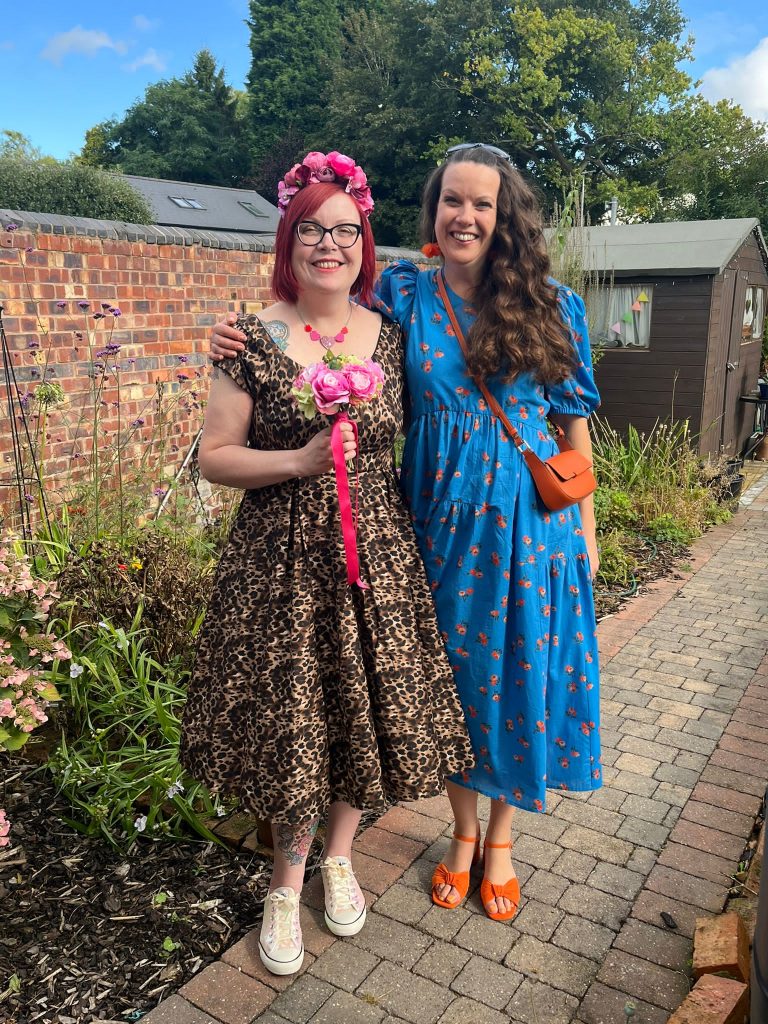
The bride looking fabulous in leopard print!
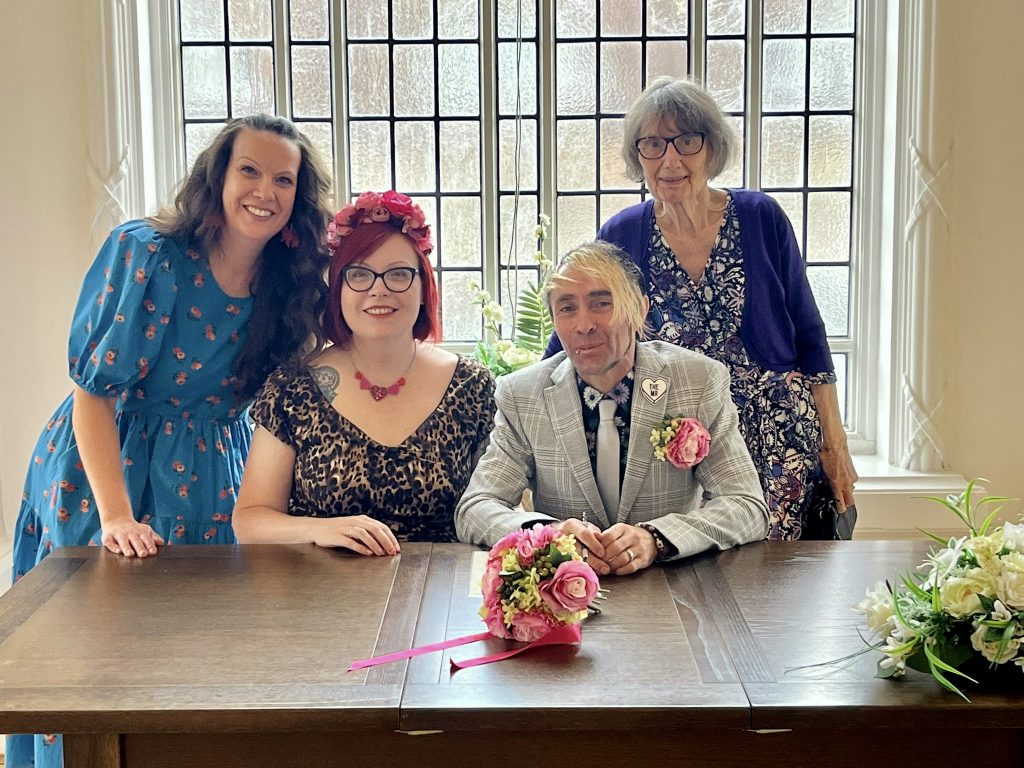
The witnesses with the happy couple

Me with Mr B (we both managed to scrub up ok for the occasion!)