
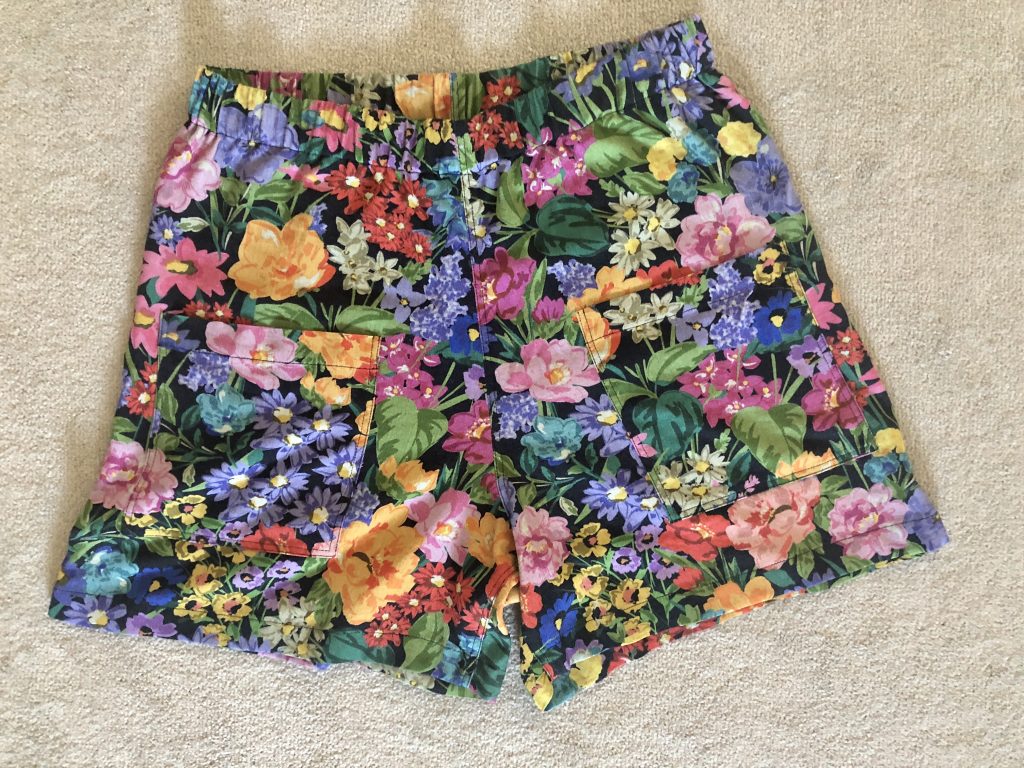
Introducing the Pomona Shorts
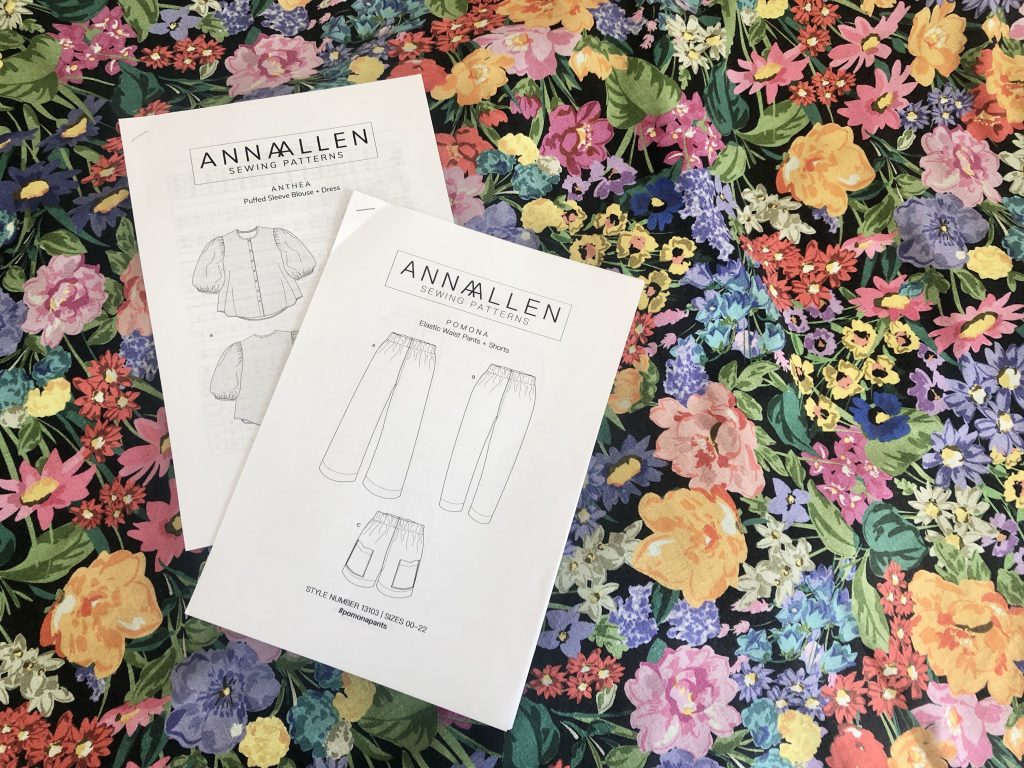
I was asked to make these for Josie at Fabric Godmother to go with the Anthea Blouse that I made for the July 2021 Fabric Godmother Dream Wardrobe Subscription Box.
The pattern is by Anna Allen Patterns and comes in sizes 0 to 22.
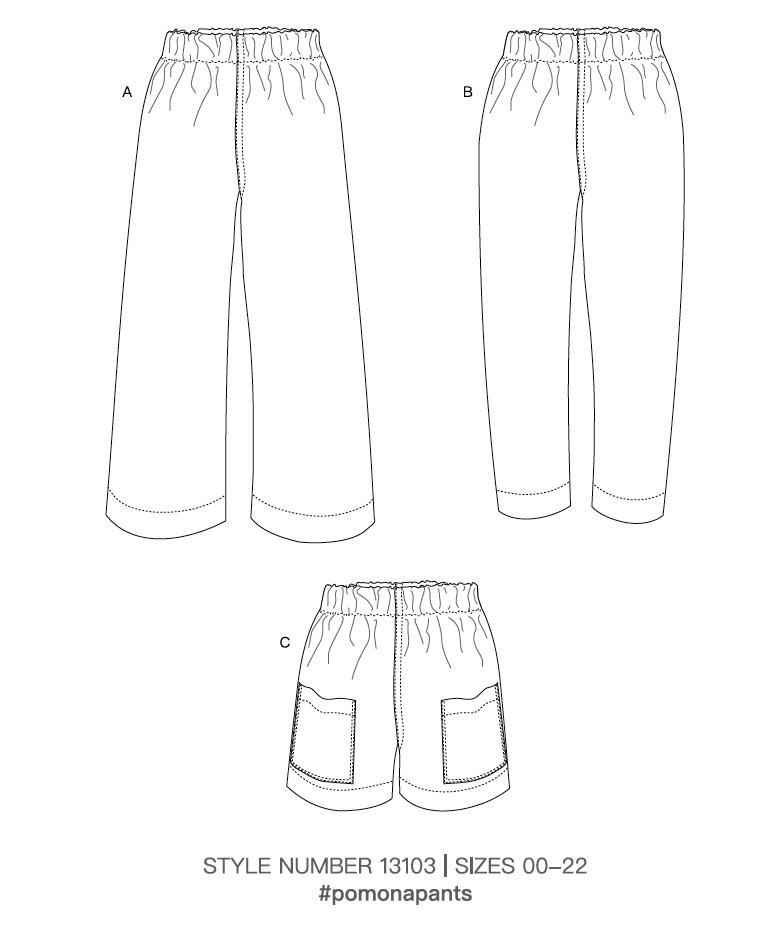
The pattern has three options – tapered trousers, ‘sailor’ trousers or ‘sailor’ shorts.
As it’s apparently summer (although the weather here in the UK hasn’t realised) I’ve made the shorts version.
Cutting Out the Pattern
There is plenty of sizing information for body measurements and finished garment measurements so the correct size can be easily selected or you can blend between sizes as necessary. I cut a 12 for the waist and blended to a 14 for the hips.
The pattern required 2″ (5cm) wide elastic. The waistband elastic I have is 1 1/2″ (38mm) so I made the waistband narrower to accommodate the narrower elastic.
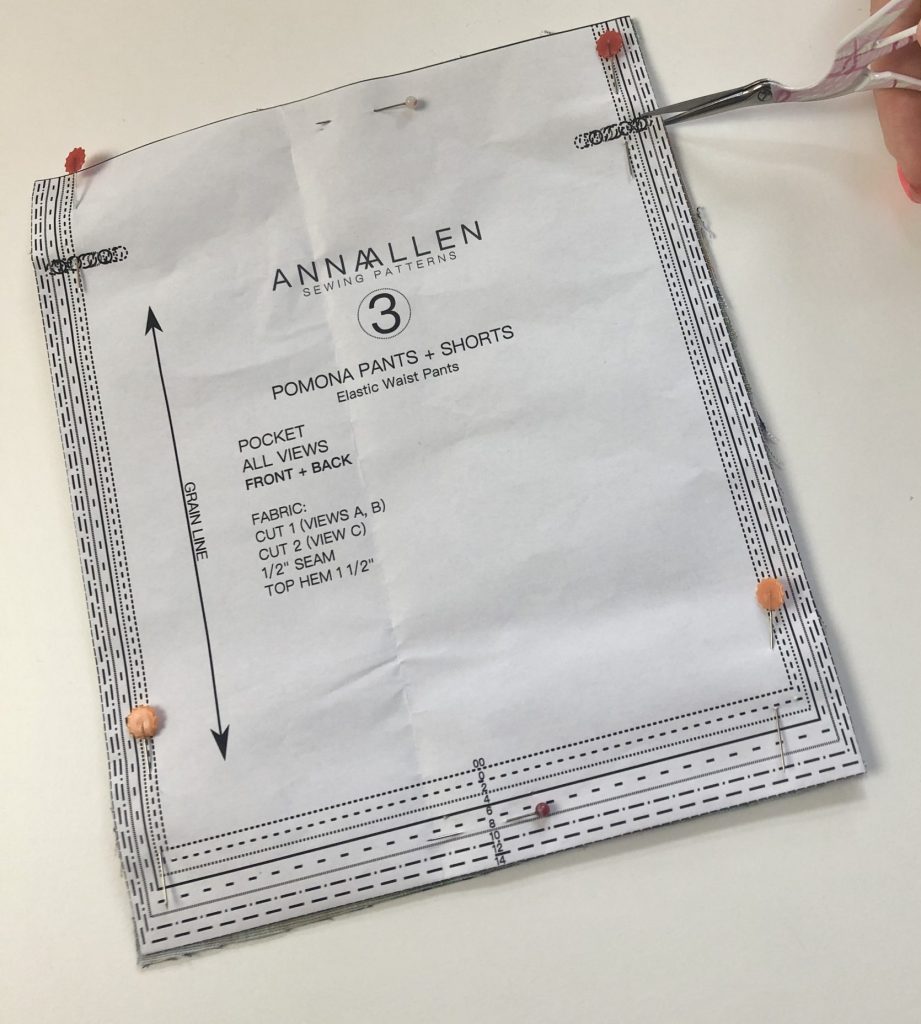
There are only 2 pattern pieces for the shorts so it’s really easy: there’s a pattern piece for the pocket and a pattern piece for the front / back of the shorts.
I did have a slight bit of confusion when opening up the three printed A0 pattern sheets before I realised that I only needed two pattern pieces.
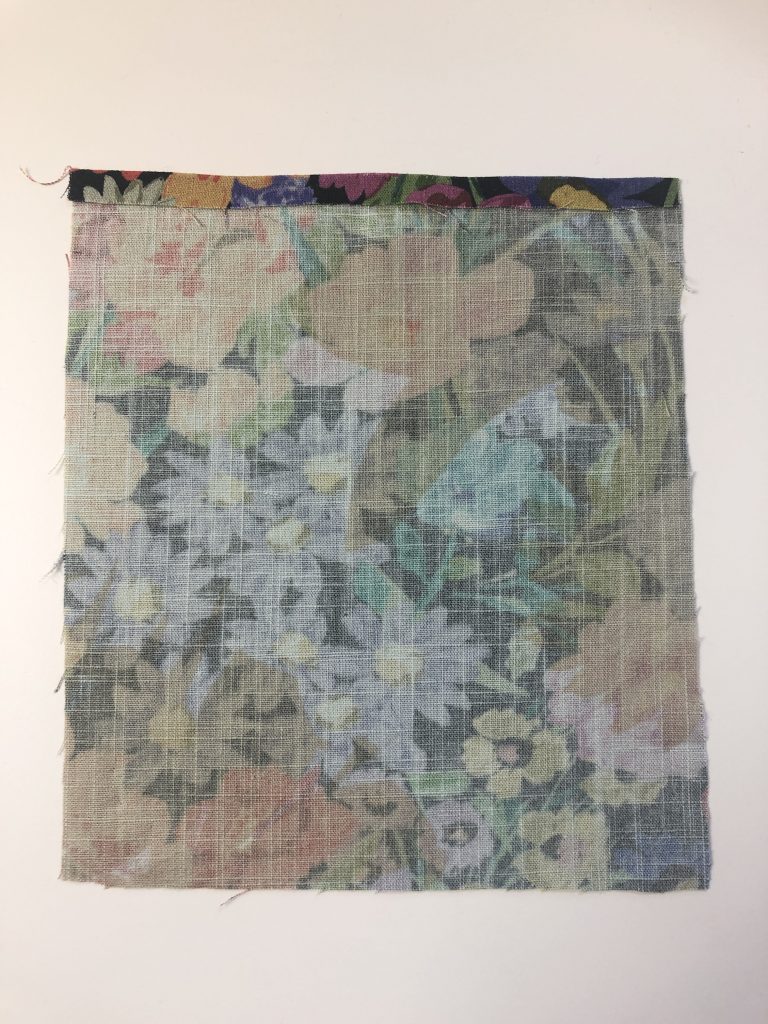
I made the Anthea Blouse in matching fabric and would suggest that if you want to do the same you can be much more economical with the fabric by cutting out the larger pieces first i.e. those cut through a single layer (shorts front/ back and sleeves), and then use the remaining fabric to cut out the other pieces. Sadly, I didn’t follow my own advice here!
You can spend ages trying to pattern match the front/ back seams of the shorts but I didn’t bother. It’s such a busy print I really didn’t think it was necessary.
The fabric is Linnaea Viscose and Linen from Fabric Godmother. This fabric is part of Fabric Godmother’s own range of prints.
Making up the garment
I used a size 90/14 universal needle as the fabric is medium weight. A size 80/12 would also be suitable.
Before removing the paper pattern, I transferred the placement line for the pockets using tailor’s tacks. You can see how to do these in my video on how to sew a single point dart.
The first instruction in the pattern is to clip into the seam allowance at the point where the waistband casing will be created. Make sure not to snip beyond the seam allowance.
The next stage is to create the patch pockets.
I’ve made a video showing a very similar method which can be found below, or over on my YouTube channel
Creating and Attaching the Patch Pockets
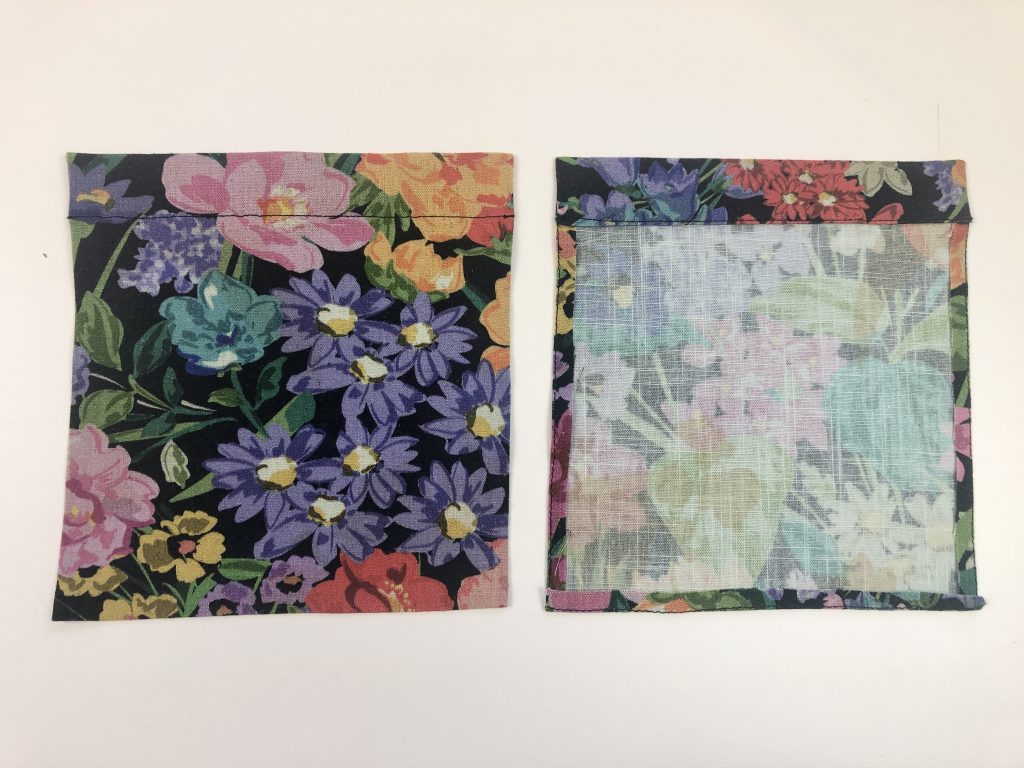
I like to make a neat folded opening at the top of the pocket and the method in the instructions just didn’t give the best result for me so I decided to ignore them and use my method.
I placed a small snip in line with the circular markings near the top of the pattern piece. This is where the top edge of the pocket is folded to create a neat opening.
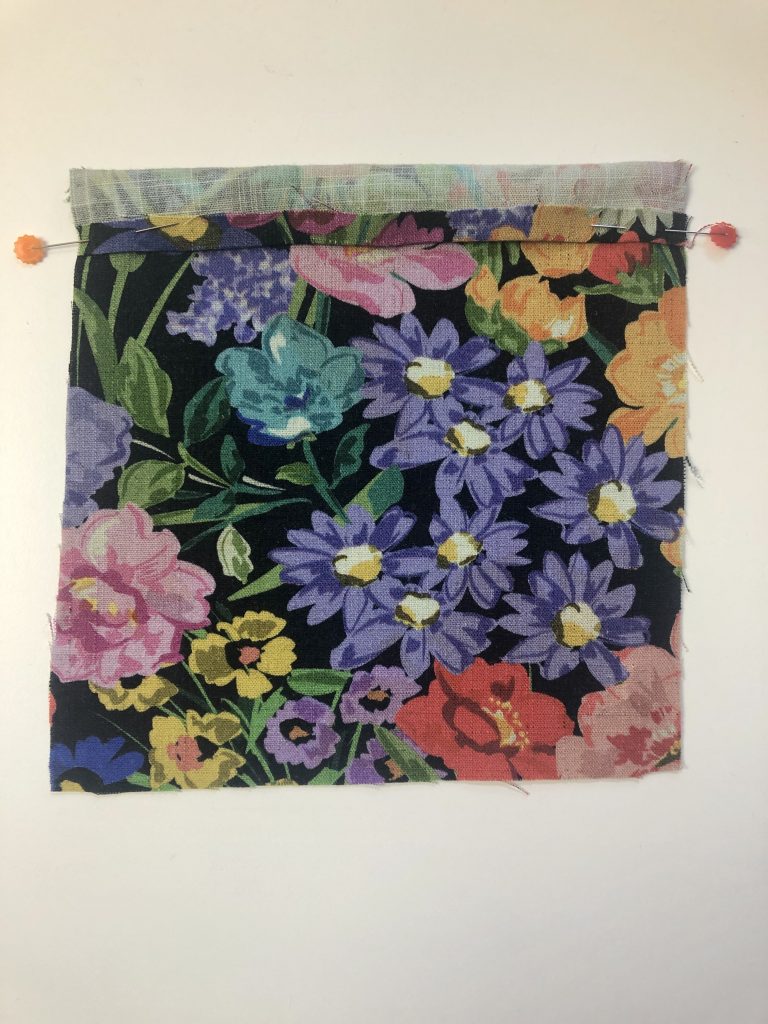
I then turned under the top of the pocket by 6mm, matching wrong sides together, and pressed in place.
Then I turned the top edge of the fabric again, this time with the right sides facing, folding at the point of the snips.
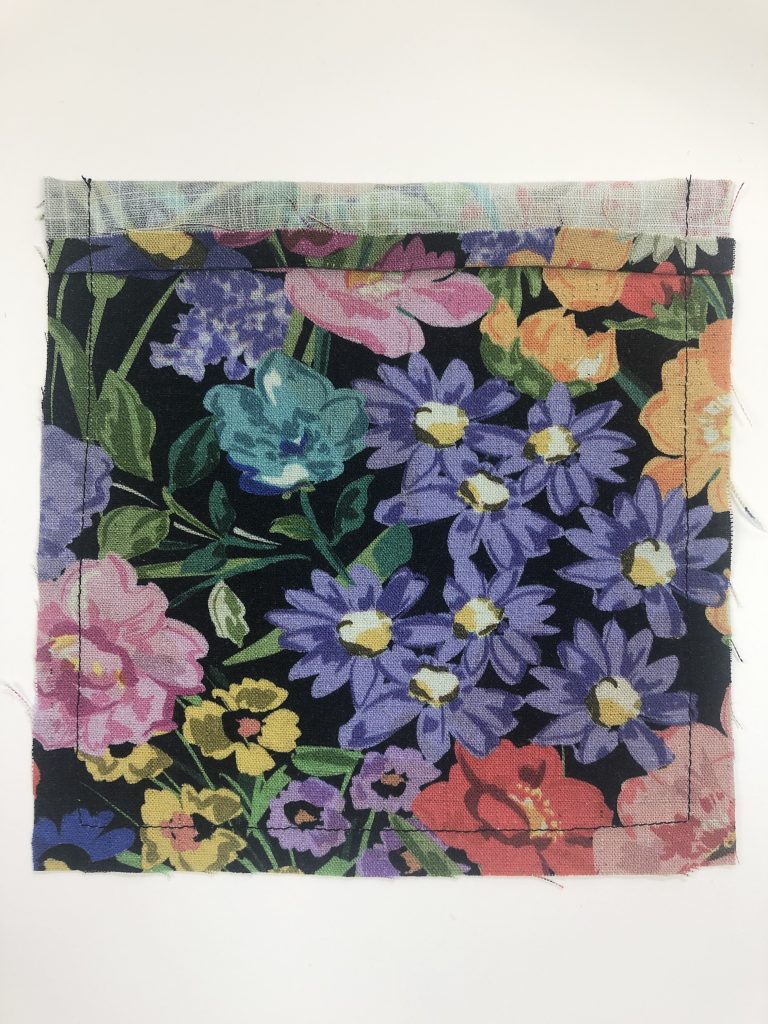
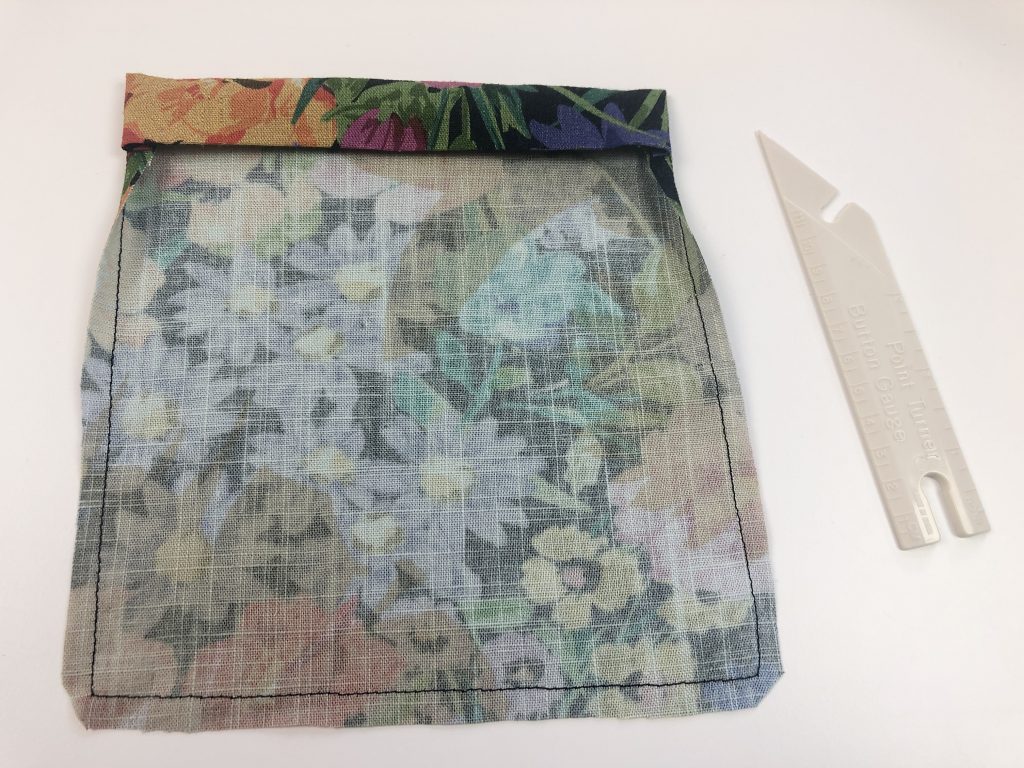
With the top fold pinned in place, I sewed along the seam line from the top right of the pocket down the right side of the pocket, along the bottom edge and then up the left side of the pocket to the top fold.
The stitching line around most of the pocket will act as a pressing line in a later stage of construction.
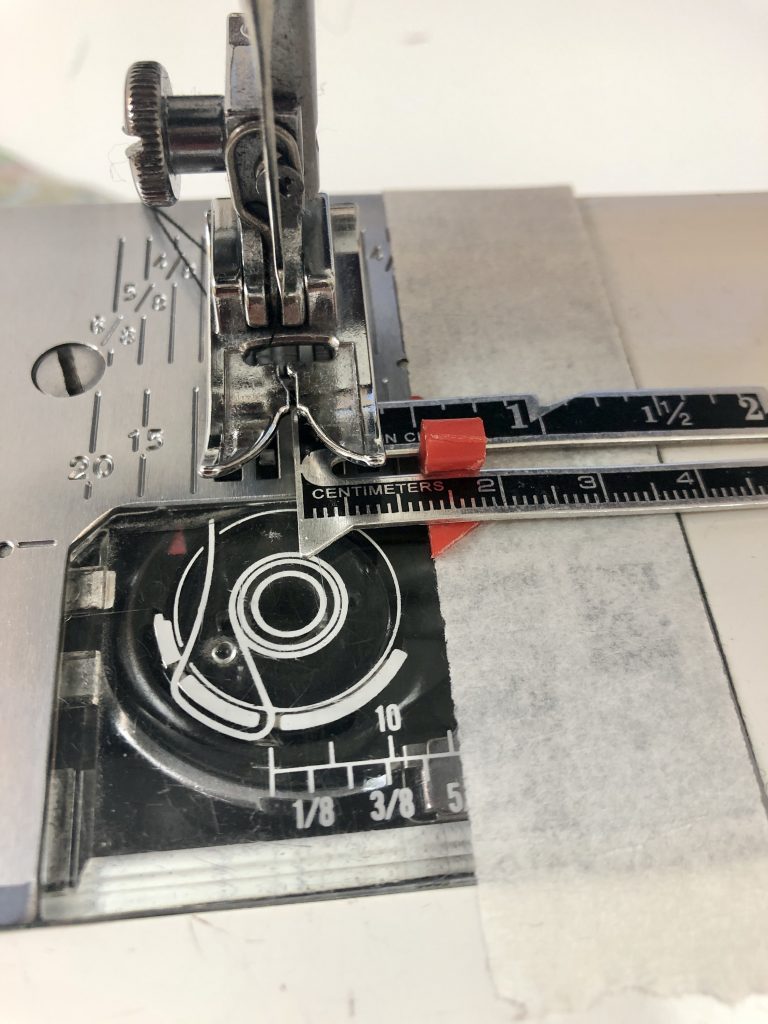
The seam allowance on most of the pattern is ½ inch (1.3cm). I used a piece of masking tape on the needle plate of my machine to keep the seam allowance correct.
Next, the seam allowances were trimmed and the corners cut away to reduce bulk in the next stages of construction.
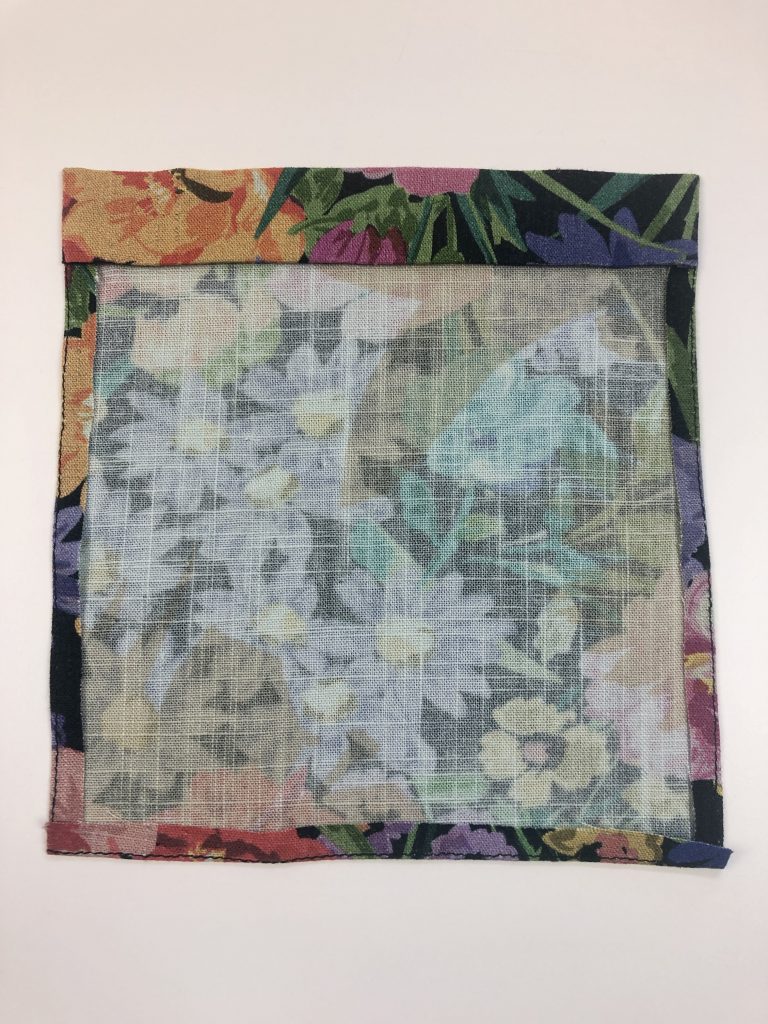
The top edge is then turned out to the right side to create a neat top edge of the pocket.
Then I use a point turner to push out the top corners of the pocket.
At this point the top edge of the pocket is pressed and the seam allowance turned under all the way around the pocket, using the stitching line as a pressing guide.
Make sure that the stitching line is turned ever so slightly to the wrong side, so this won’t show on the pocket once it is attached to the shorts.
The process is then repeated for the second pocket.
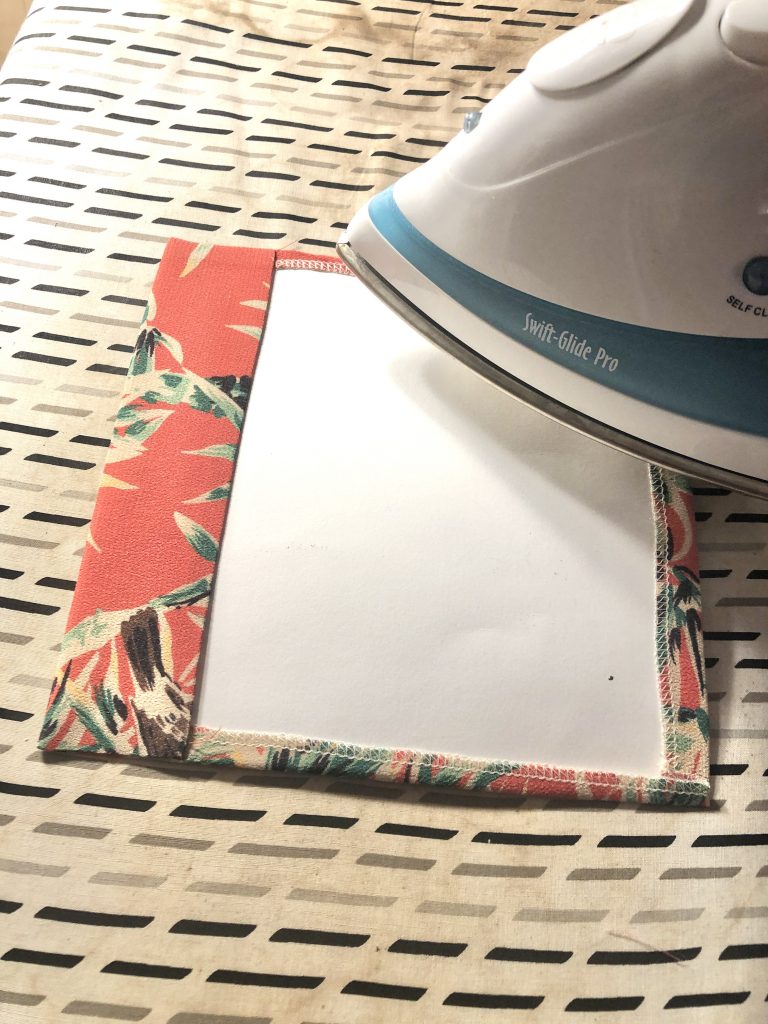
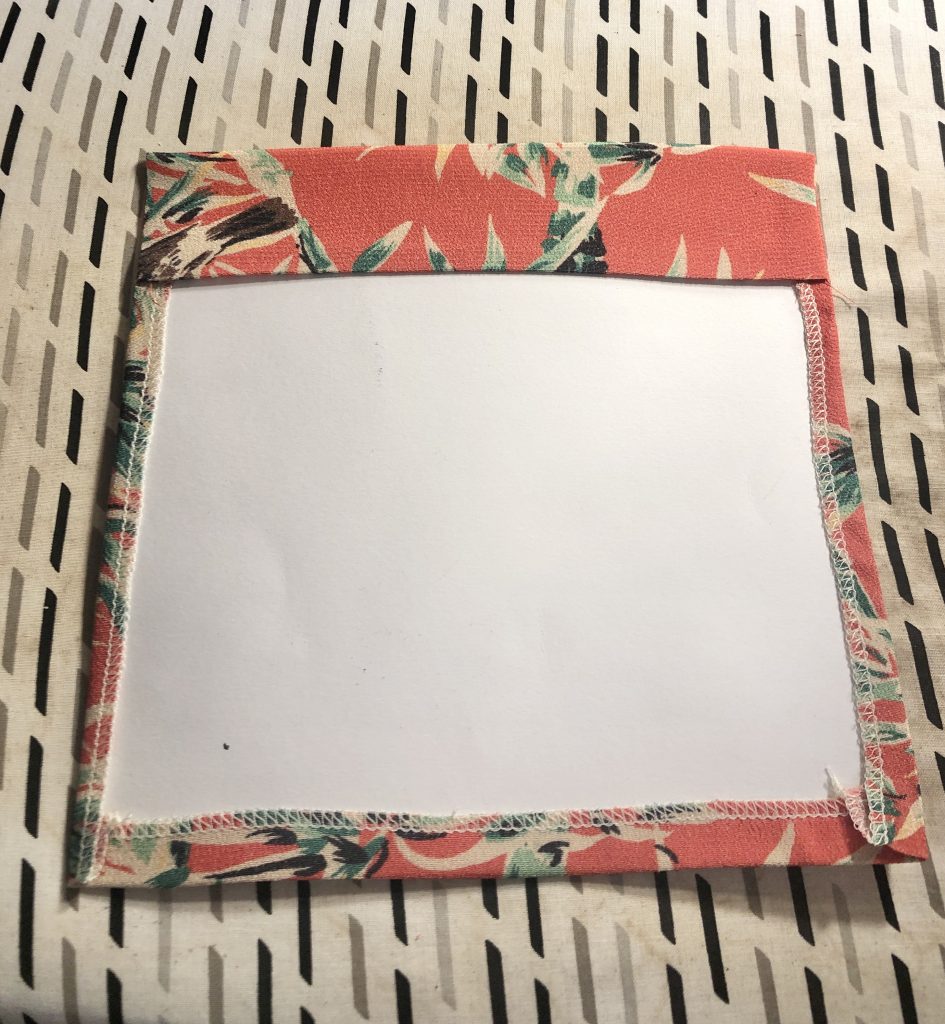
This fabric is really easy to handle and press. If I’m making patch pockets on more slippery fabrics, I use a cardboard template the size of the finished pocket.
I place the template inside the top fold and then wrap the seam allowance over the sides of the card template and press them in place.
This technique is a great way to to make sure that you have equally sized pockets.
In the following photos you can see the card template I used on the pockets of the Lahja Dressing Gown I made last year using ‘Tobu’ viscose crepe from Fabric Godmother .
Once the pocket is pressed, the top fold is secured with a line of stitches, positioning them close to the inside fold.
Keep the stitching line parallel to the top fold.
Now the pockets are prepared, they need to be positioned on the front of the shorts and pinned in place.
Use the placement line markings that you transferred from the paper pattern.
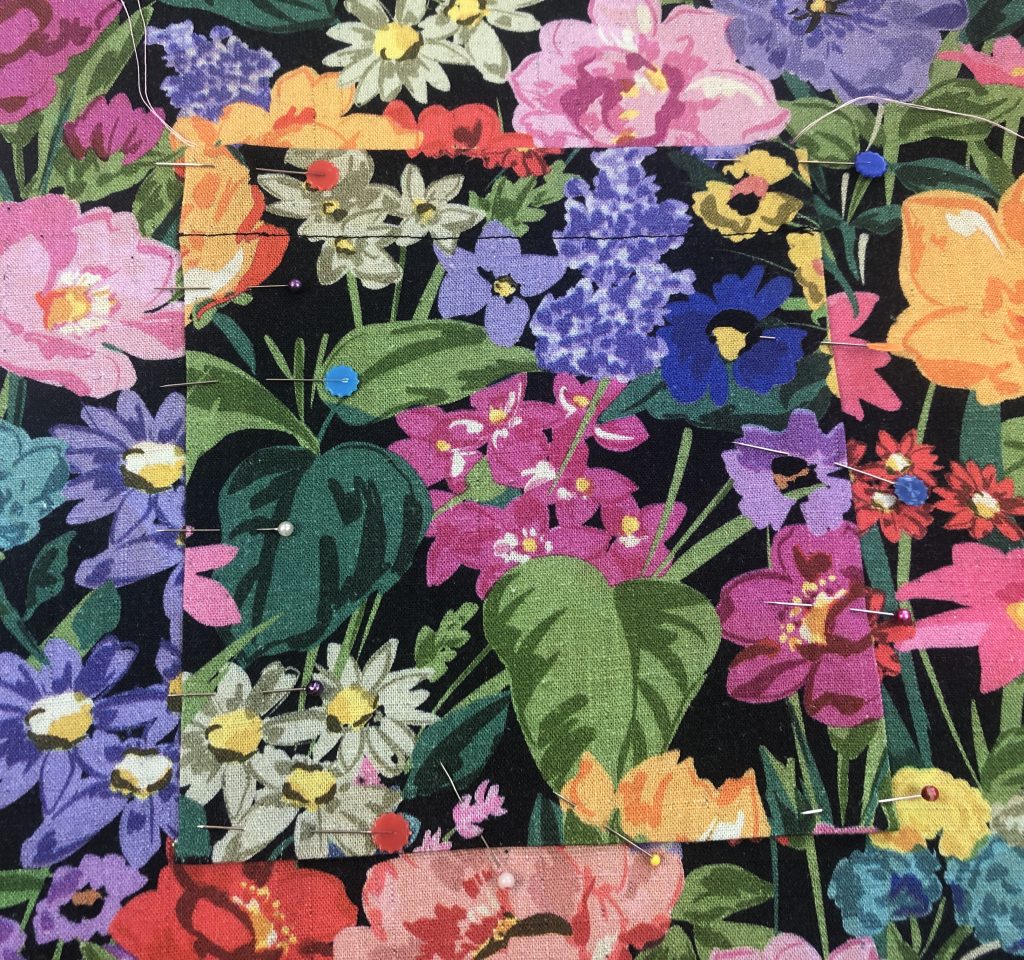
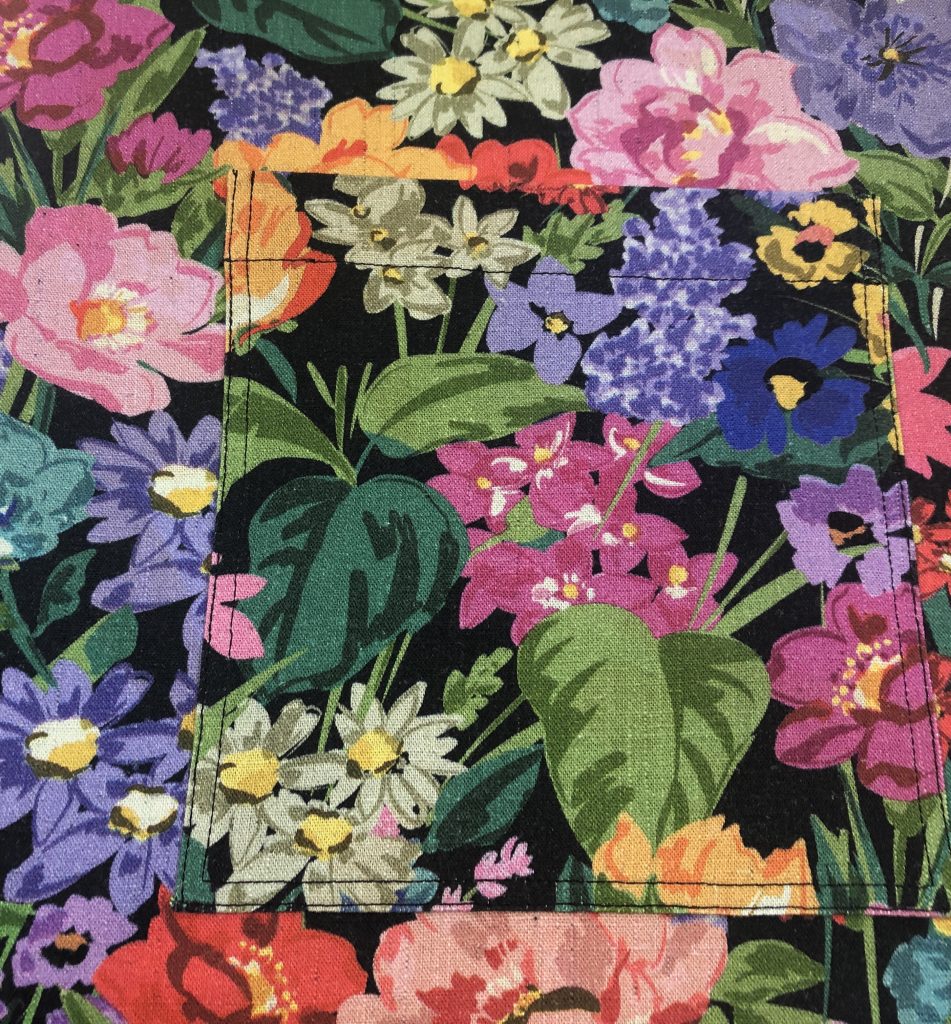
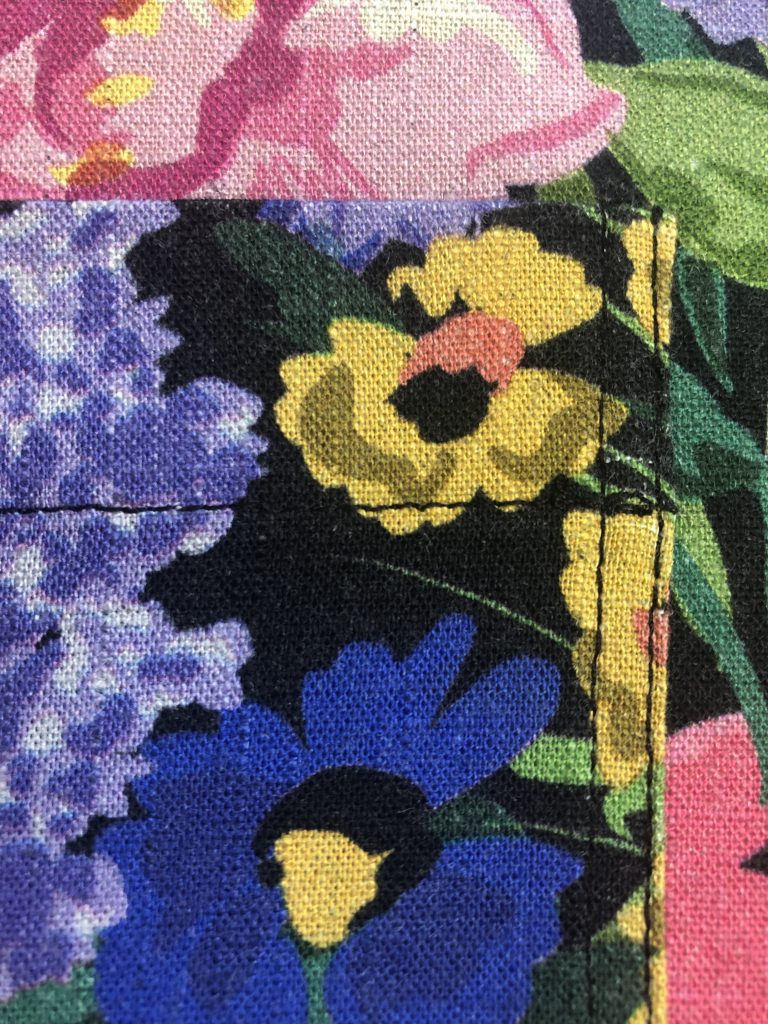
When I sew on pockets I either use a small rectangle at the top right and top left corners to reinforce, or I use two lines of stitching, one close to the edge and the other about 6mm (1/4″) from the edge.
On these pockets I’ve used 2 lines of stitching.
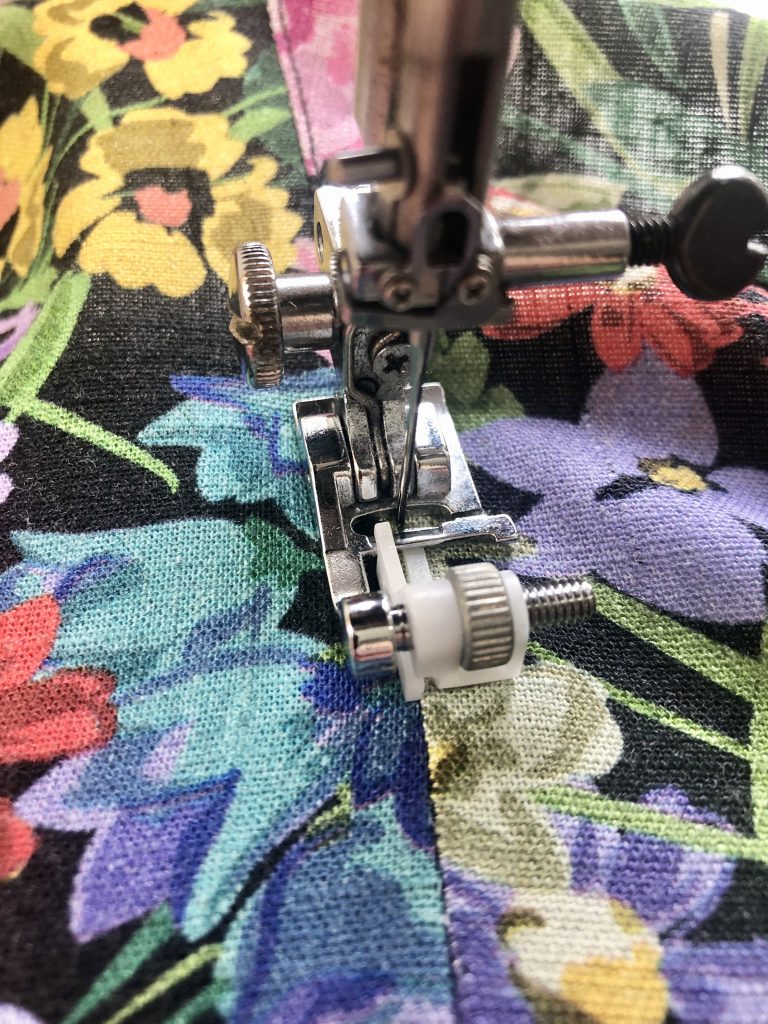
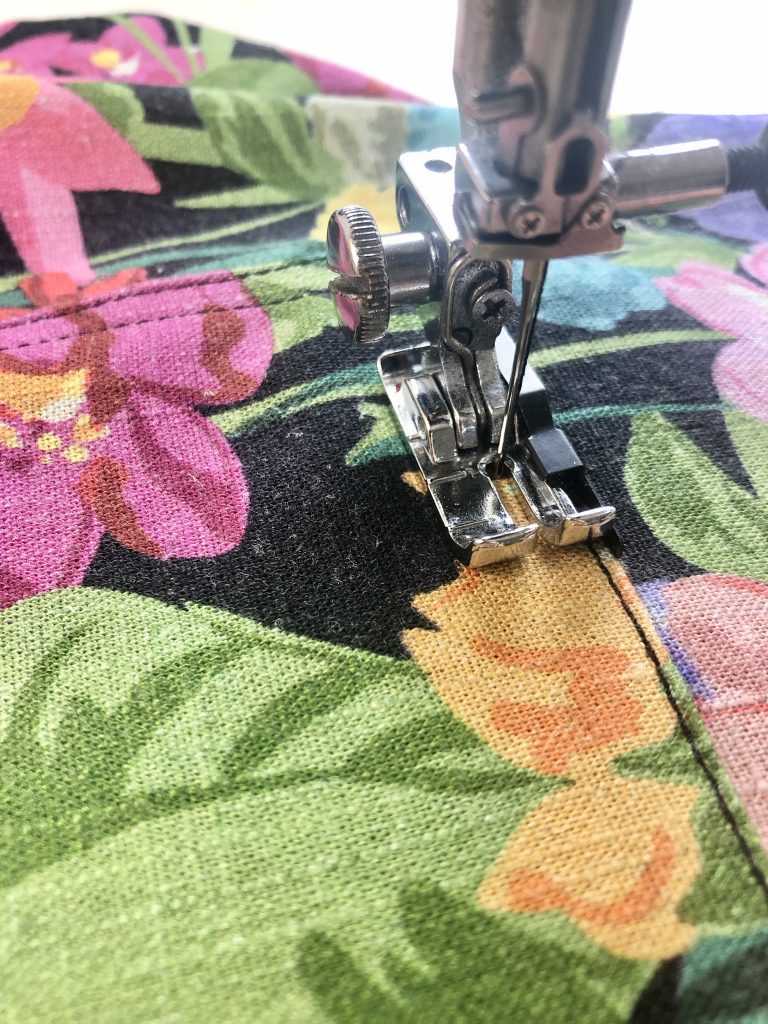
For the first line of stitching, I start sewing from the top left edge. I use a blind hemming foot to keep the stitching line an even distance from the edge of the pocket.
Pivot at the lower corners.
You may need to use a compensation place / hump jumper placed under the back of the presser foot to keep the foot flat as you begin to sew.
(I didn’t actually take a photo of this process but you can see the blind hemming food being used below for the seams on the Anthea Blouse)
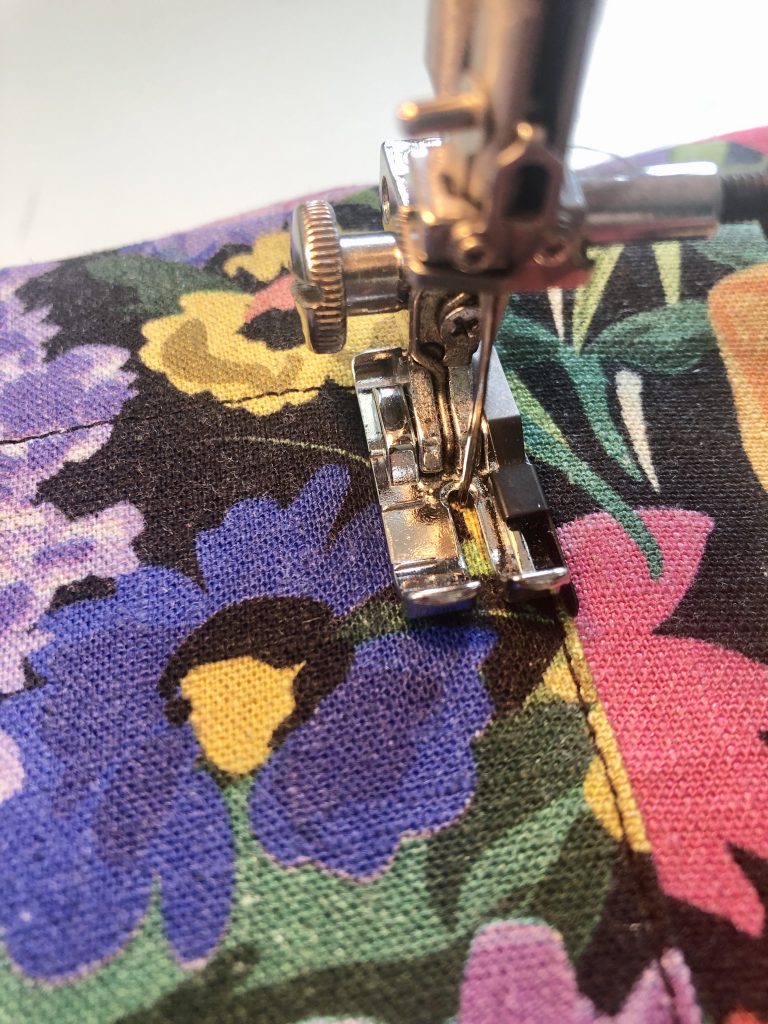
For the second line of stitching I use a 1/4″ foot to keep my stitching line even.
This time I start from the top right corner.
Constructing the Seams
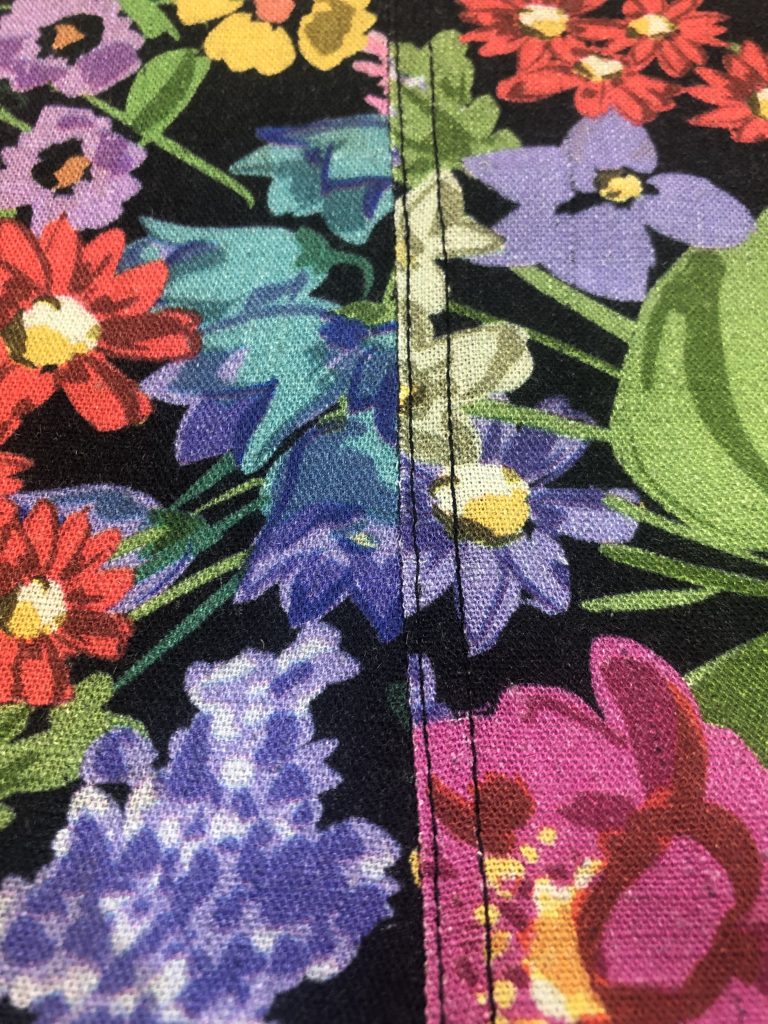
Once the pockets are attached, the seams are sewn, starting first with the centre front, centre back, then inside legs.
The instructions discuss sewing the seams with a 1/2 inch seam allowance and then adding both edgestitching and topstitching.
After sewing the seam I edge finished with the seam allowances together, using a 3-thread narrow overlocking stitch on a Janome 9300DX Overlocker.
The seams are then pressed to one side as per the instructions.
As with the patch pocket, I used the blind hemming foot for the line of edgestitching and then the 1/4″ foot for the topstitching.
Creating the Elasticated Casing / Waistband
As I was planning to use 3.8cm (1 1/2 inch) elastic and would need to create a casing that was 4.5cm (1 3/4″) to fit my narrower elastic.
I started by folding the top edge of the shorts with wrong sides together, turning under 7cm (2 3/4 inches) as this was the allowance from the original pattern.
I pressed this in place to form a crease.
I opened up the fold and then turned under the top edge of the shorts again, keeping the wrong sides together and this time turning under 2.5cm (1″) before pressing in place to form another crease.
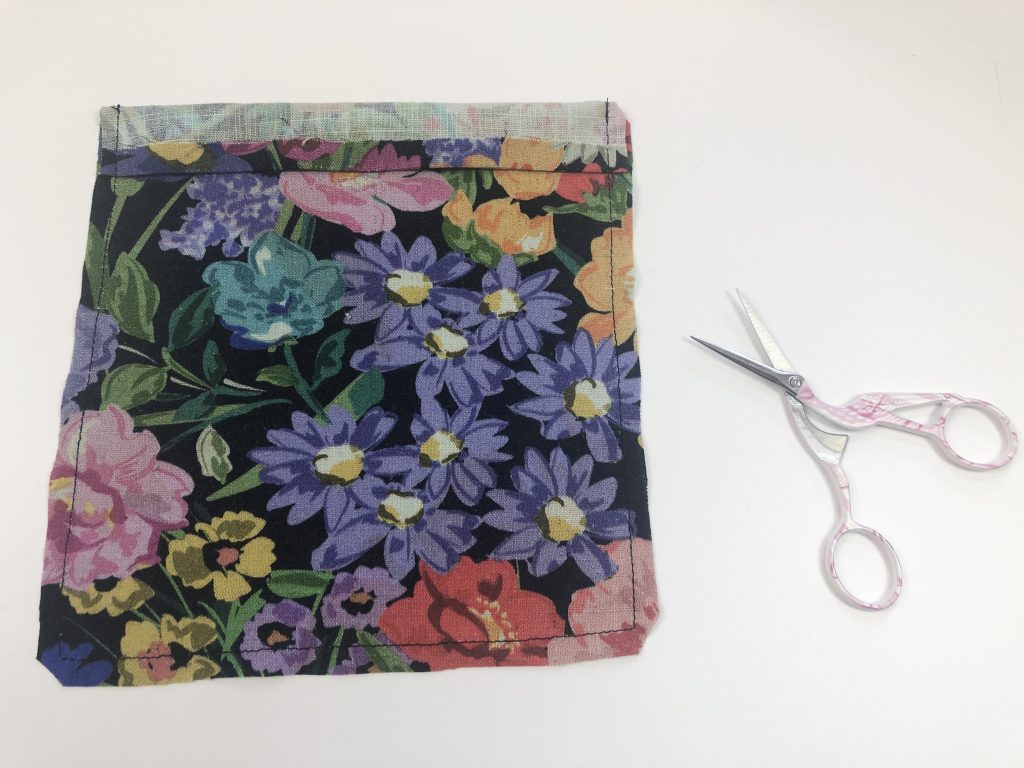
Then I trimmed off around 1.5cm (5/8″) of excess fabric.
You can see the two folds in the fabric in the image below, one close to the left of the image and the other top the right of the scissors.
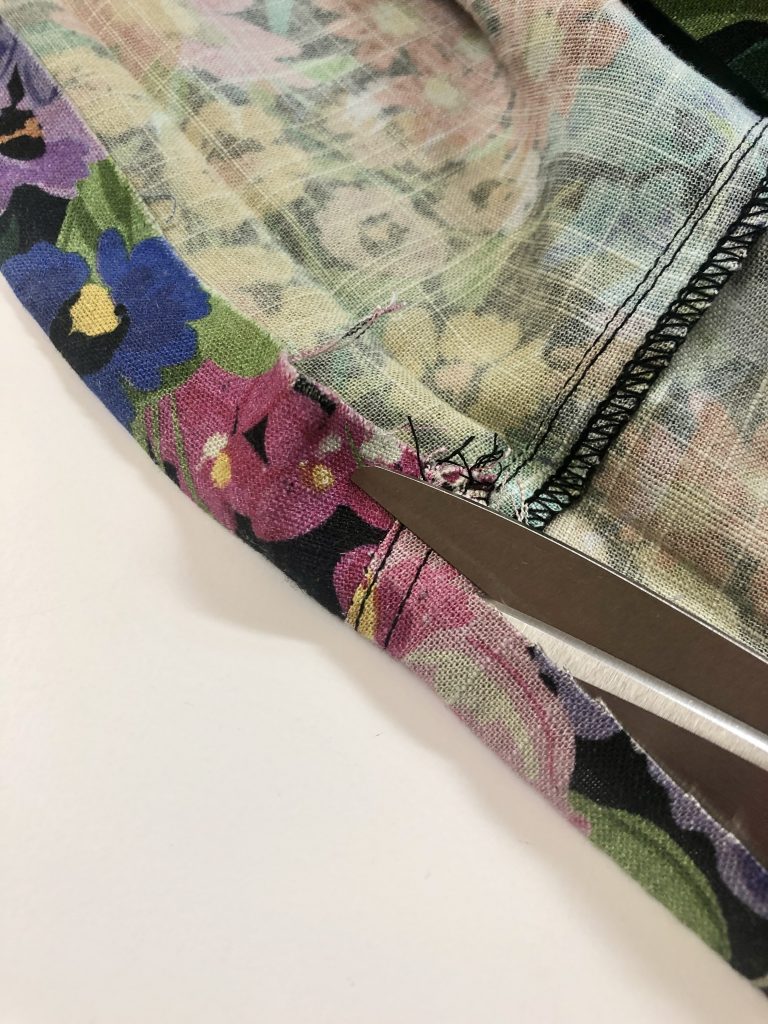
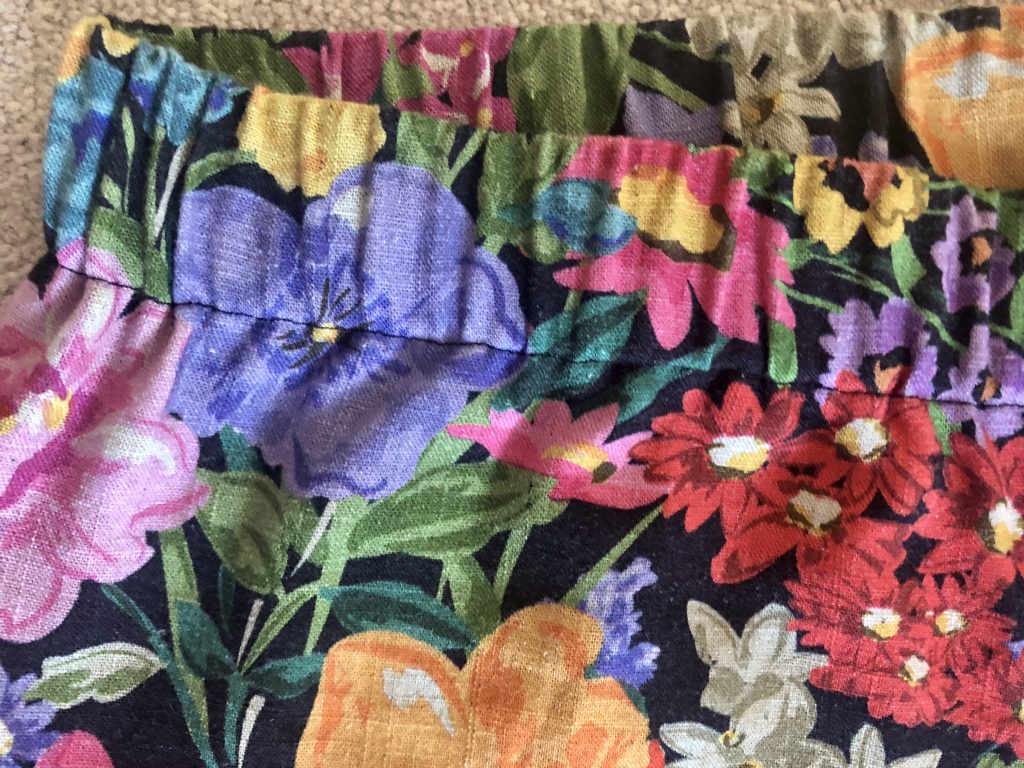
The casing is then formed by folding the fabric along the crease lines, pinning in place and stitching close to the inner fold all the way round, leaving a small gap at the centre back or side seam, so the elastic can be inserted.
The elastic is inserted using a safety pin.
The shorts can then be tried on and the elastic adjusted to fit.
Once the elastic is correctly fitted, ends sewn, the casing is sewn closed.
Unfortunately I didn’t take photos of these stages in construction but I do have a video showing how I made an elasticated cuff which shows the same process but in a much smaller scale.
Sorry the video angles are rubbish. I filmed the while thing before I realised it wasn’t on landscape and didn’t ever go back to do it again…one day I will!
After the elasticated casing is complete, the hems can be sewn.
You can see my method for hemming in the video below.
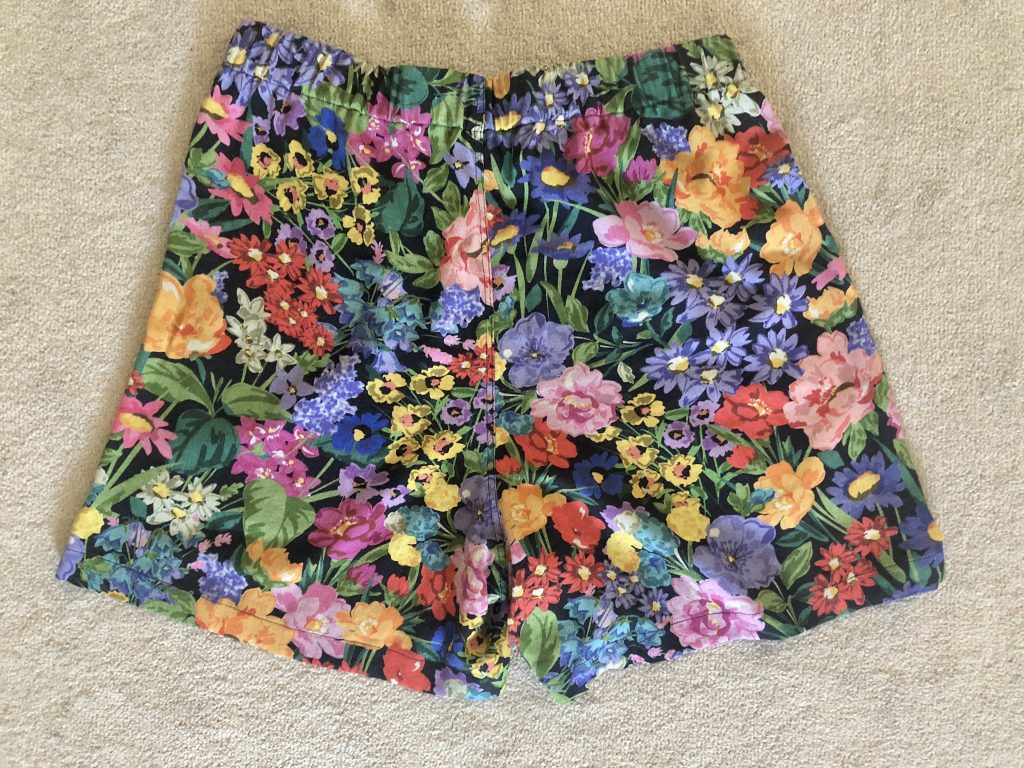
and ….tah-dah! – the shorts are finished!

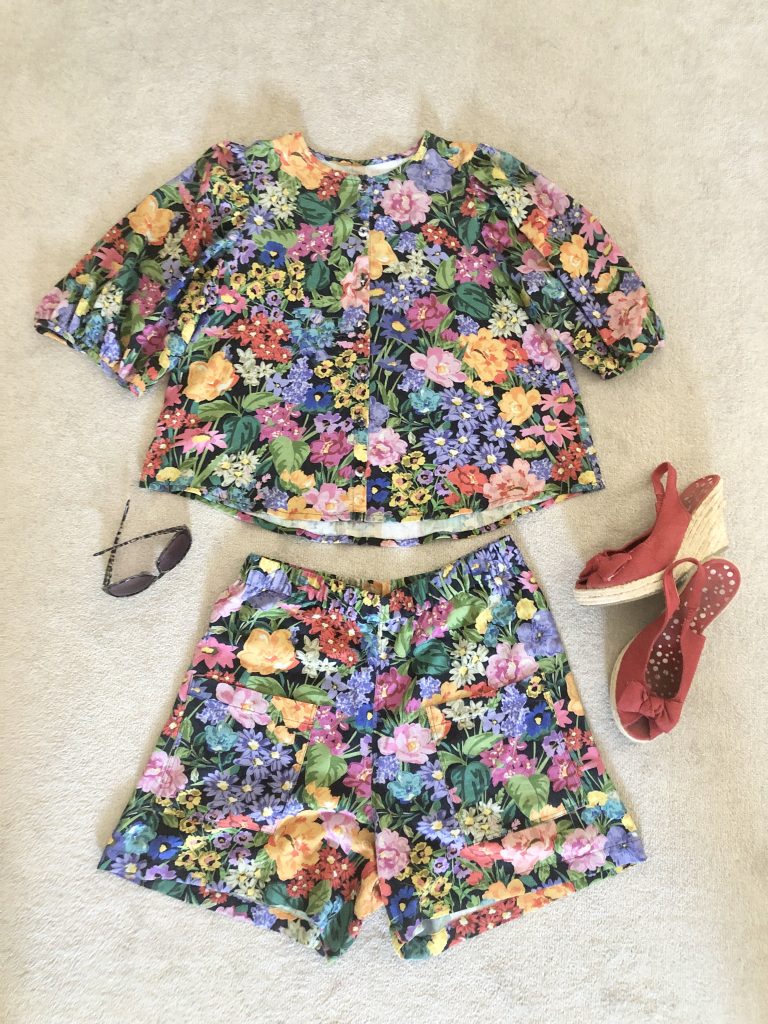
You can see more about sewing the Anna Allen Anthea Blouse (pictured above) in this blog post


