
I needed a new project to challenge me a bit more than my recent ponte roma dresses. I’ve also never made my man anything (except of a pair of knitted gloves) so I wondered if he wanted a home made shirt…
He’s quite fussy, wears mostly black and I really didn’t think he’d be interested but I was quite surprised by his response… Mr B actually did want me to make him a shirt and he wanted a western shirt.
I asked him to find some images online that he liked the look of and print them out so I’d have more of an idea of what to create.
With a style in mind I set about finding a commercial pattern that I could alter. I could start from scratch and spend hours drafting the perfect pattern but why bother if there’s a pattern out there already drawn up that can be adapted.
So…here it is! – Simplicity 1327 – Boys’ and Men’s Western Shirt

Oh yes! – what a beautiful shirt! – the colour, the contrast yoke – I could even make us matching ones…. or not!

I’m glad I could see beyond the picture on the envelope as it’s really not what I’m hoping to end up with! – what I did want was the shaped yoke and pockets so I now had something to work from.
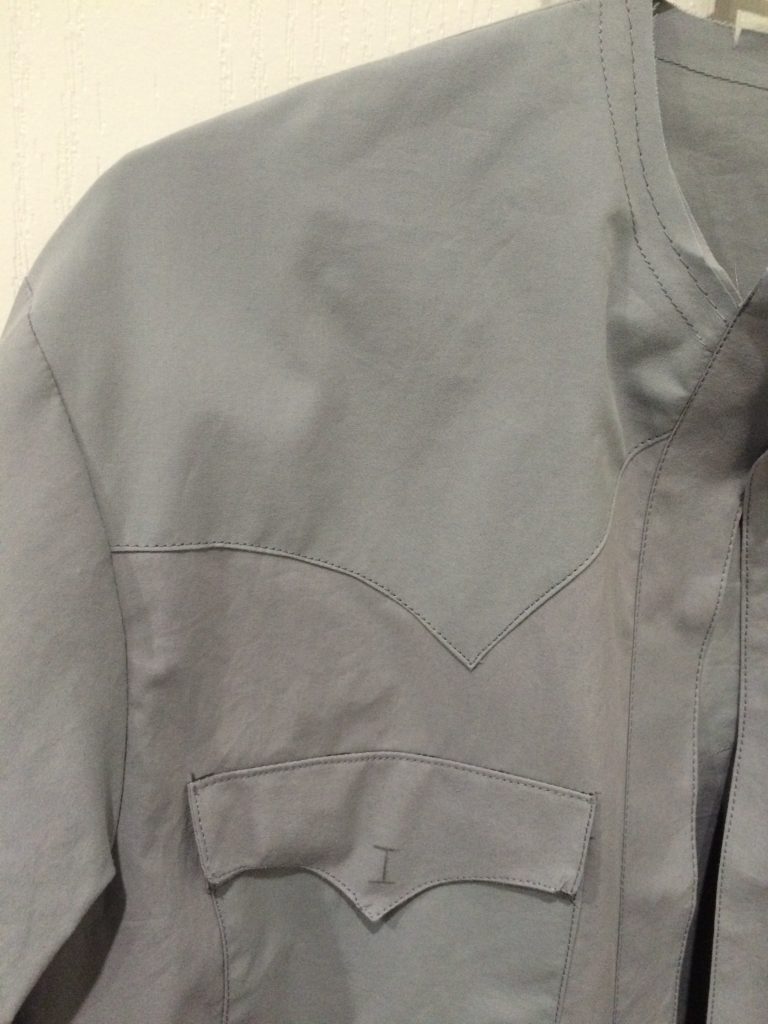
Mr B’s shirt was to be black all over with a more defined shape for the yokes, pockets and pocket flaps. I wanted them to be a bit more curved and pointy.
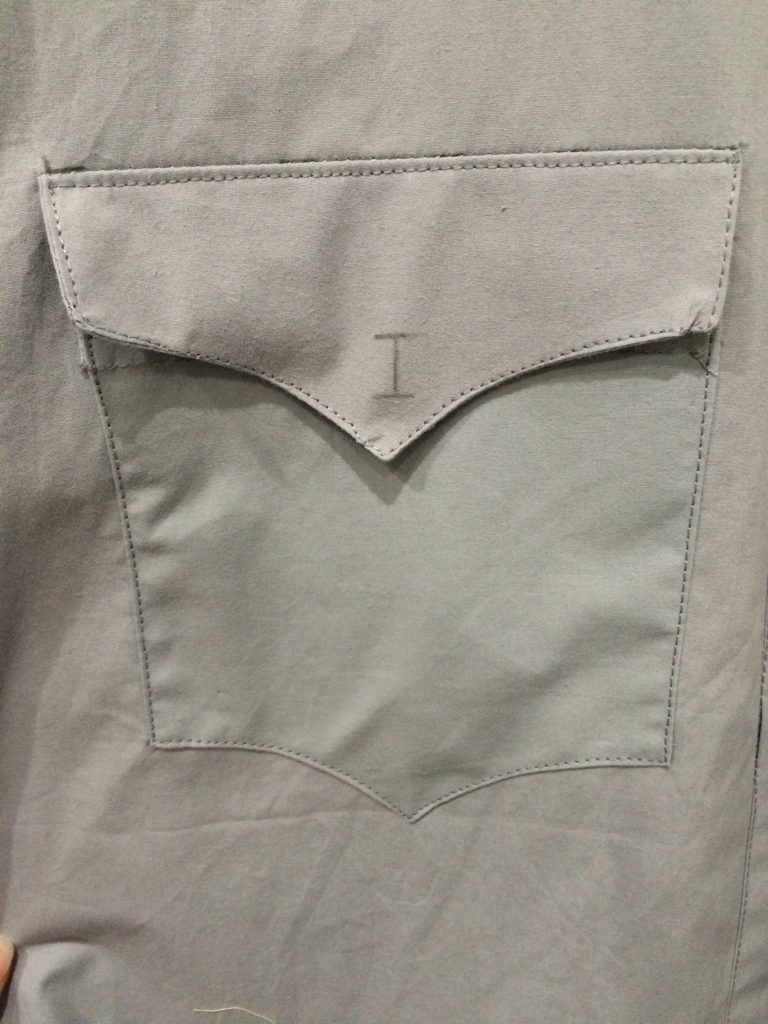
I started by creating a new shape for the pockets. The pocket needed to stay the same size but I wanted the bottom to curve into a point. I traced off the shape and amended the bottom edge.

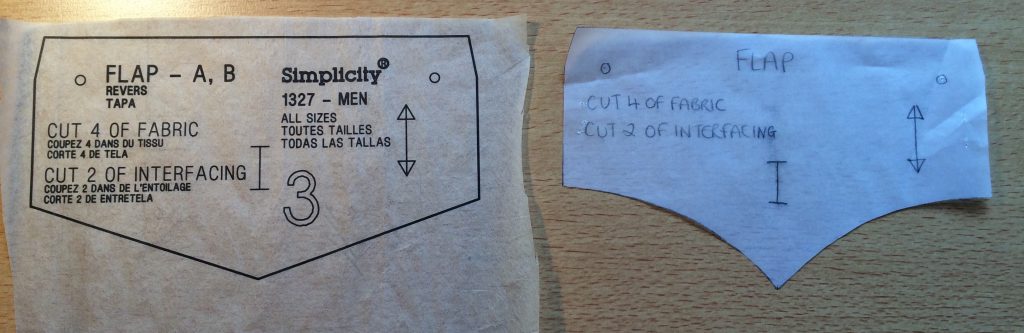
I then replicated this with the pocket flap, tracing off the original flap and using the new pocket as a guide to the new flap pattern so the bottom edges would match.
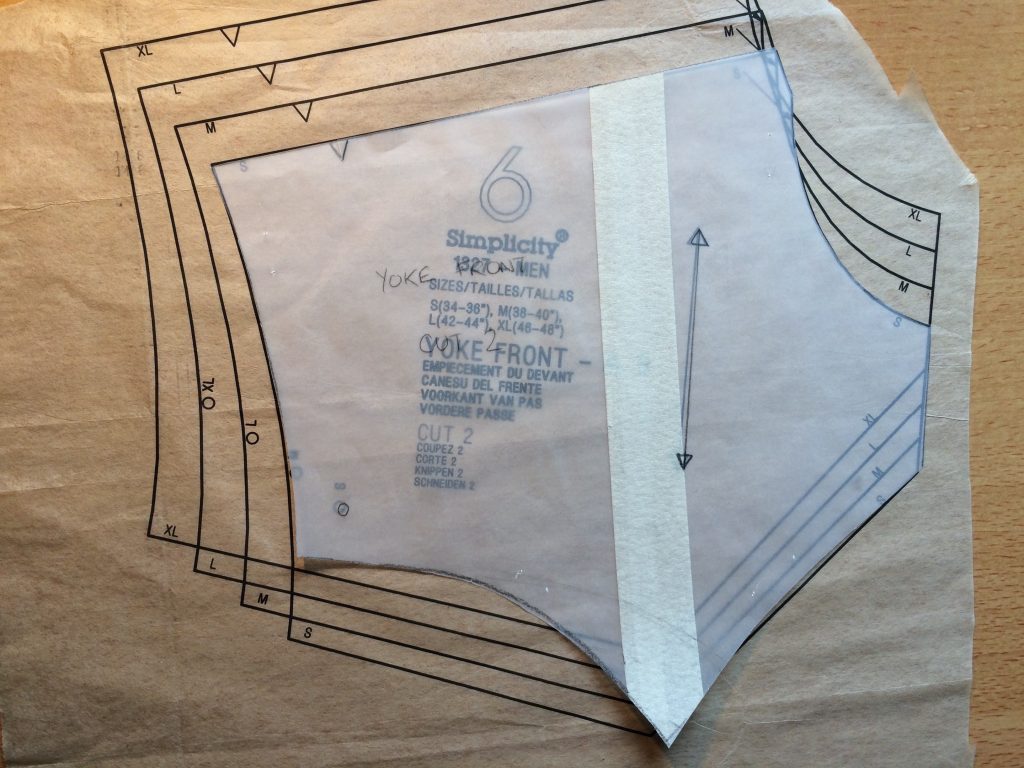
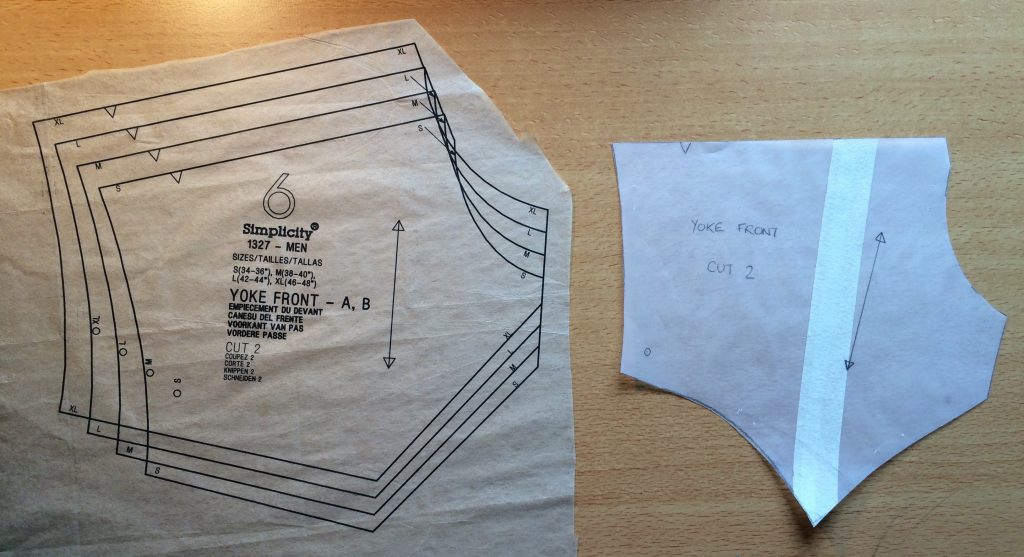
Next I wanted to alter the front yoke to make this curve more dramatically into a point
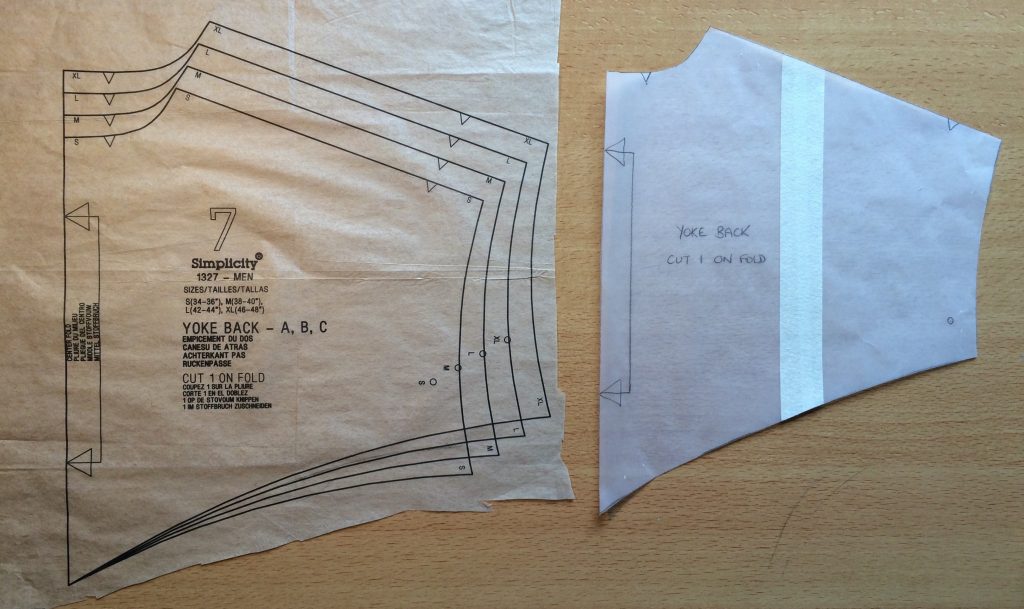
I then altered the back yoke in a similar way.

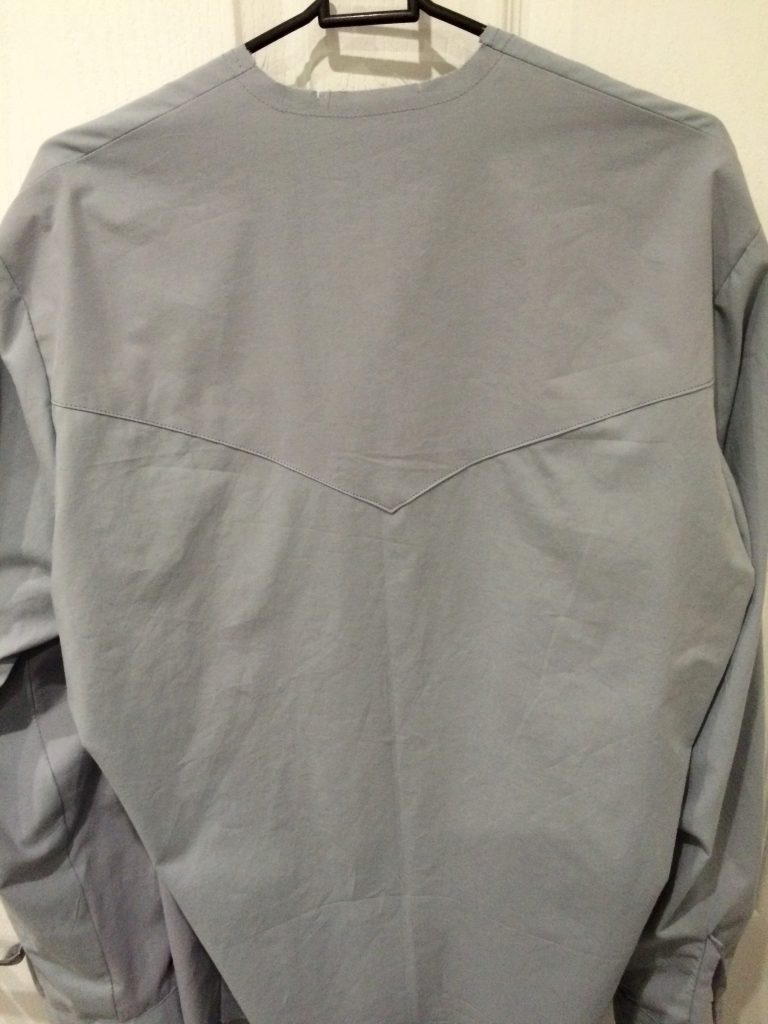
The next challenge was to cut everything out a make up a toile. I wanted to check everything was going to work and Mr B would like it before I made it up properly.
The construction was straightforward and I really enjoyed making up the new improved pockets and yokes. I used an old bedsheet for the toile but the wrong machine needle which led to a few issues with the topstitching.
I think my adaptations have turned out pretty well and Mr B was really pleased with the results!

There were a few fitting issues as I expected – nothing is ever perfect first time round! I’d made up the small version hoping this would be ok but it is a little tight around the collar so I’ll have to add in a few extra cm.
My next challenge is to find the perfect shirting fabric to make it up again – I’m on the hunt but haven’t had much luck so far… I’ll just put this one on hold until I’ve found something that’s right… how hard can it be to find black shirting fabric??
I’m off to the Dressmakers Social on sewing Menswear later on so I’m hoping to get some tips on where to buy the best fabrics…


