
How often do you make a garment and then struggle to finish it because you can’t choose the right buttons?
Well… covering your own buttons with fabric might be the answer … and it’s really not as difficult as it might look.
I’ve written a detailed tutorial showing 3 methods to cover buttons with fabric, or you can see this information as a video, shown below.
To cover your own buttons with fabric you’ll need some ‘self cover buttons’ and small pieces of light to medium weight fabric.
If the fabric is very lightweight, use two layer, or apply interfacing to the fabric to make sure that the surface of the button is not visible through the fabric after it is covered.
Iron your fabric first to remove any creases, before covering your buttons.
Self Cover Buttons
There are a number of companies who offer a button covering service, so if you’re looking for something a bit more fancy than what I’m about to show you, or you don’t want the bother of covering your own, particularly if you have loads of buttons to cover, you can pay someone to do it for you.
But… it’s really not that hard to do it yourself and the result is really satisfying!
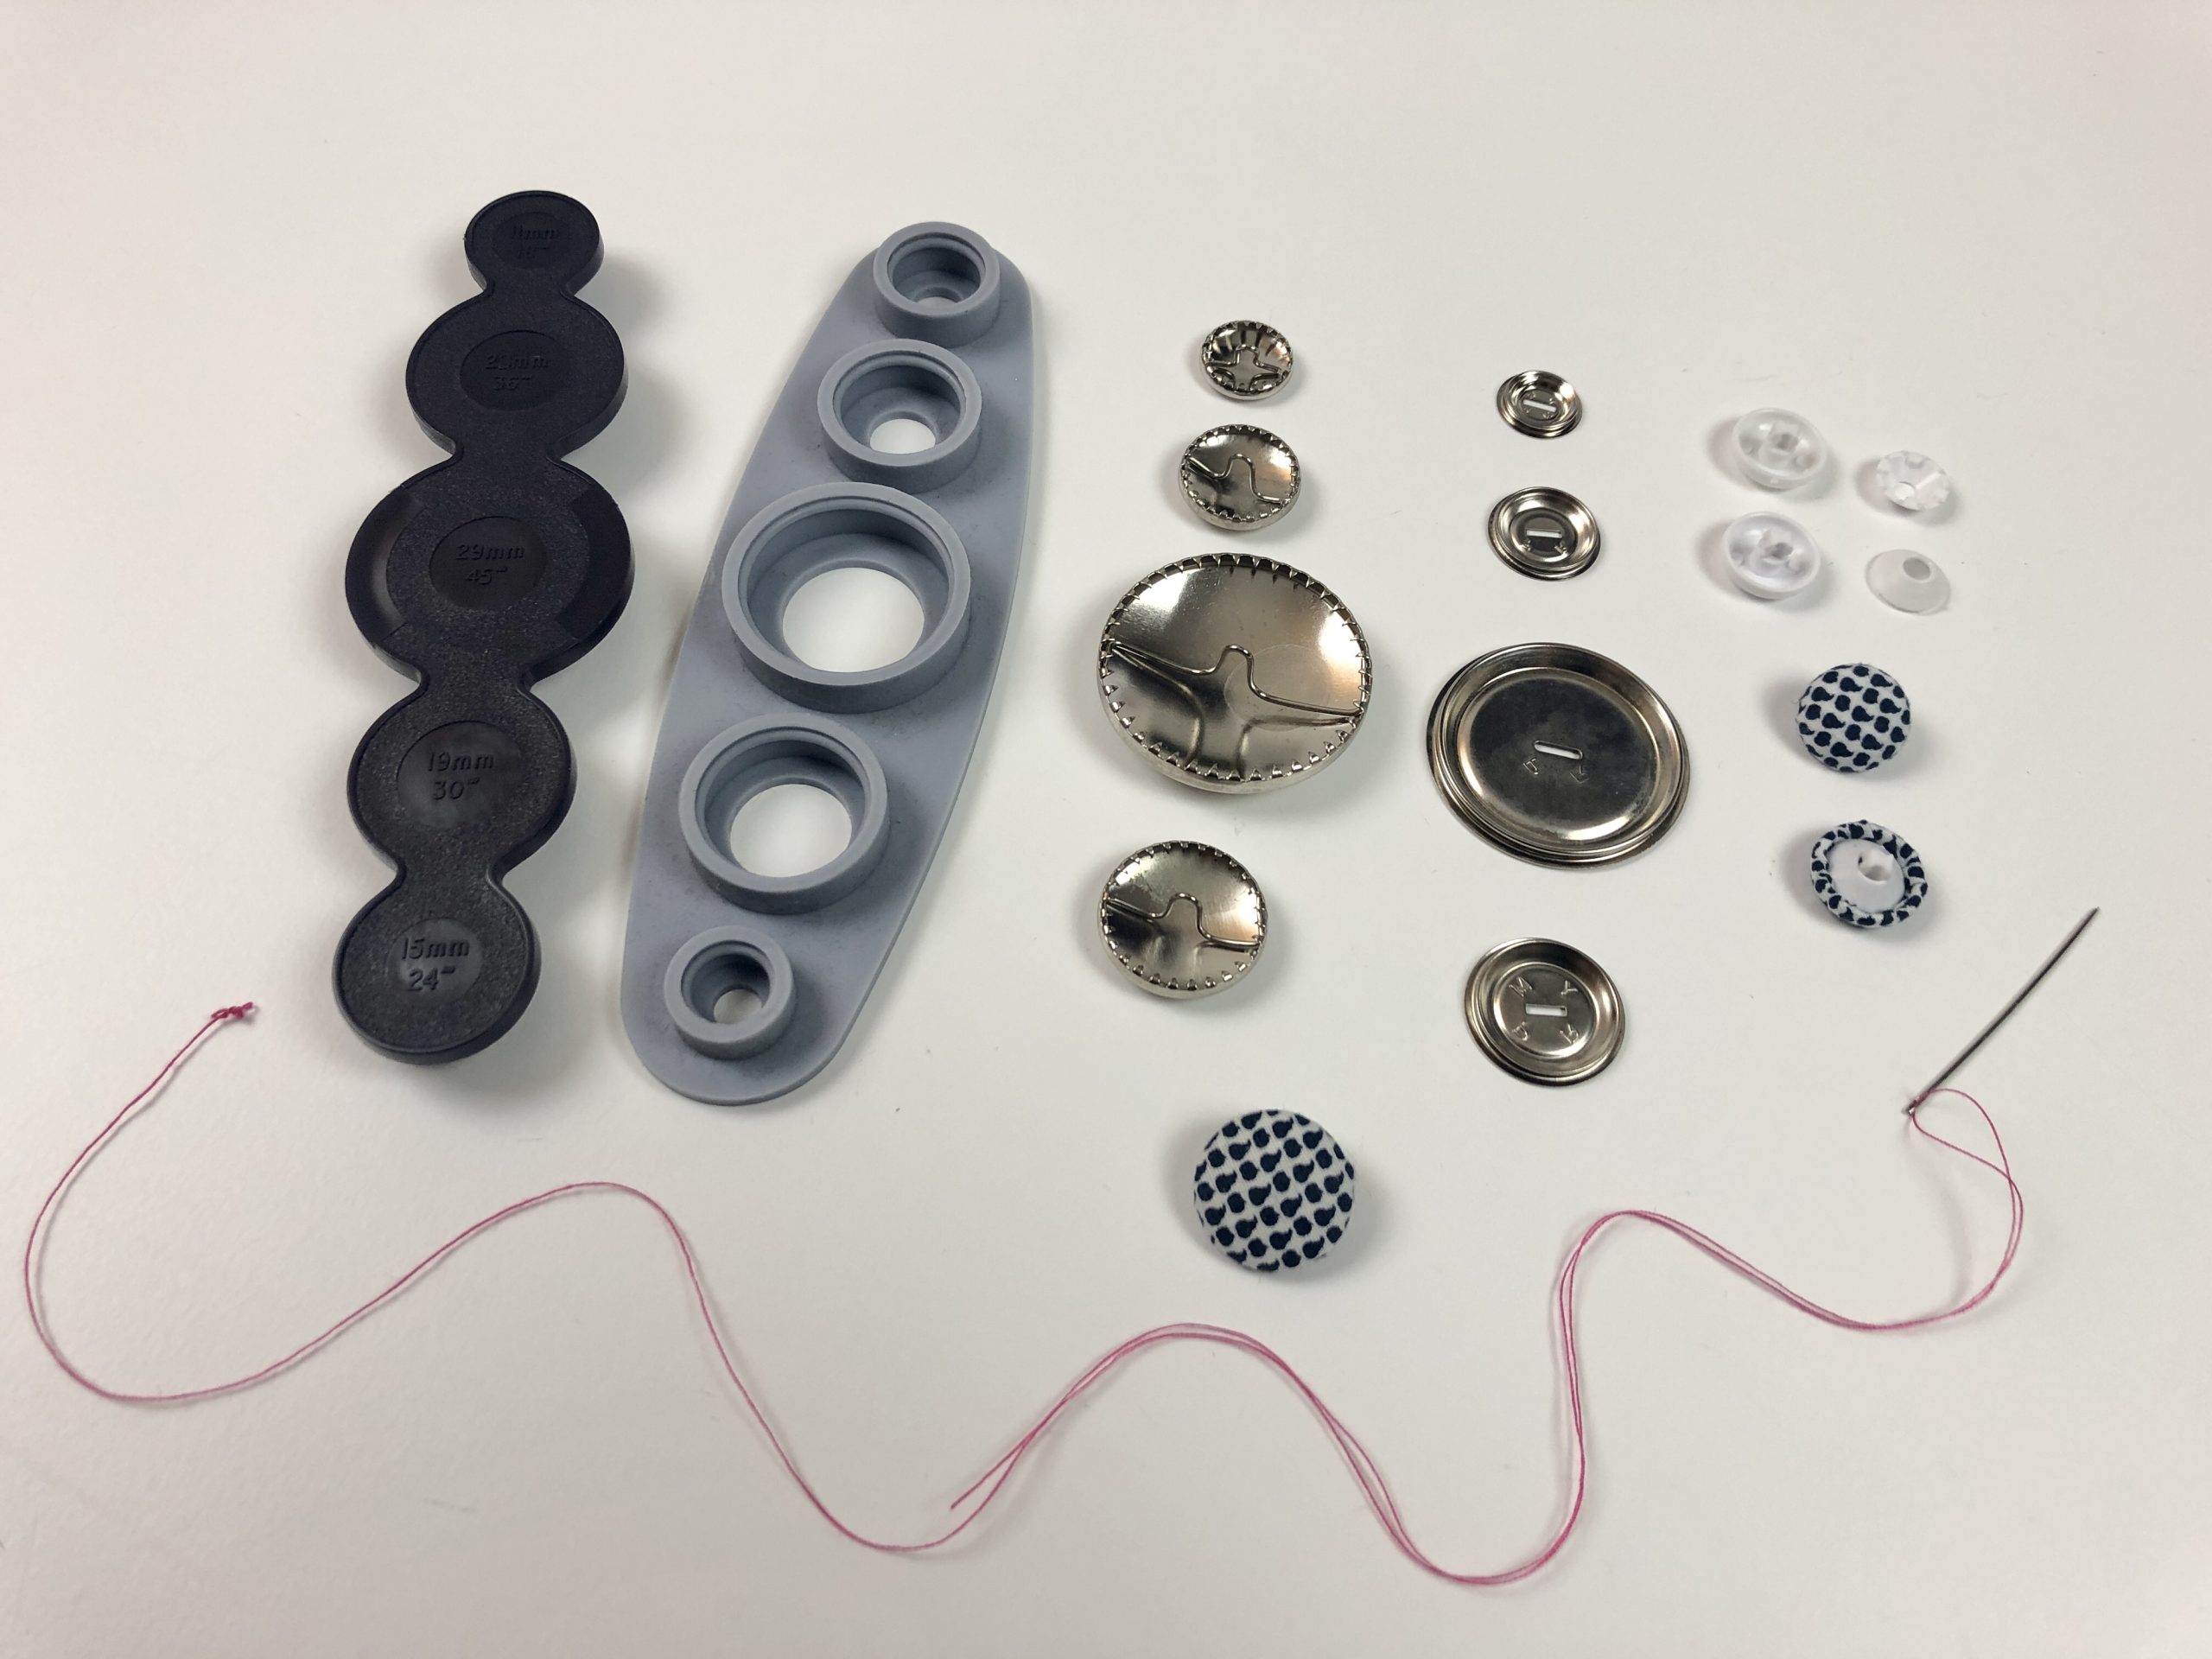
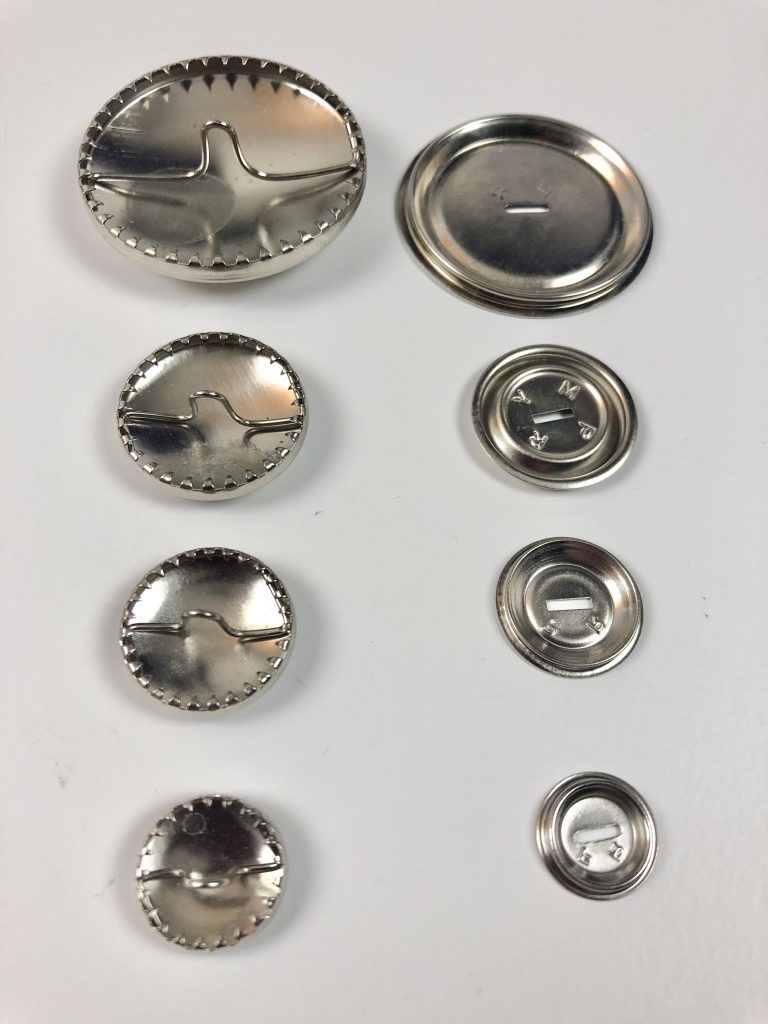
Self cover buttons are available to buy in lots of different sizes, usually ranging from 1cm (3/8″) to 4cm (1 1/2″).
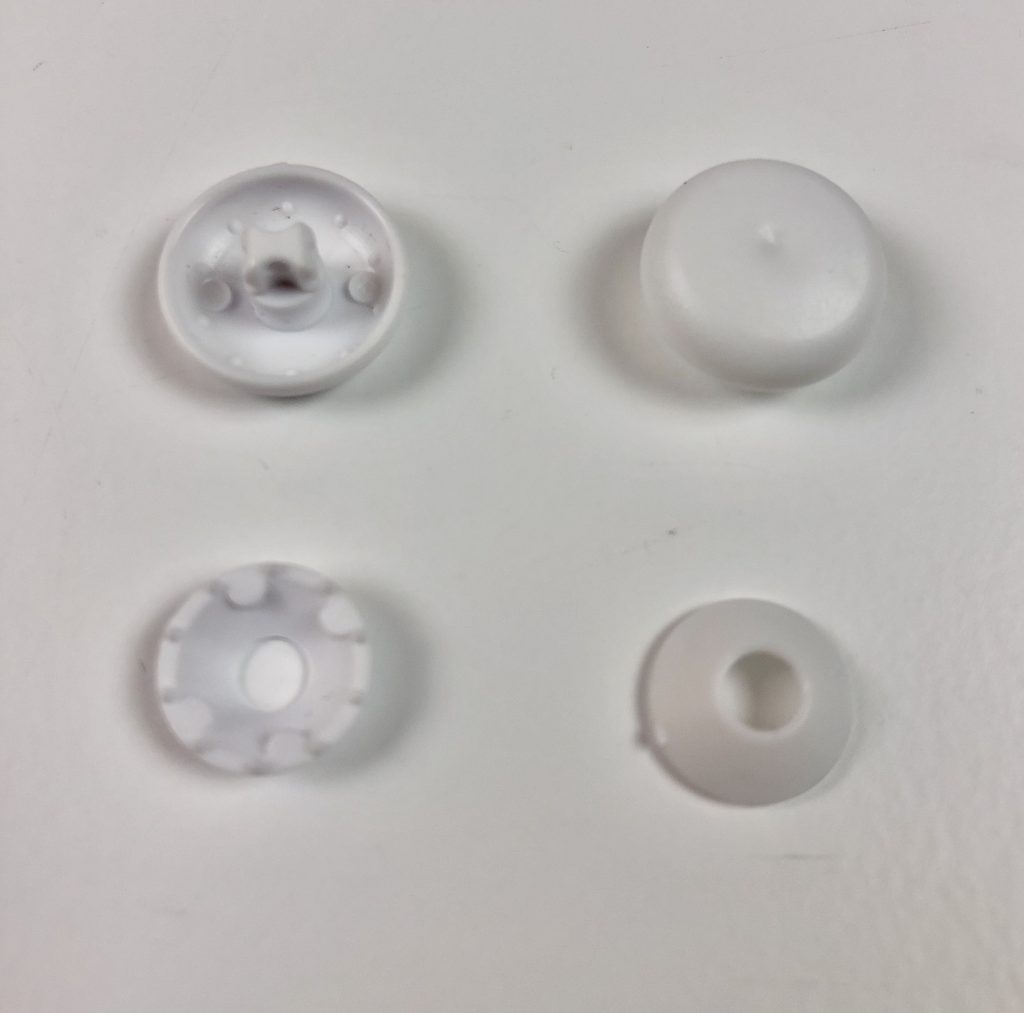
Each button is formed of a top and a bottom part – the two parts snap together to keep the fabric in place.
Self cover buttons come in plastic or metal and may be sold with or without a self cover button tool.
You don’t need a tool to cover the buttons, but it can help to speed up the process, particularly for the plastic buttons.
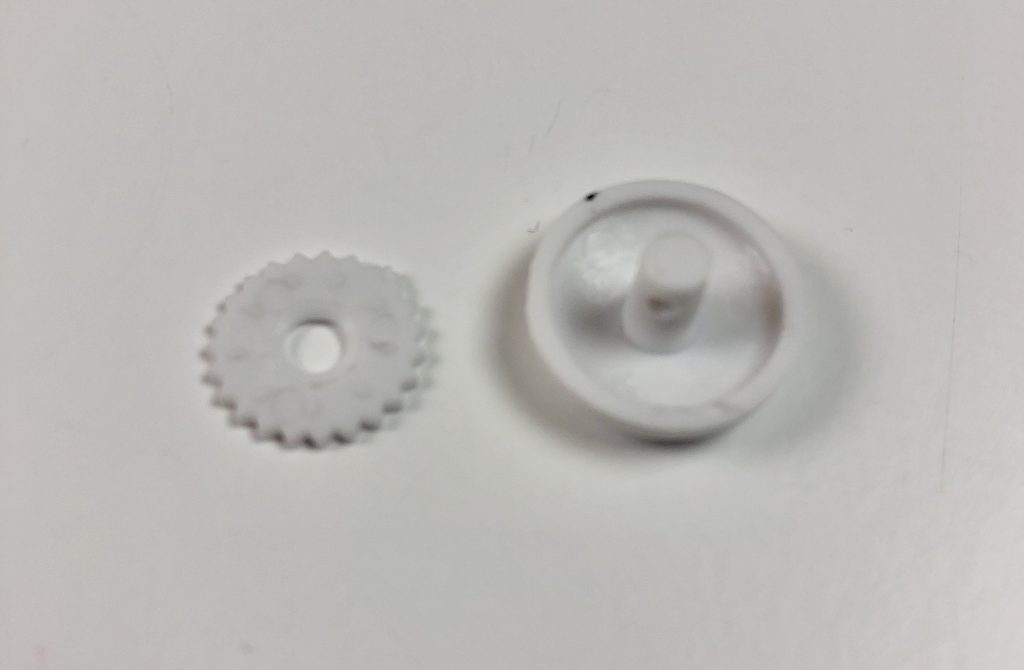
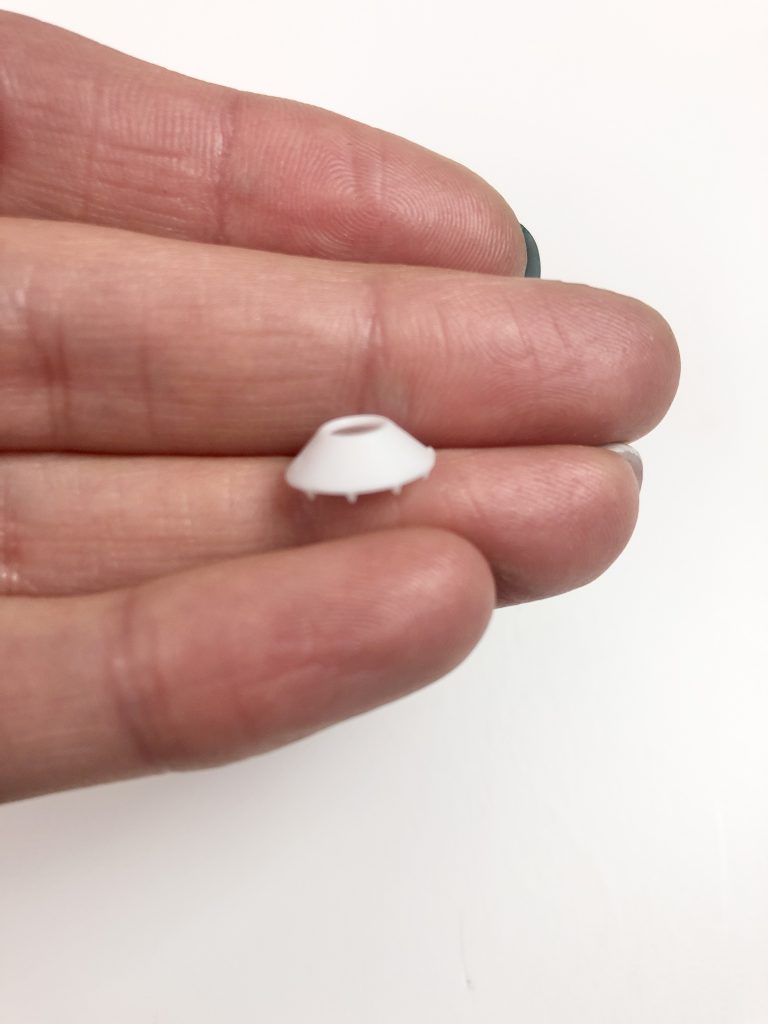
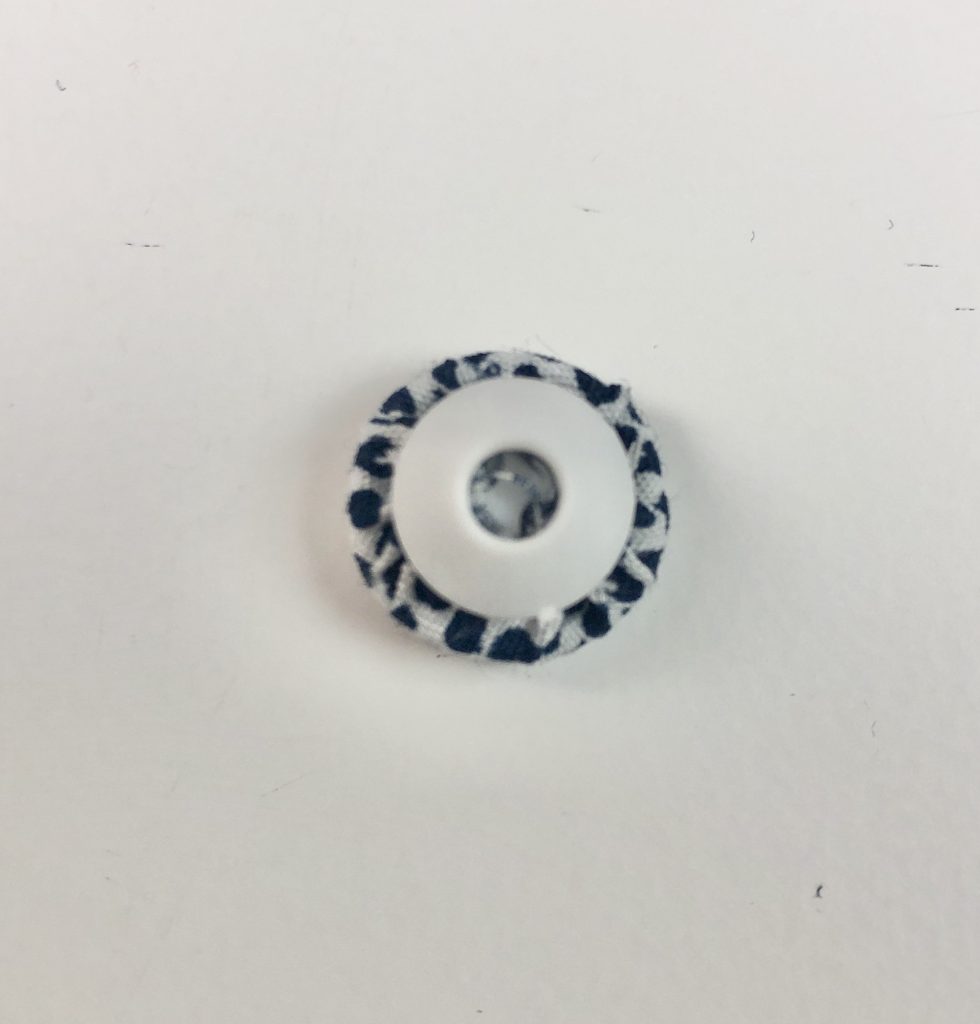
Plastic Self Cover Buttons
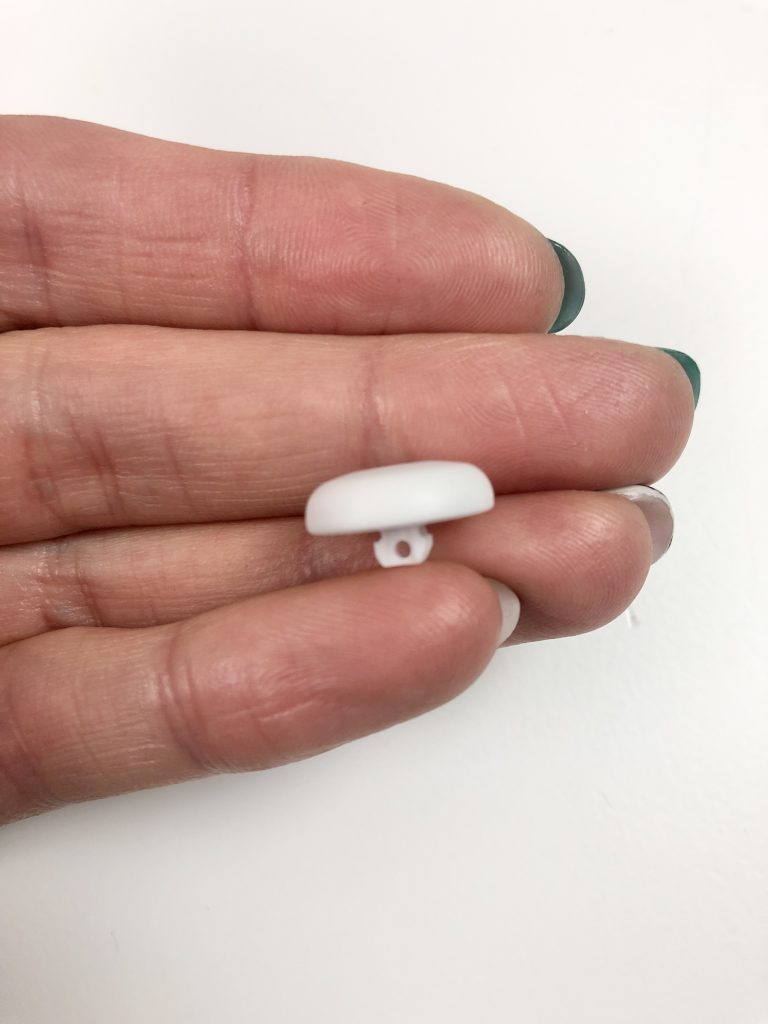
I’ve purchased two types of plastic self cover buttons in the past. Ones with a flat bottom and ones with a domed bottom. I’ve had more success with the domed bottom type and found these clamp and hold the fabric better.
Metal Self Cover Buttons
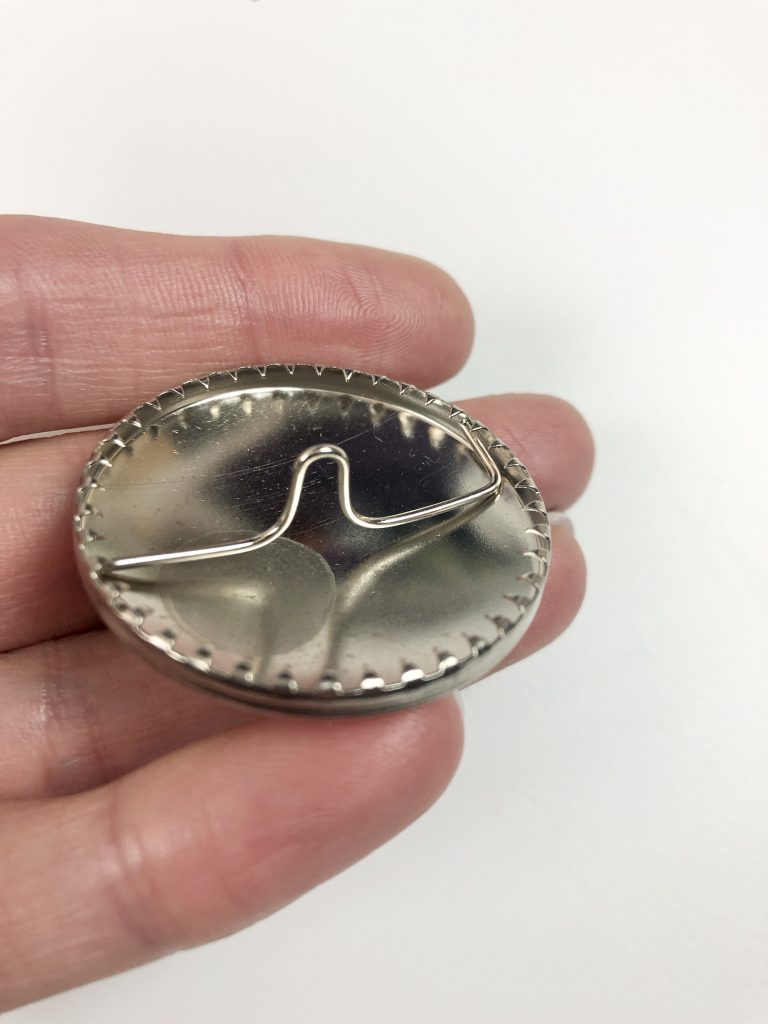
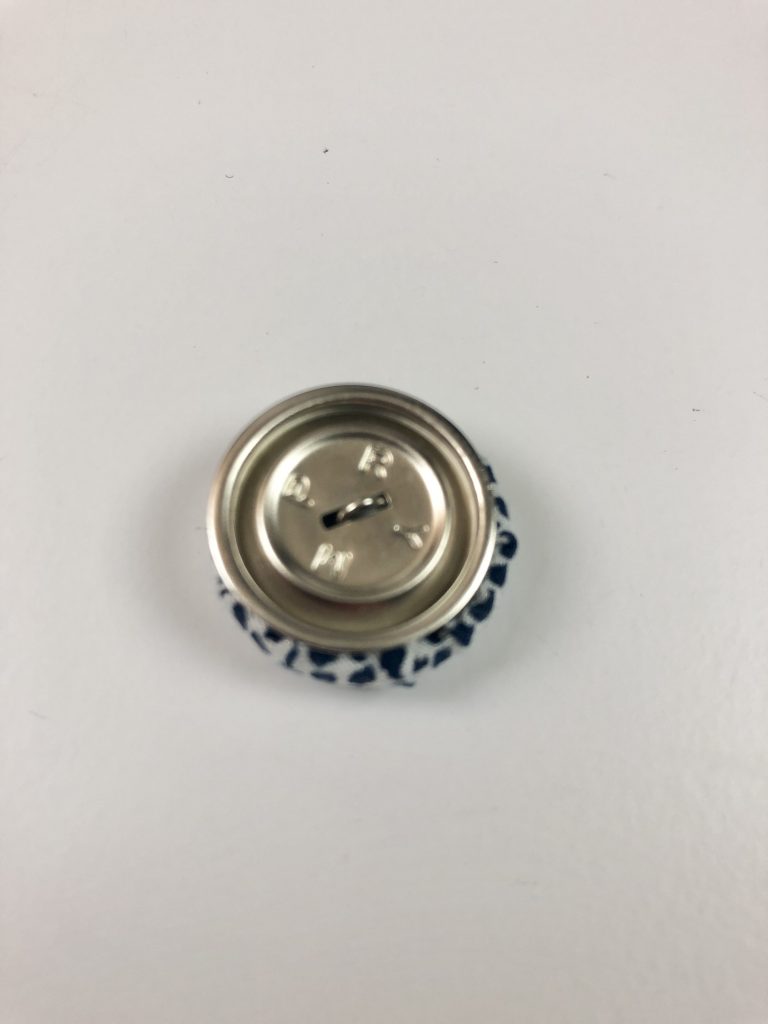
Metal self cover buttons have sharp teeth inside the top part of the button.
The teeth grab onto the fabric, making it easier to cover this type of button without the use of a self cover button tool.
The lower part of the button has a rim which snaps inside the top part of the button.
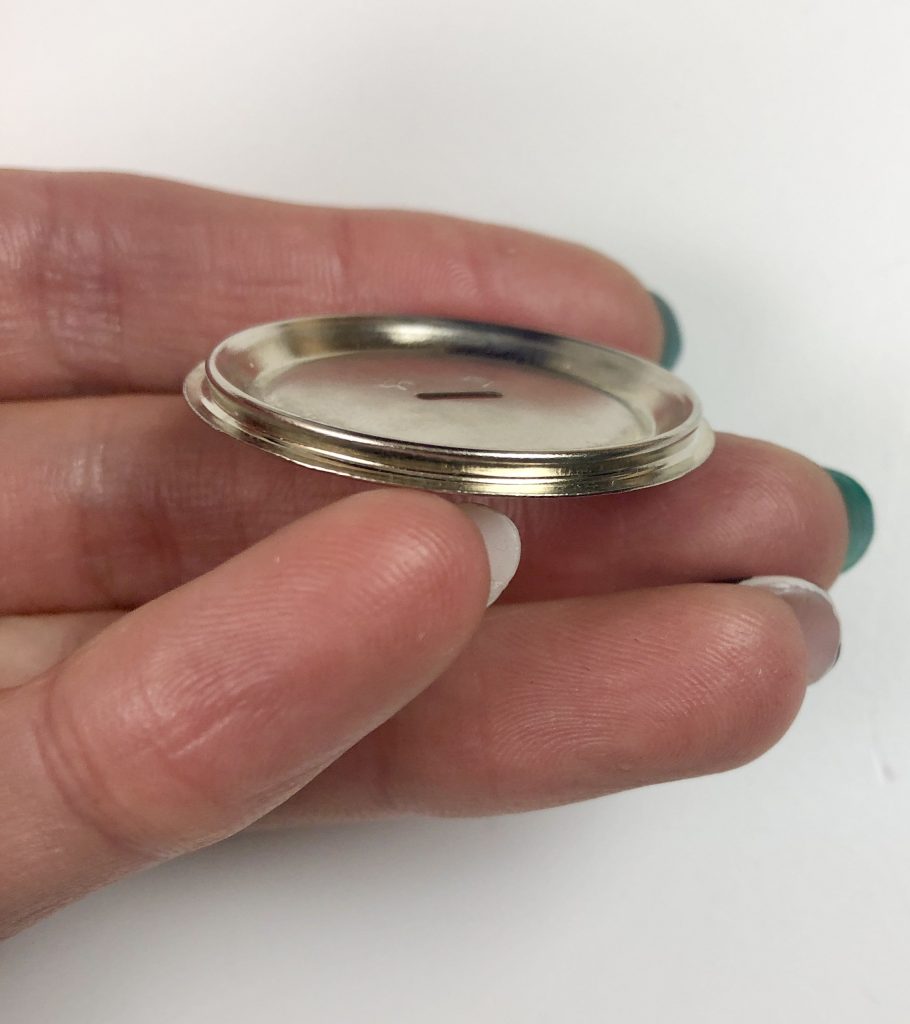
Take care when you’re purchasing the metal type and make sure that you are buying the right button for the right purpose – these are sold for both upholstery and dressmaking. The upholstery type have a longer shank (where you attach the button to the fabric).
Method 1 – Using a Self Cover Button Tool
This method makes the process much quicker and easier and is usually used with the plastic style buttons.
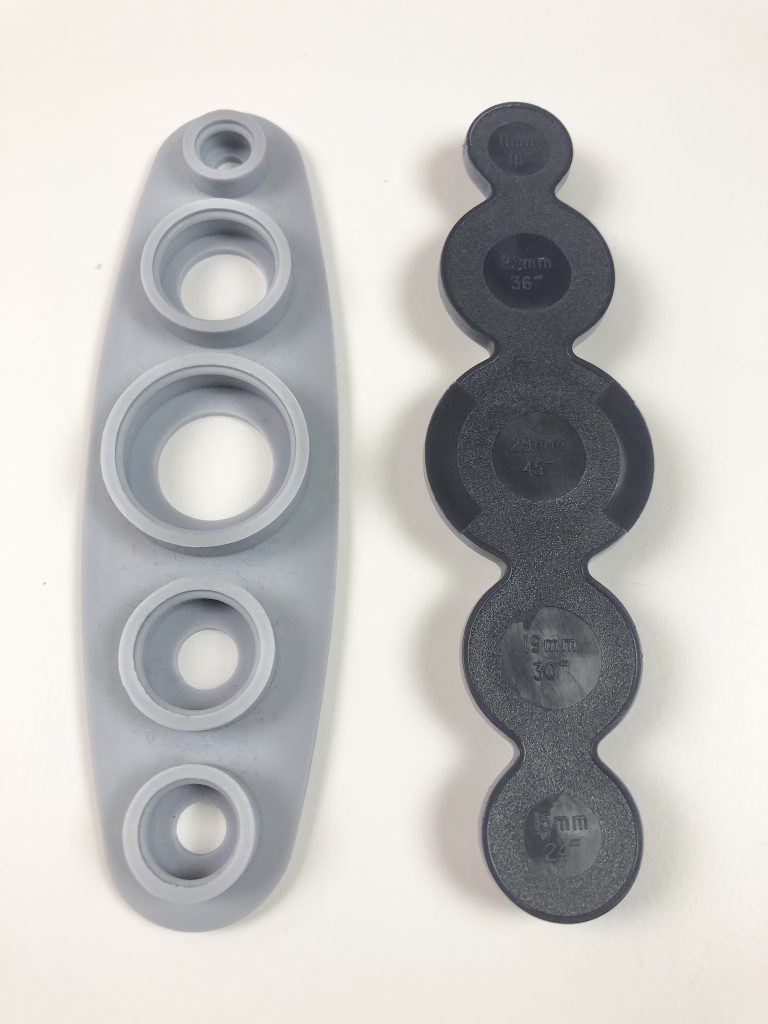
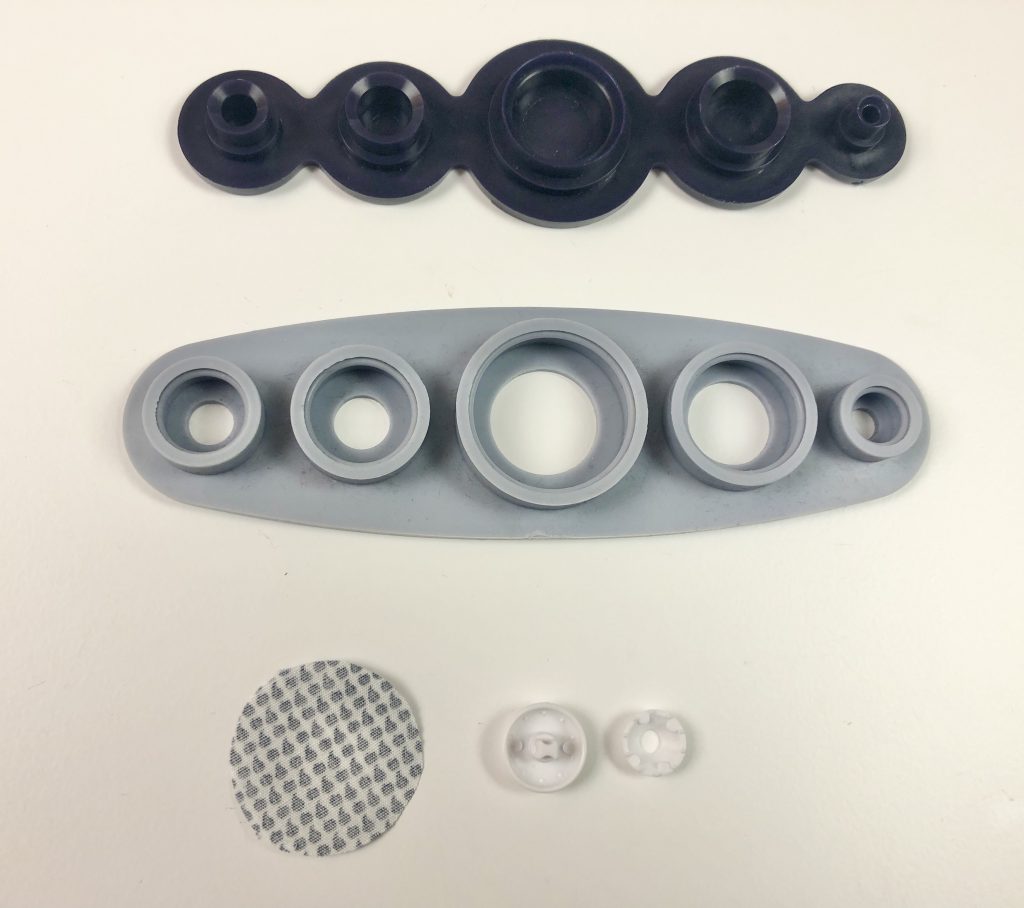
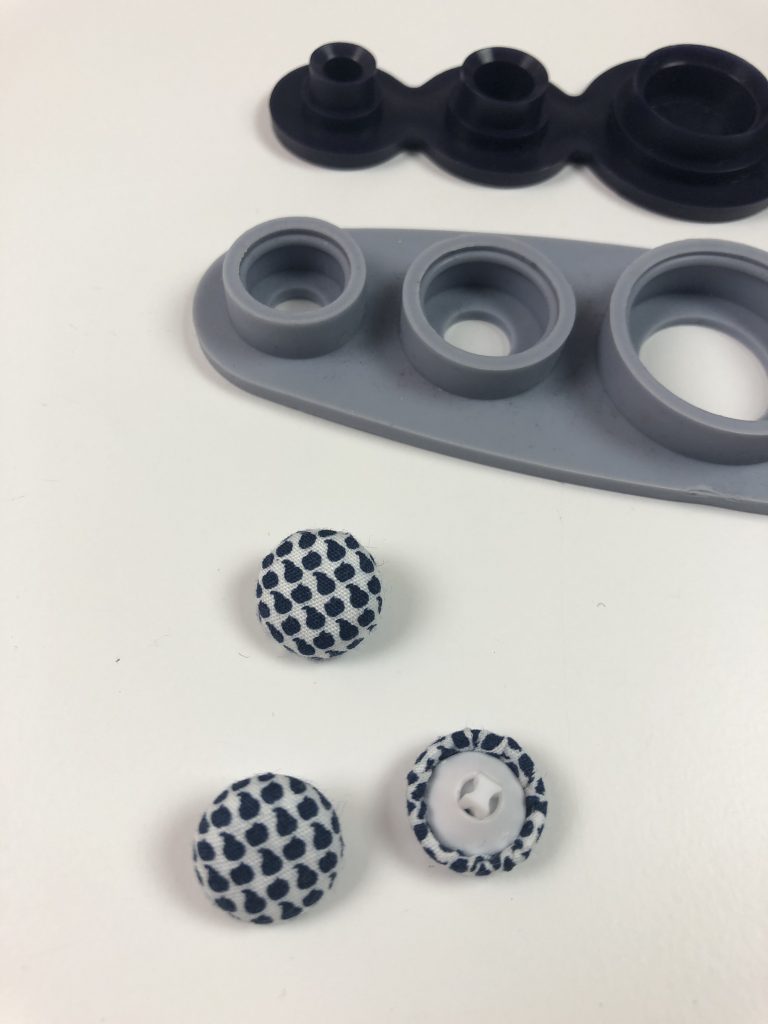
The Self Cover Button Tool shown here consists of two parts:
a soft silicone base (shown on the left) that the fabric and button top is inserted into,
and a corresponding hard plastic top (shown on the right) which is used to clamp the lower part of the button in place.
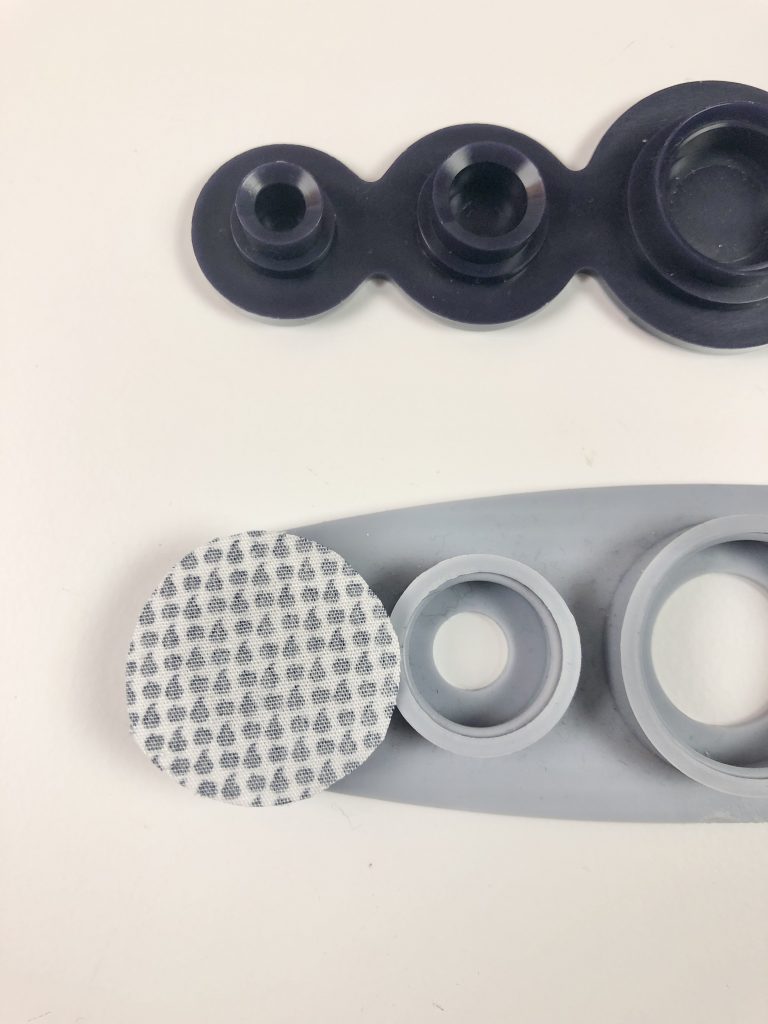
- Cut a circle of fabric that is approximately 1cm (3/8″) wider than the button all the way round.

2. Place the fabric face down over the hole on the silicone base that corresponds to the size of the button.
3. Place the button top face down on top of the fabric circle.
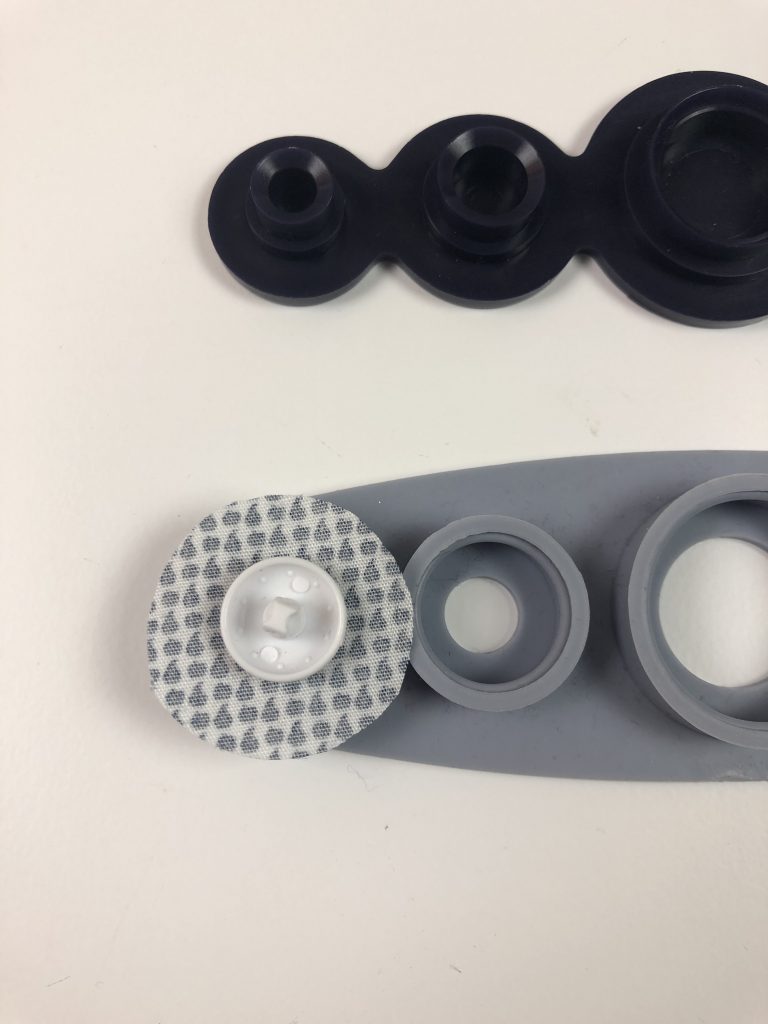
4. Push the button and the fabric into the silicone base.
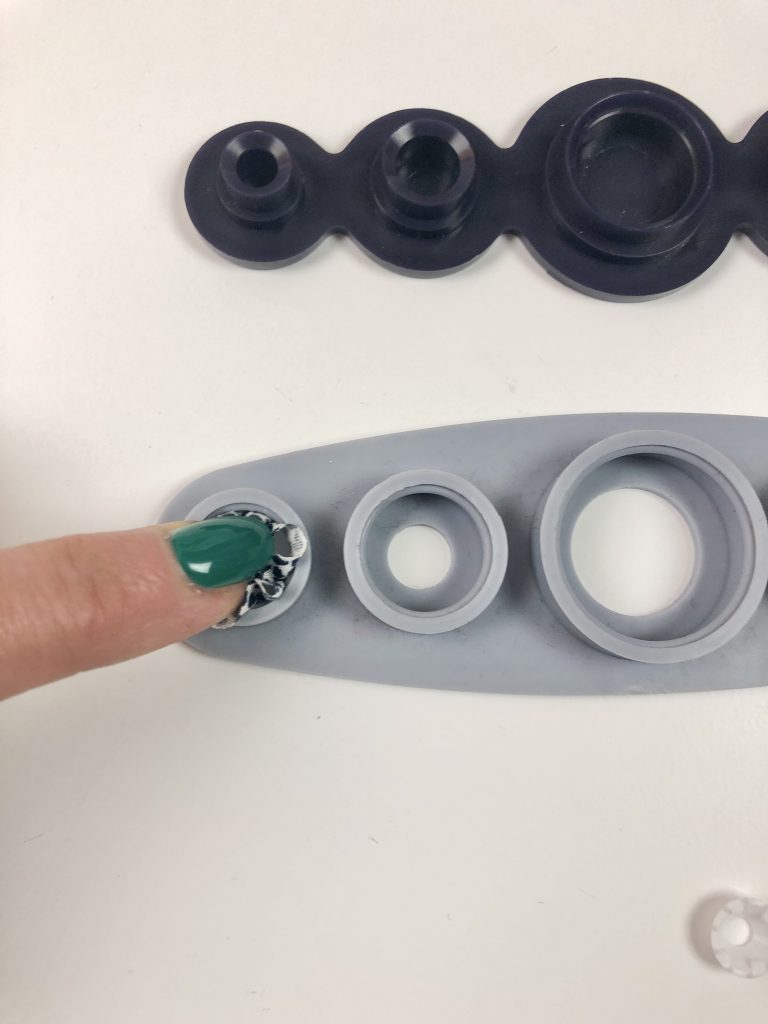
5. Use a screw driver, awl or other pointy tool to push the fabric into the silicone base.
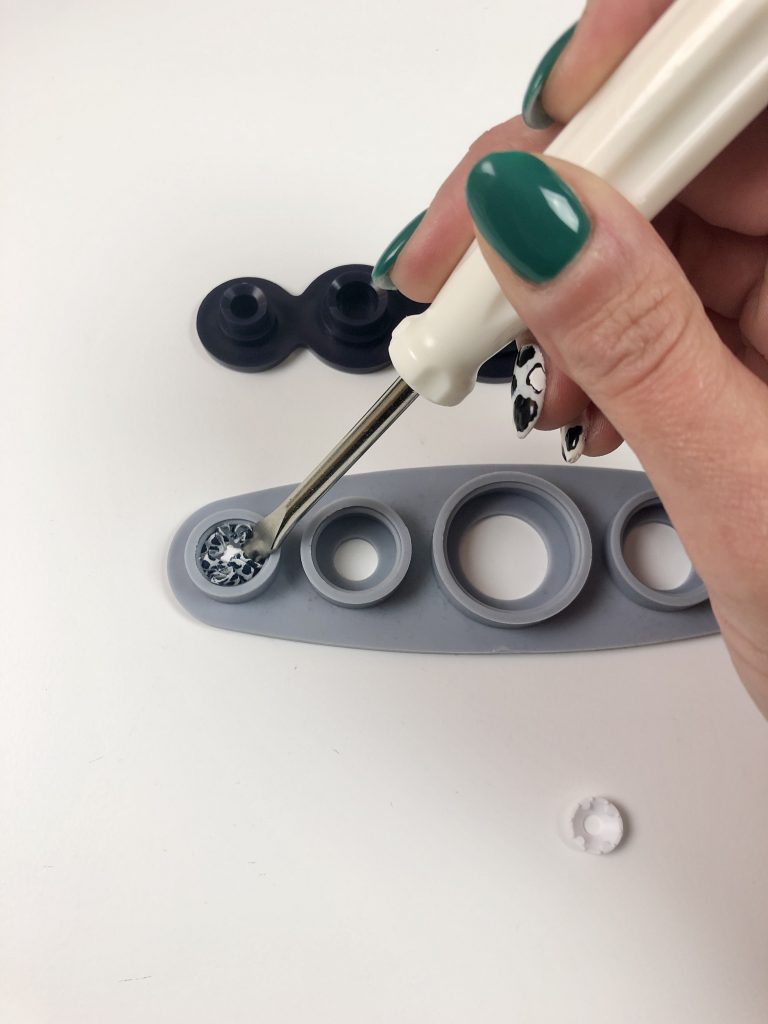
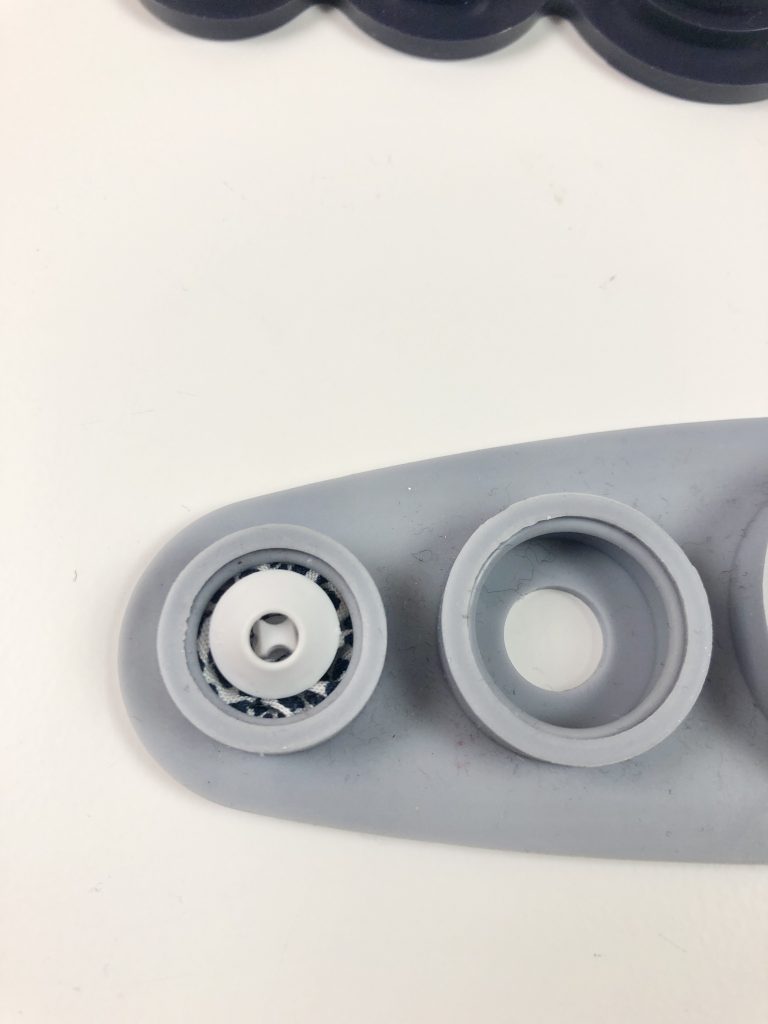
6. Place the bottom part of the self cover button into the silicone base, on top of the fabric.
Make sure that the fabric all sits inside the bottom part of the button.
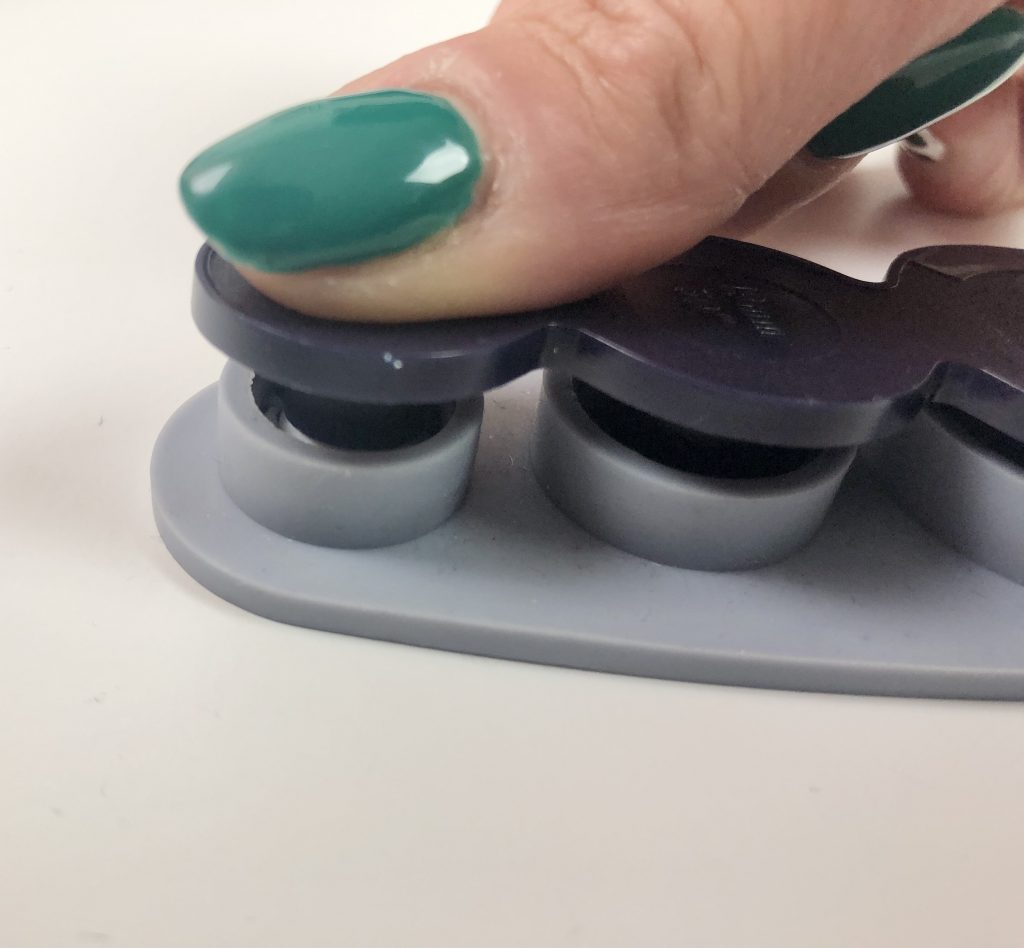
7. Take the hard plastic part of the self cover button tool and position the part that corresponds to your button size over the button.
8. Push the two parts of the tool together until the two button parts click together.
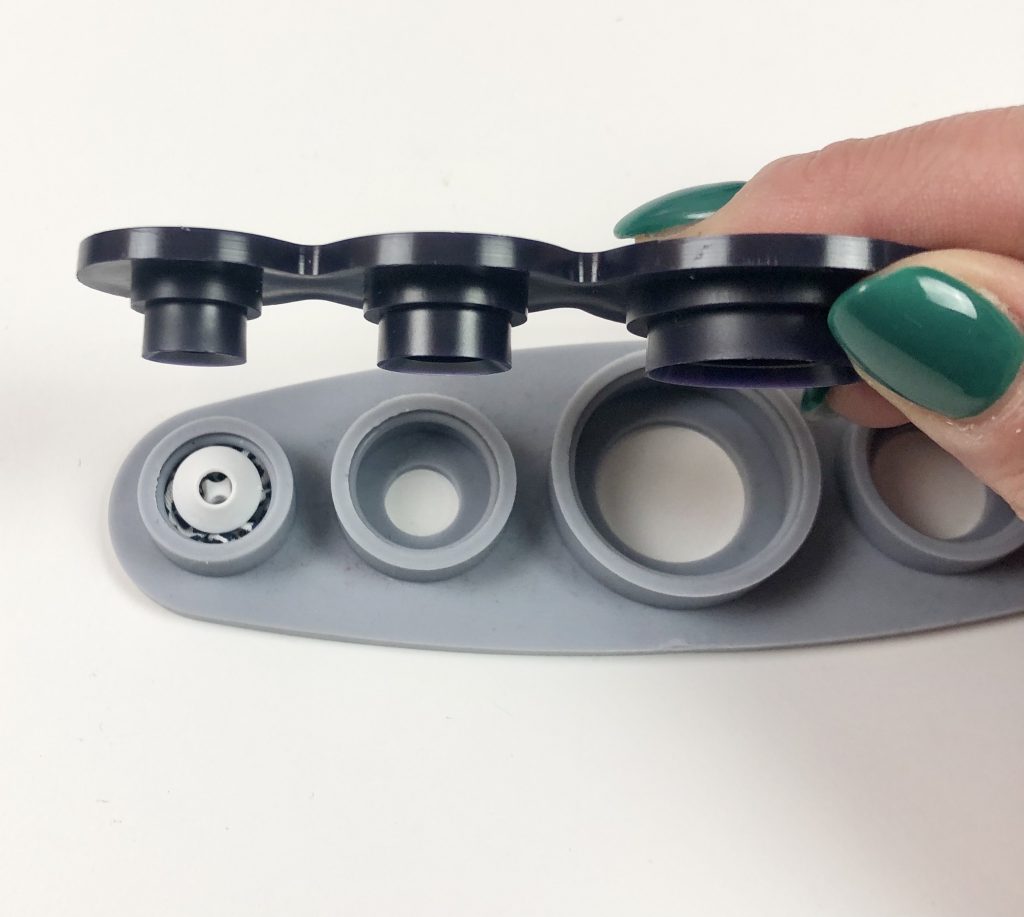
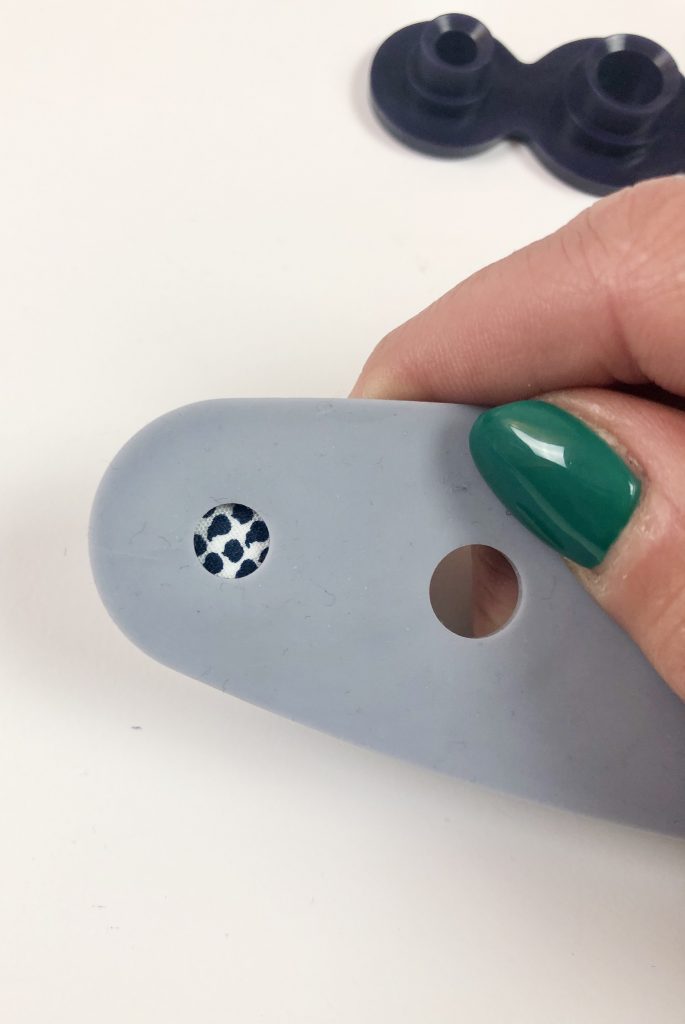
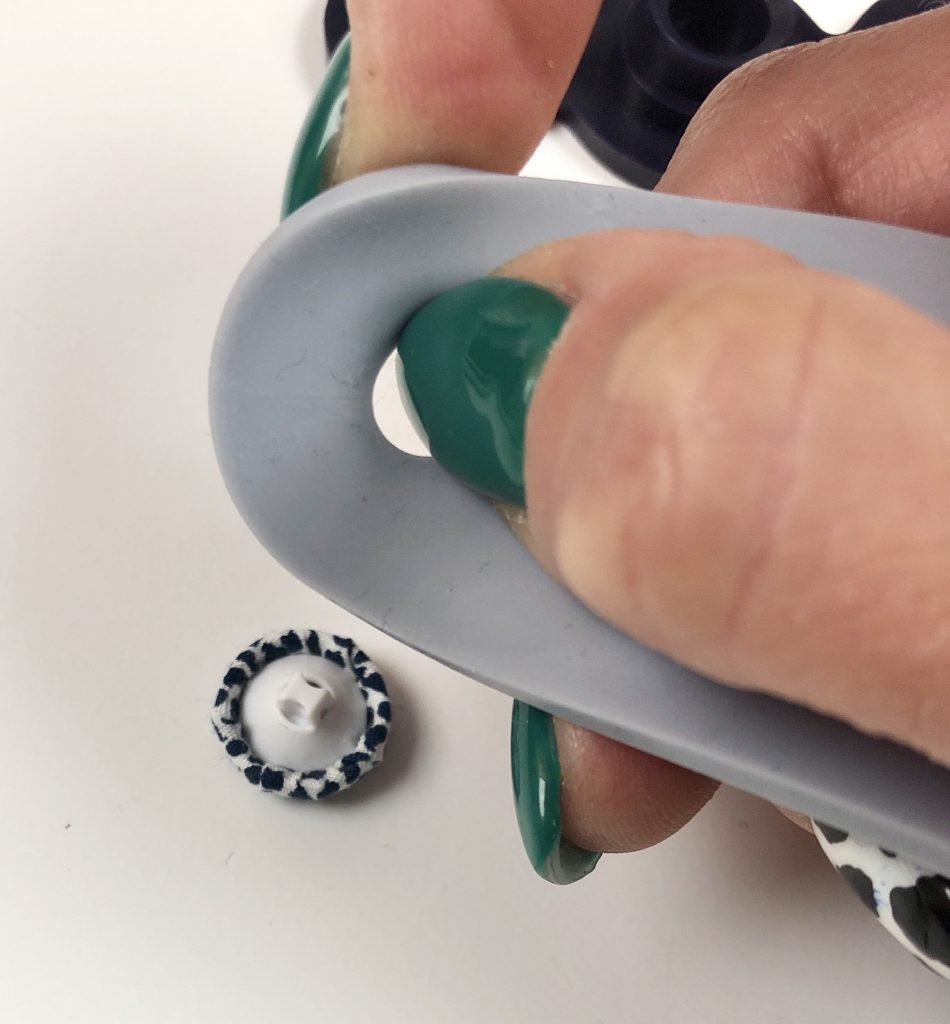
9. Turn the silicone base over and push the button out.
Method 2 – Using Hand Sewing Stitches to Gather the fabric Edge
This method can be used with both metal and plastic self cover buttons if you don’t have a self cover button maker tool.
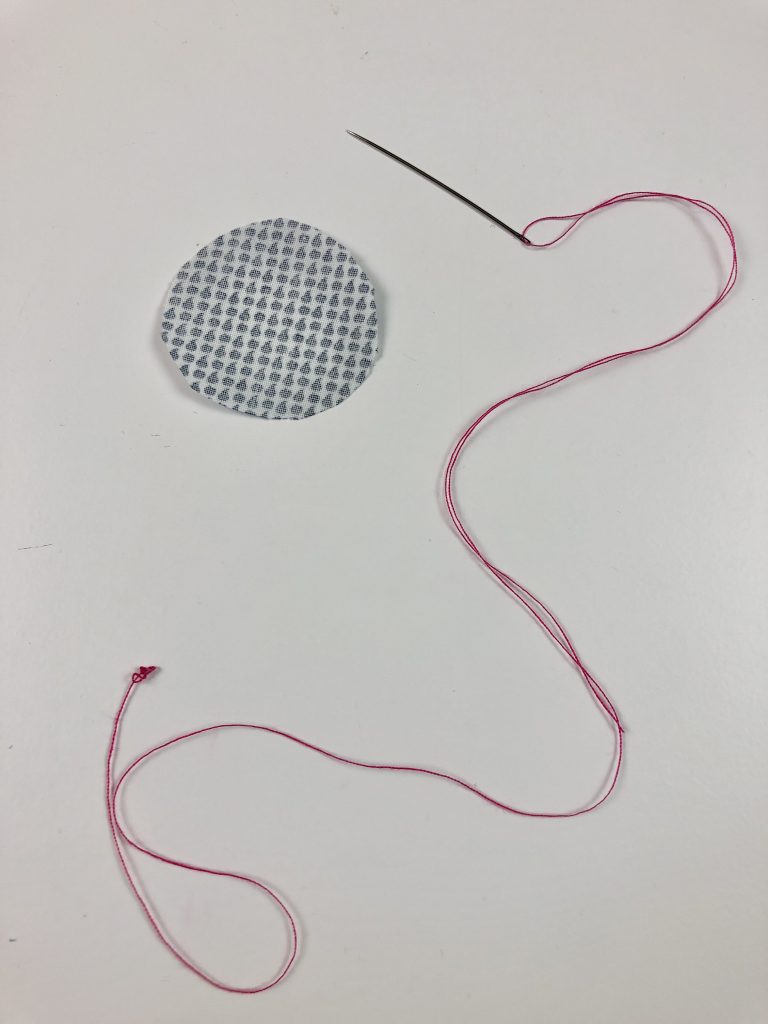
1. Cut a circle of fabric that is 1cm larger than your button, as shown in Method 1.
2. Take a needle and length of thread. Thread the needle and tie a knot in one end of the thread
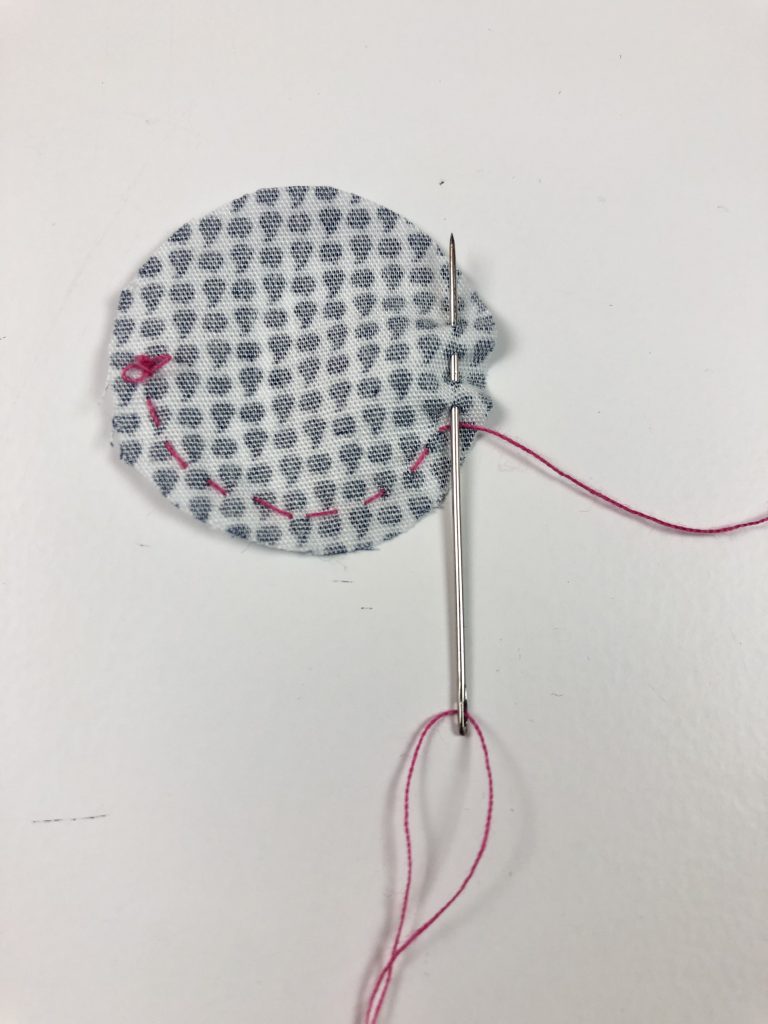
3. Working 3mm (1/8″) to 5mm (1/4″) from the fabric edge, make small running stitches all the way round.
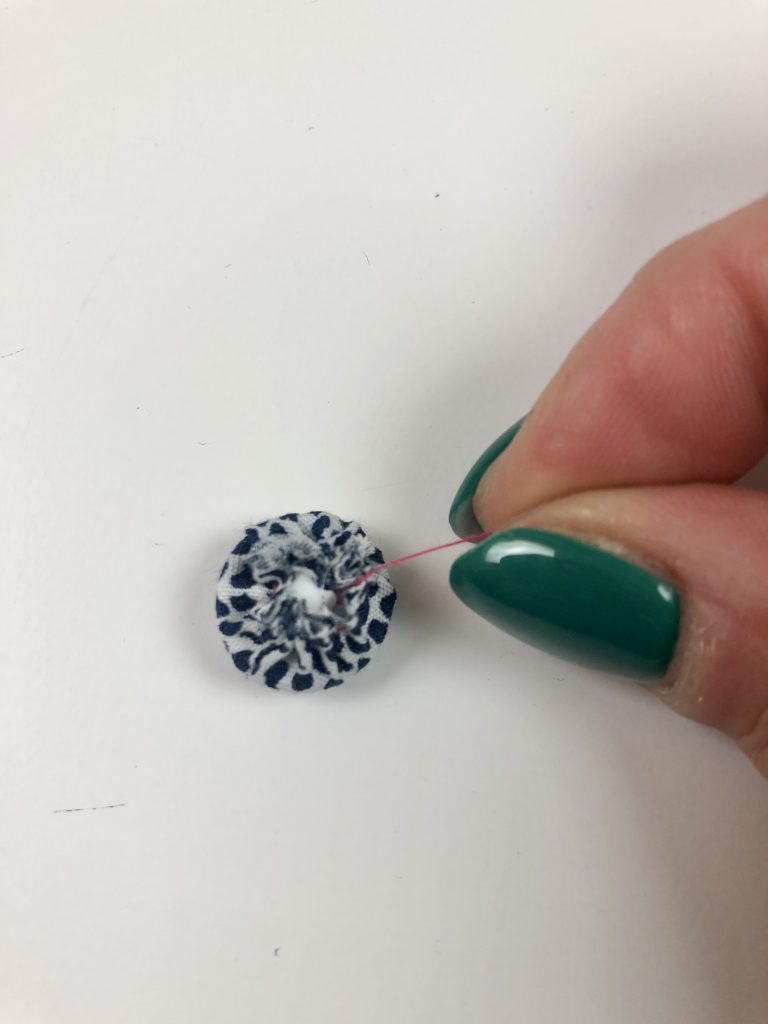
4. Place the button face down in the middle of the circle.
5. Pull on the end of the thread to gather the fabric around the button.

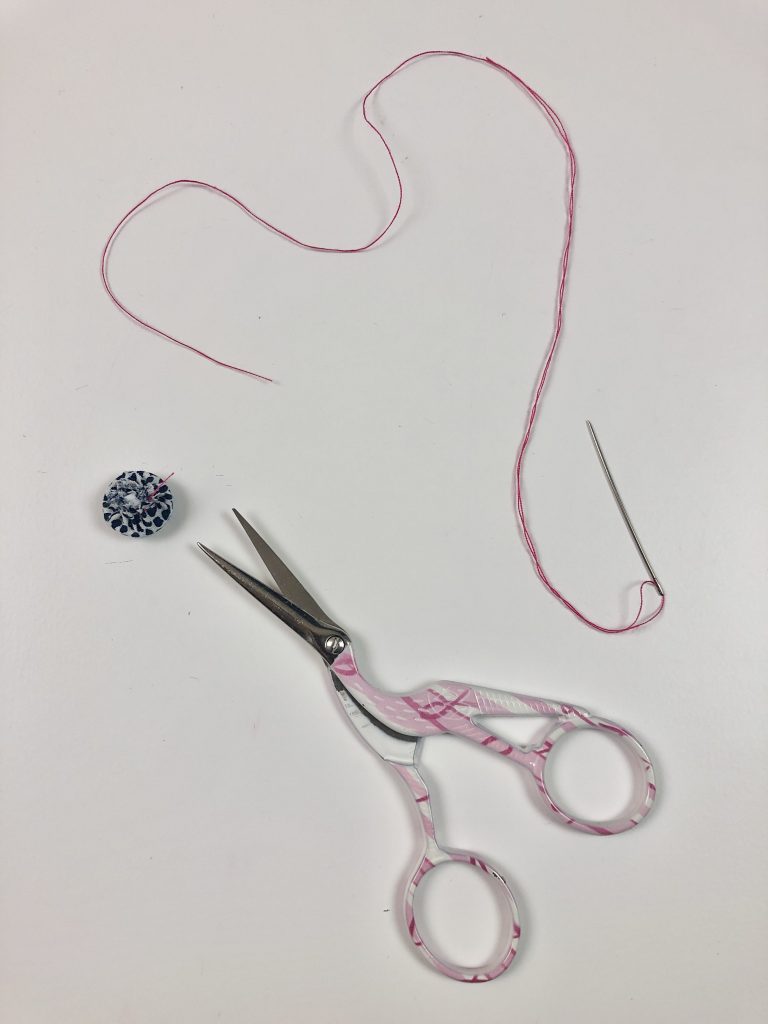
6. Cut the thread end.
7. Place the bottom part of the button on top of the fabric.
8. Squeeze the two parts of the button together until they click into place.
Method 3 – Covering Metal Self Cover Buttons Without a Tool or Hand Stitches
Metal self cover buttons have teeth on the underside of the button top. These teeth grab and hold the fabric in place, making it much easier to cover this type of button without the need for a self cover button tool or hand stitches.
Having said that, if you are covering a lot of these buttons you may find the sharp teeth start to dig into your fingers a little.
1. Cut a circle of fabric that is 1cm (3/8″) larger than your button, as shown in Method 1.
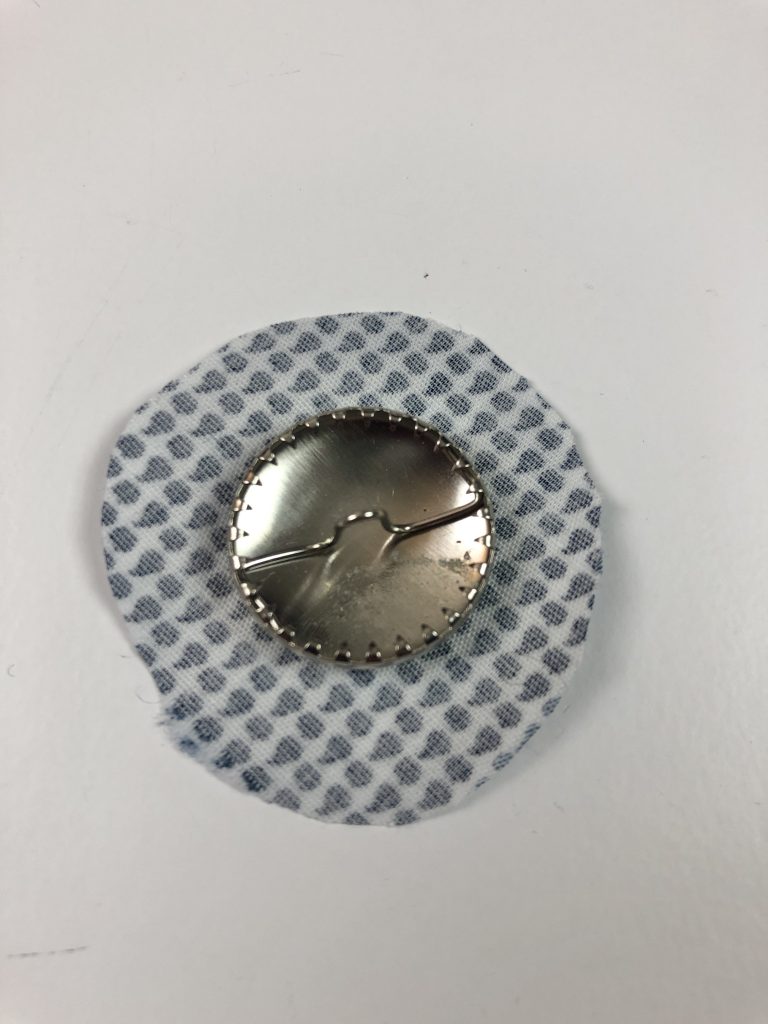
2. Place your button face down in the centre of the circle.
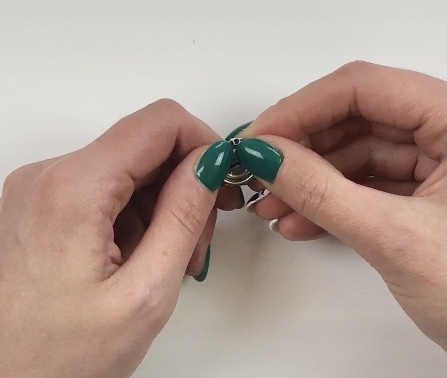
3. Use both hands to wrap the fabric around the button and anchor the fabric onto the button’s teeth.
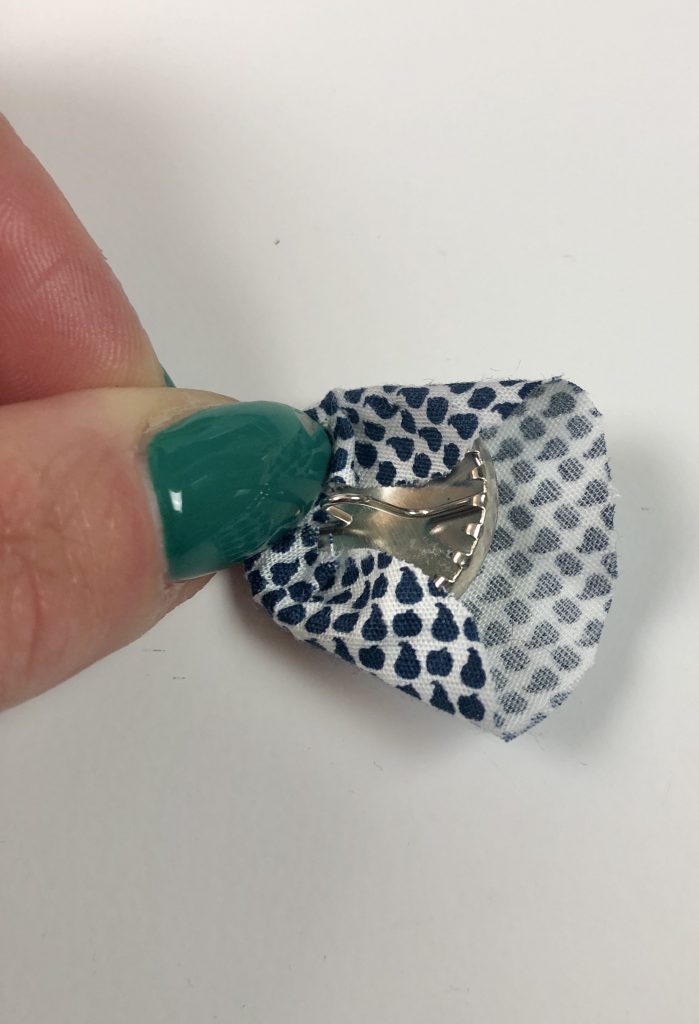
4. Continue wrapping until the button is covered and the fabric held in place by the teeth.
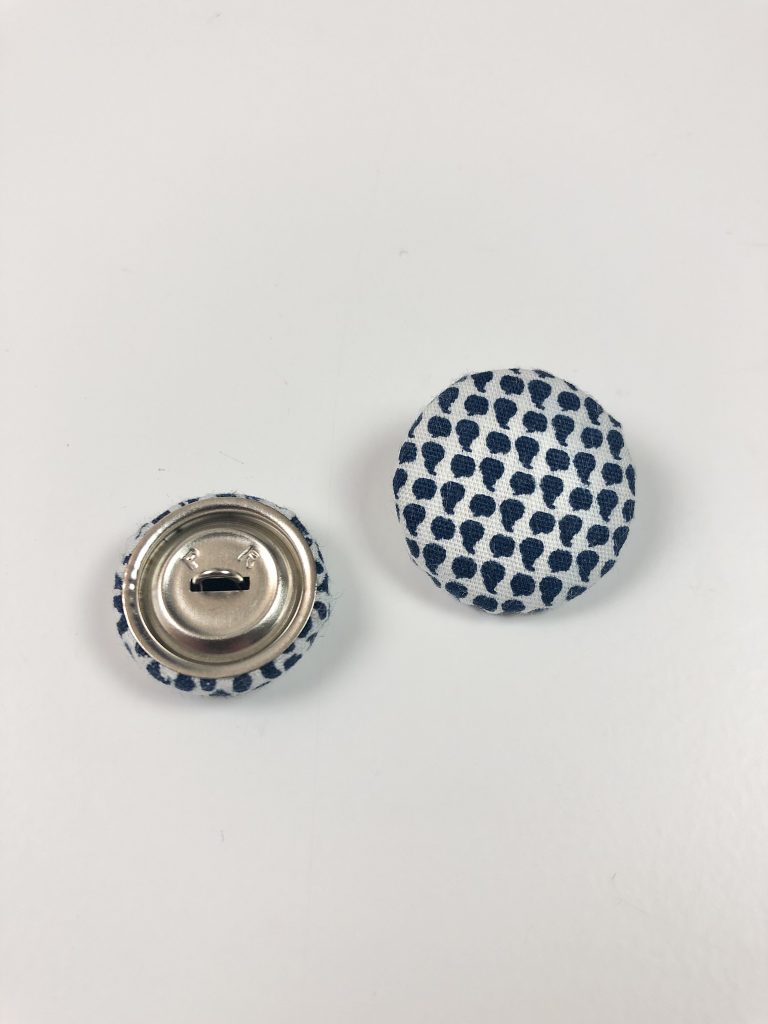
5. Place the bottom part of the button on top of the fabric so the rim side is facing down.
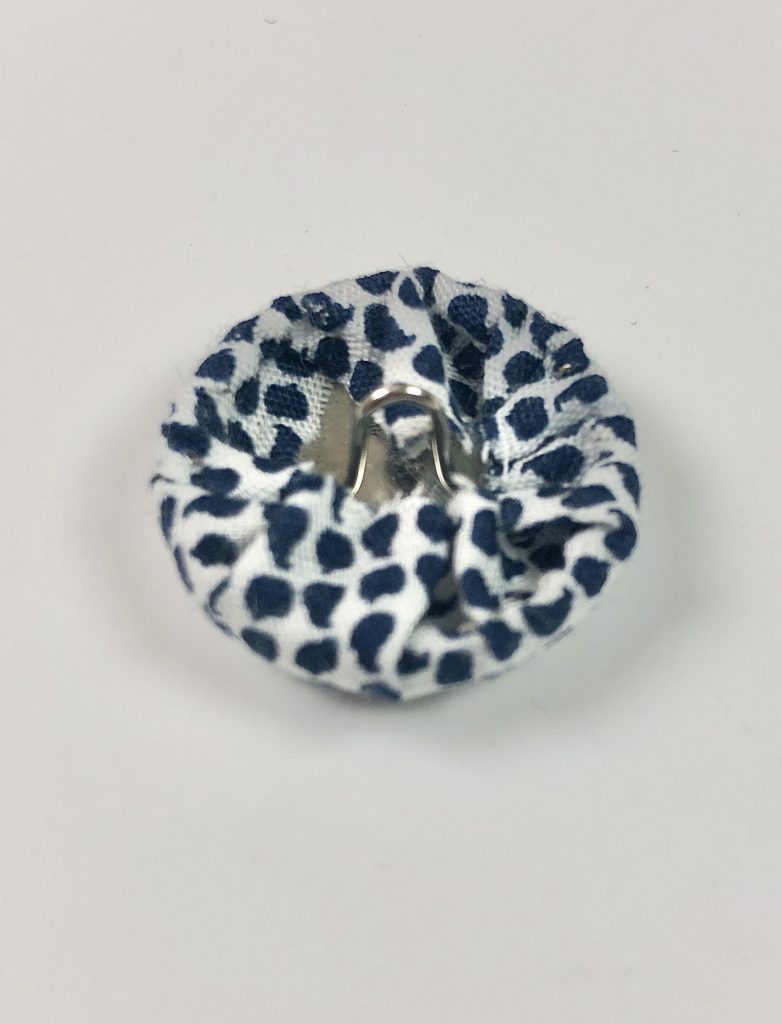
6. Squeeze both parts of the button together until they click into place.
I hope you found this tutorial useful.


2 thoughts on “How to Cover Buttons with Fabric”
Pingback: Esther Tunic Top - Julia Hincks | House of Miss Sew
Pingback: The Dayo Dress - Julia Hincks | House of Miss Sew
Comments are closed.