After the success of my first pair of espadrilles I couldn’t wait to make some more!… clearly my enthusiasm did not amount to me getting on with making them…it’s only taken nearly a year to get round to it – the last pair I made for a friend’s wedding in July 2017 and I’ve just finished making my second lot in March 2018… I’m a bit slow!
This new pair were a 40th birthday gift for my friend… they are only 4 months late so I’m hoping they are worth the wait! Emily had seen my original espadrilles on Instagram and asked if I’d make some for her… since she asked nicely – and it was her birthday, I said yes!!
I wanted to make sure they would be exactly what she wanted … she wanted green… ‘a dark forestry green – some kind of tree/leaf theme would be ace’ so that was my brief… in a UK size 7
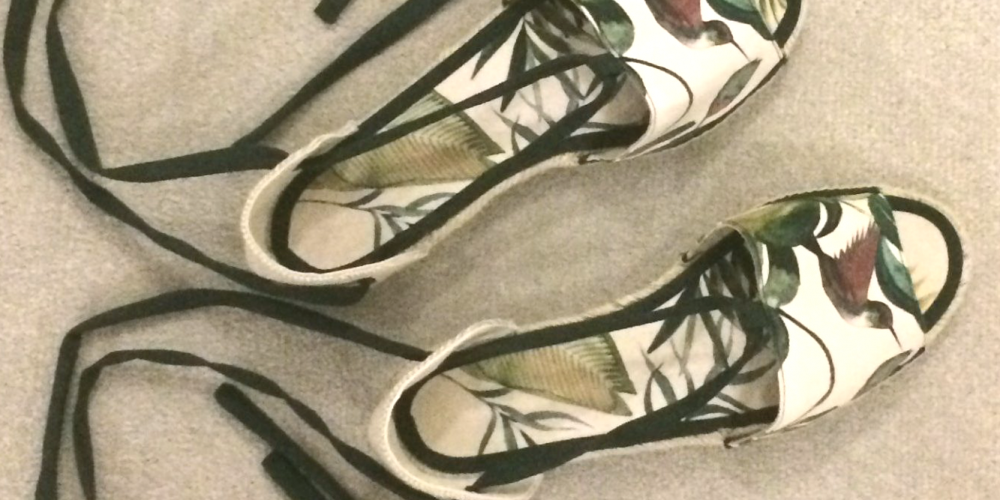
I sent her a few choices of fabric that I’d found and we settled on this Savannah cotton lawn from Fabric Godmother
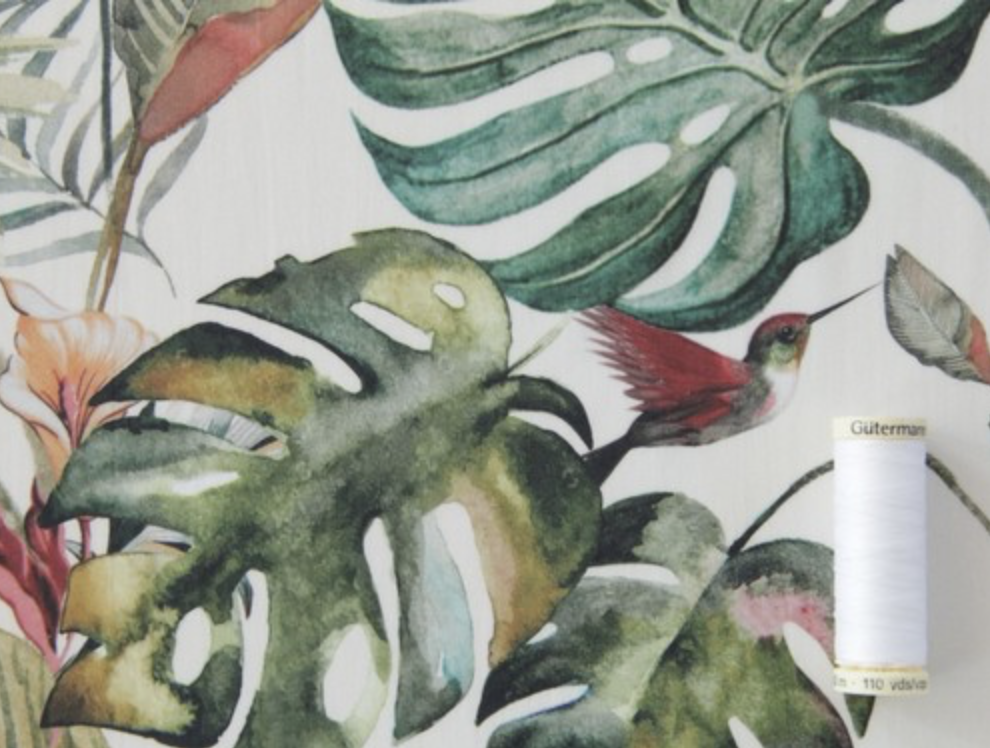
As a cotton lawn it’s lightweight and would need interfacing to stiffen it up and make it more suitable for purpose, but I thought it would work well and Emily loved the hummingbirds… I was really hoping that I could pull this off.
I thought I’d base the style of the espadrilles on my first pair – open toe with laces. I found that my shoes had come up too big so I bought the soles a size smaller than needed.
I got all my supplies from Minerva Crafts:
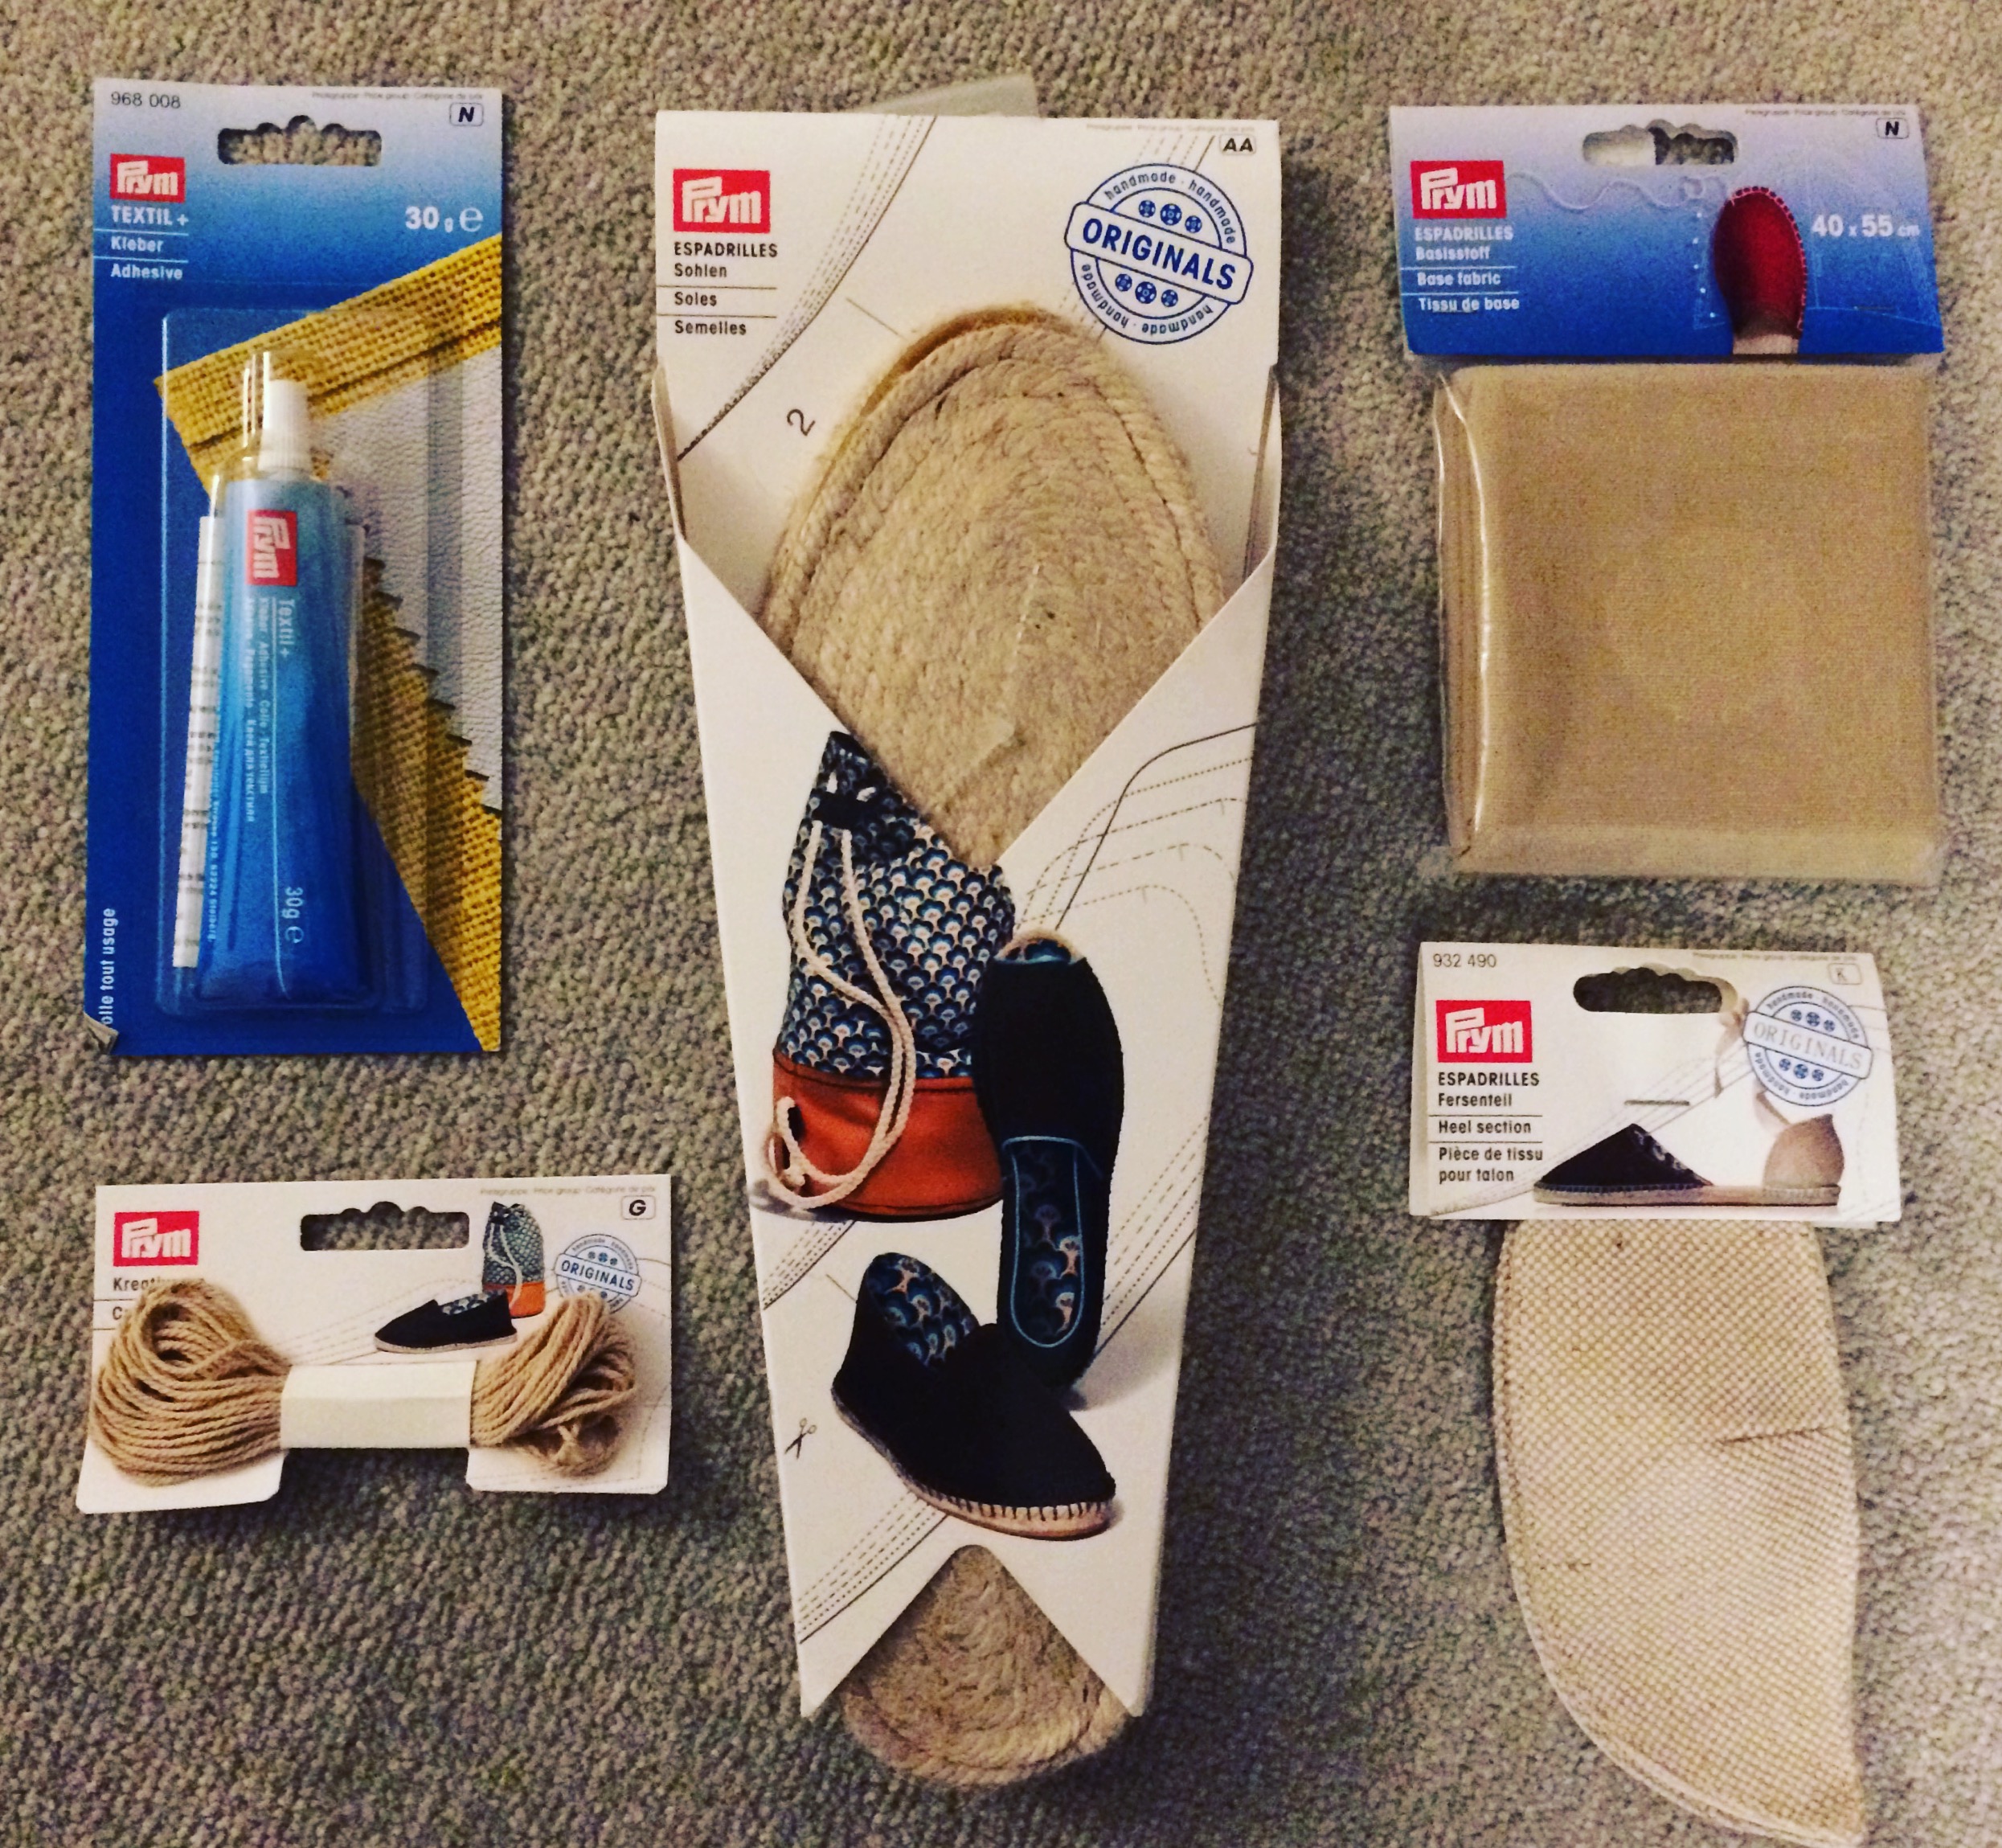
Base fabric – strong canvas fabric for the shoe part £4.59
‘Creative yarn’ – thick thread for hand stitching £2.29
Espadrilles heel section £2.69 for a pair
I could make these in a simple way and make them in an hour or so… but why would I??! I have a tendency to make things overcomplicated… and this was no exception…
I had a template for open toes shoes from the ‘Espadrille Classic Pattern & DVD’ that I’d previously tested for Minerva Crafts. (You can read about that here)
I amended the shape slightly, opening the toes section up to reveal a bit more toe and curving the inner foot part a little more.
I wanted to use some of the Savannah lawn on the soles and also to form the front part of the shoe. I cut out 3 options for the front part of the shoe and sent them to Emily:
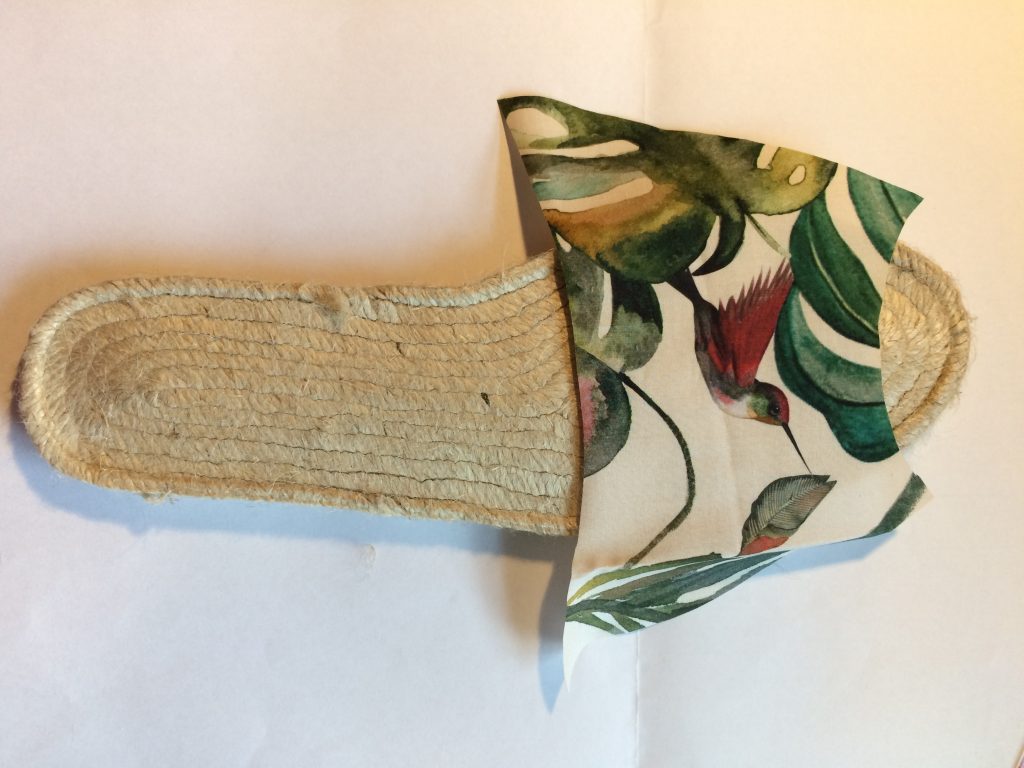
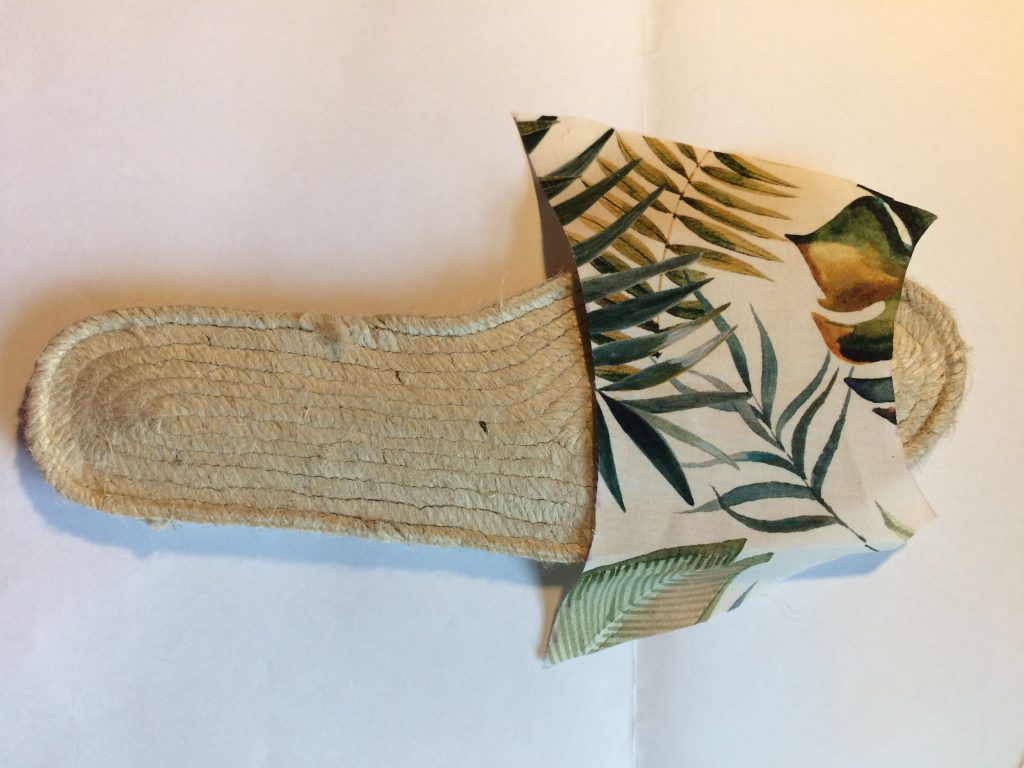
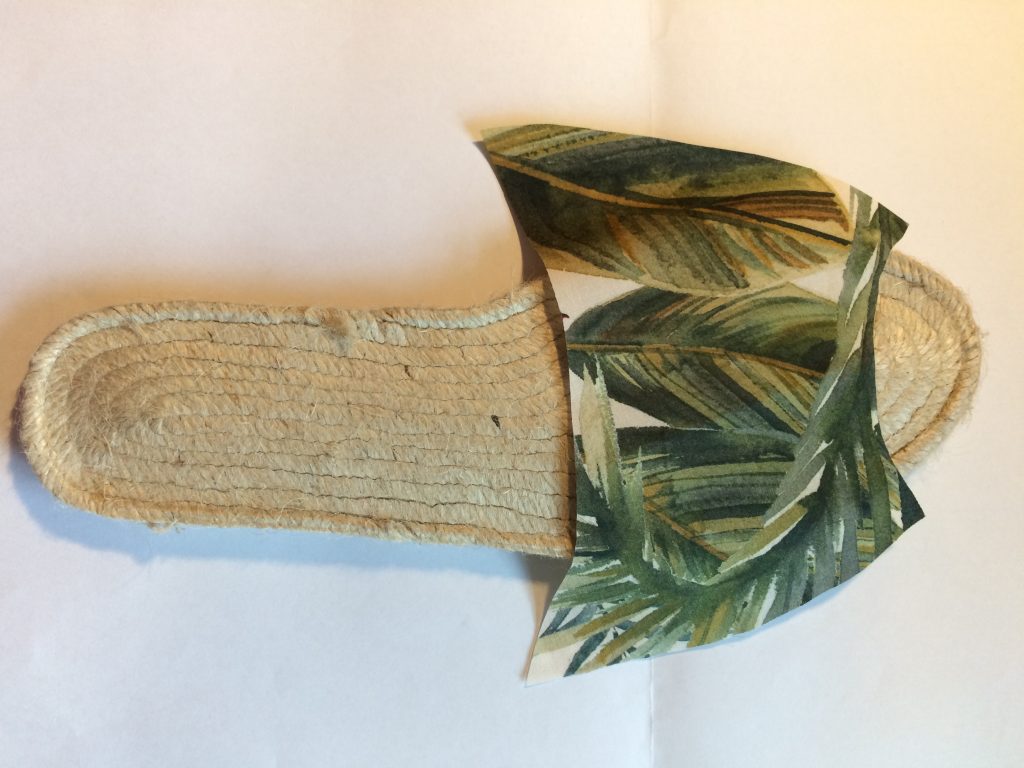
She chose the top option – the hummingbirds, and was quite happy to have them looking up at her, rather than facing away.
I began work on the soles: I drew around the sole to create a template for my fabric base, cut off approx 5mm all the way round and then cut out a pair from the cotton lawn and a pair from the base fabric. I fused the two fabrics together using Bondaweb (from my own supplies). You can buy iron on grey lining fabric which I’d used on my first pair, instead of Bondaweb, to add stiffness to your chosen fabric, it’s essentially like heavy weight coloured interfacing.
When I made my first pair, after wearing them twice, the fabric that I’d stuck to the soles began fraying and coming away from the base, so this time I thought I’d apply bias binding around the edge. I’d bought some dark green 25mm bias binding to create the laces / straps and had some excess to use.
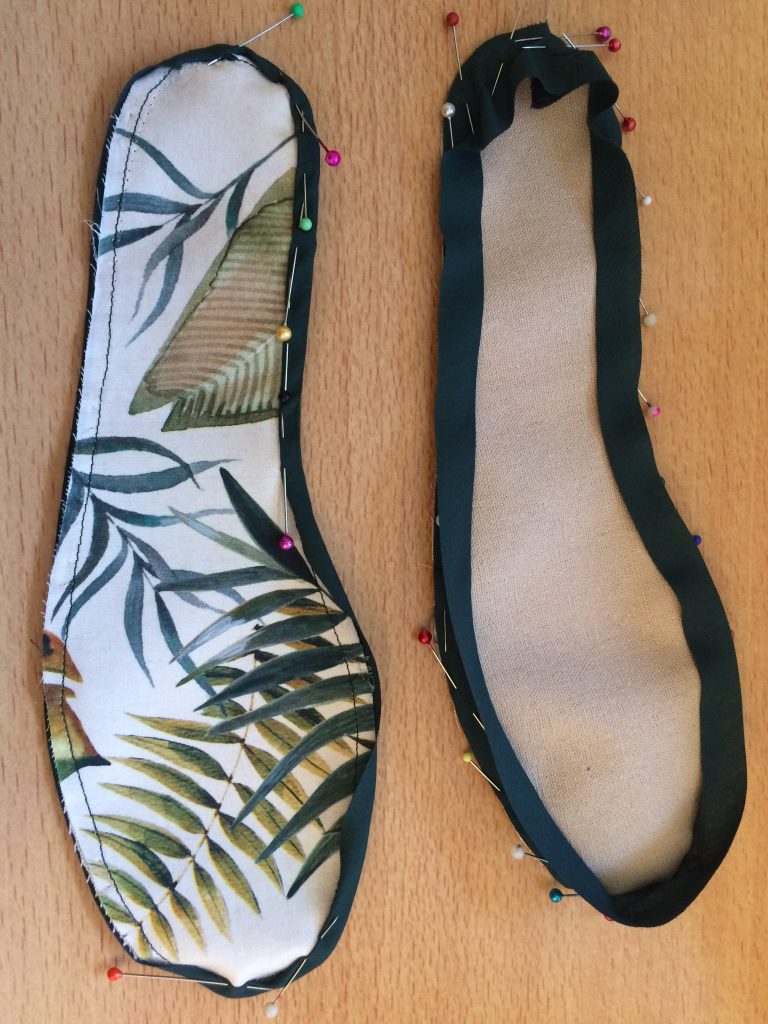
I like to apply bias binding in 2 steps, applying it first to the wrong side of the fabric and then folding it to the right side and stitching again.
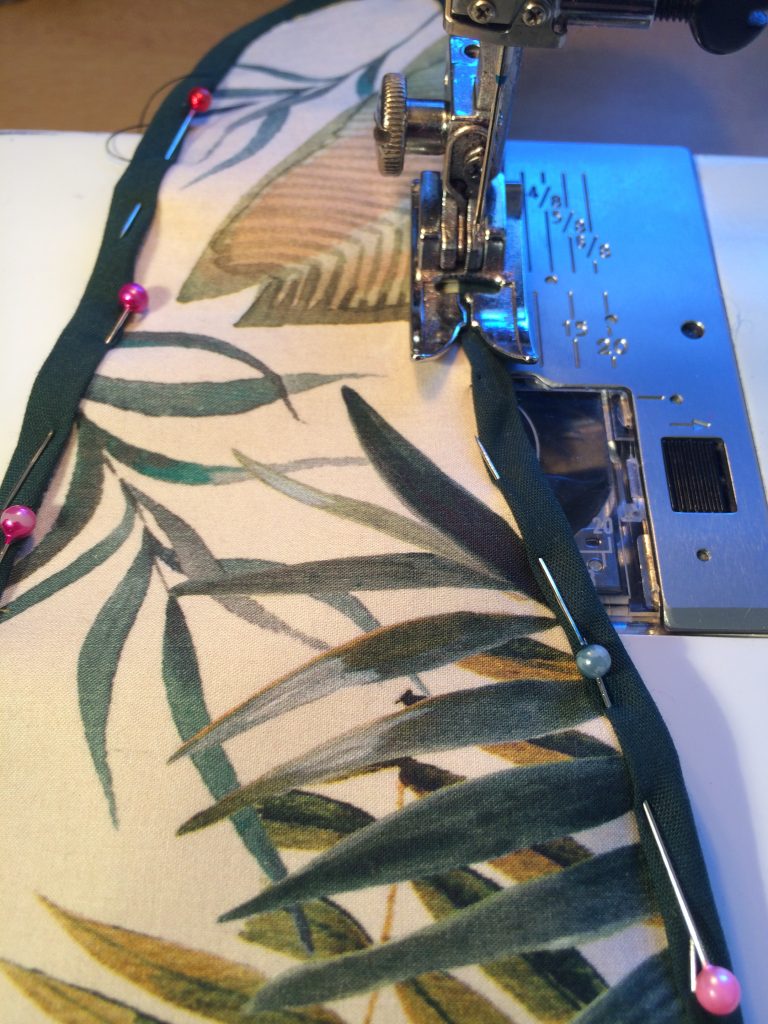
This was rather fiddly but I’m really pleased with the finished result:
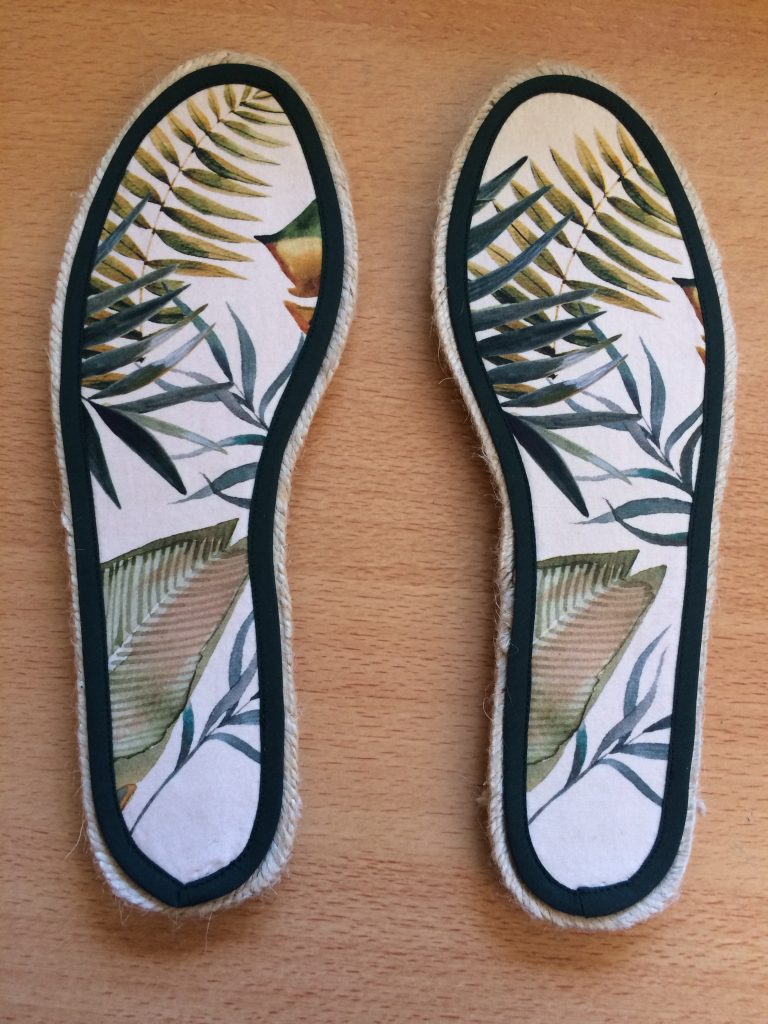
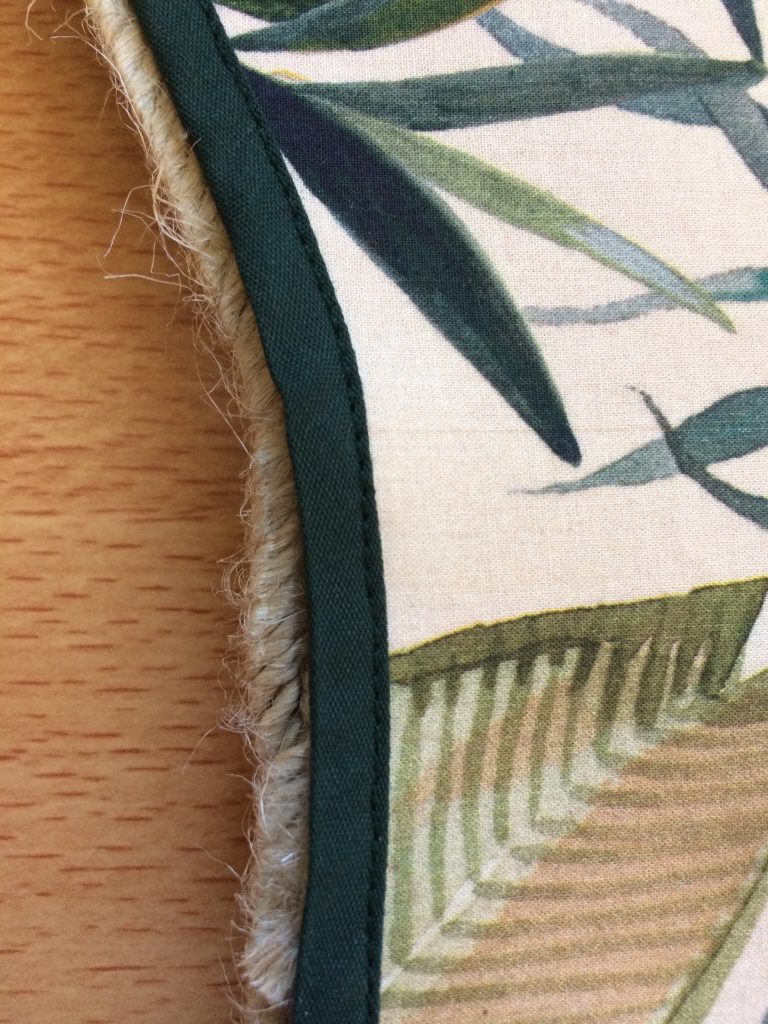
The fabric was glued to the espadrille soles using the textile glue (quite a good helping of this) and then left to dry overnight.
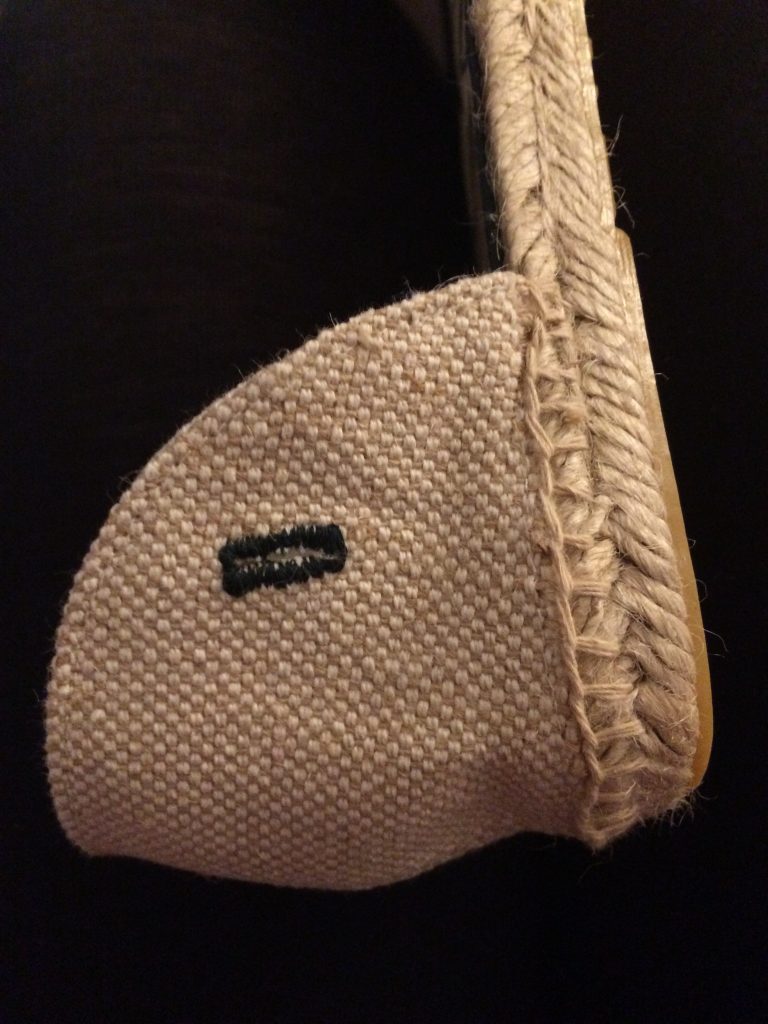
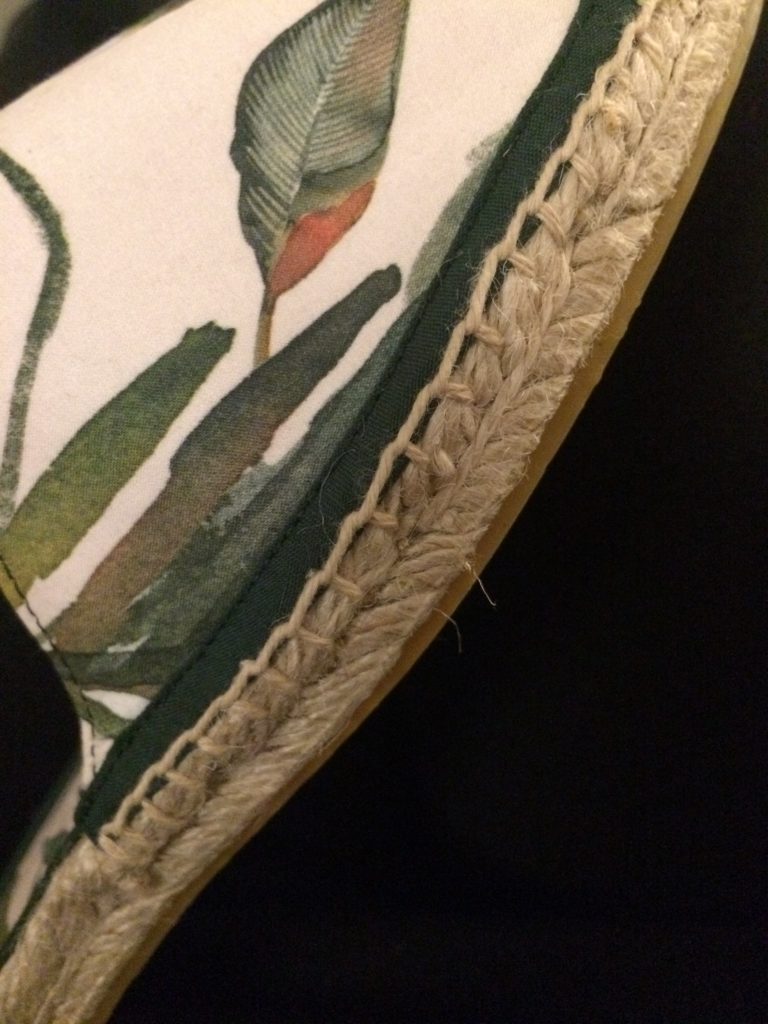
The next step was to create holes in the heel section to feed the laces through – I used the buttonhole setting on my machine for this, sewing a really small buttonhole on the shortest stitch length. I sewed them twice, one on top of the other, to add extra strength, before cutting the hole in the fabric. The heel sections were then pinned in place and stitched on using the creative yarn, a large eyed yarn needle and blanket stitch.
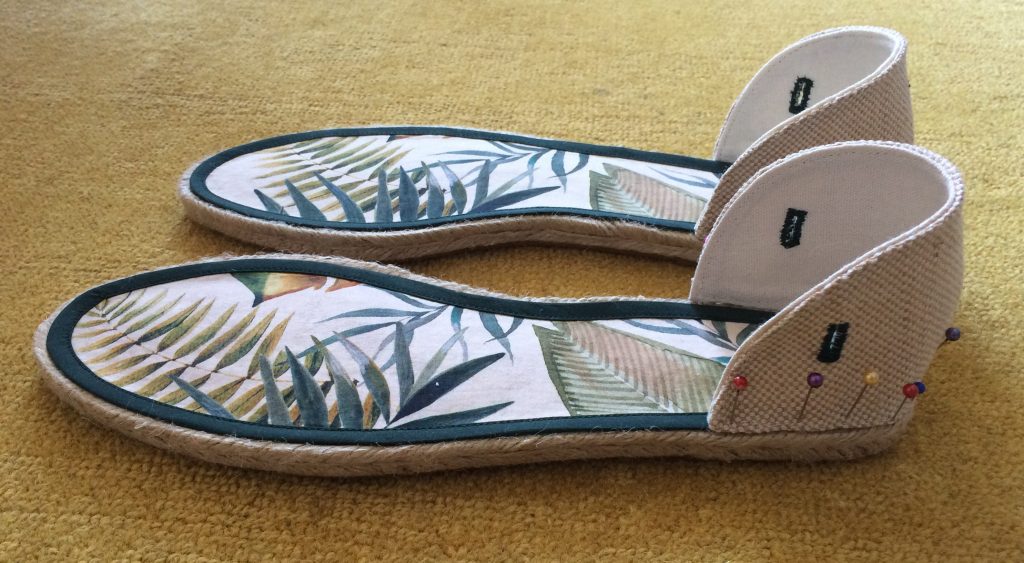
Then to form the front part of the shoe: I applied medium weight interfacing (from my own supplies) to the back of the cotton lawn and then cut out the same shape in the base fabric.
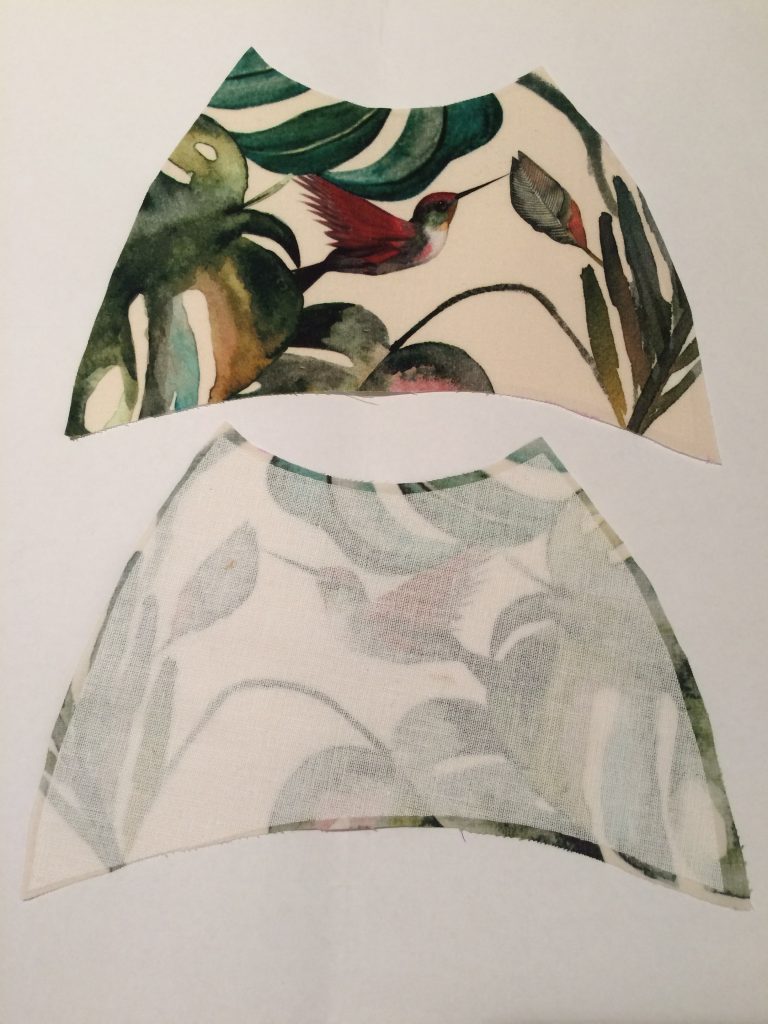
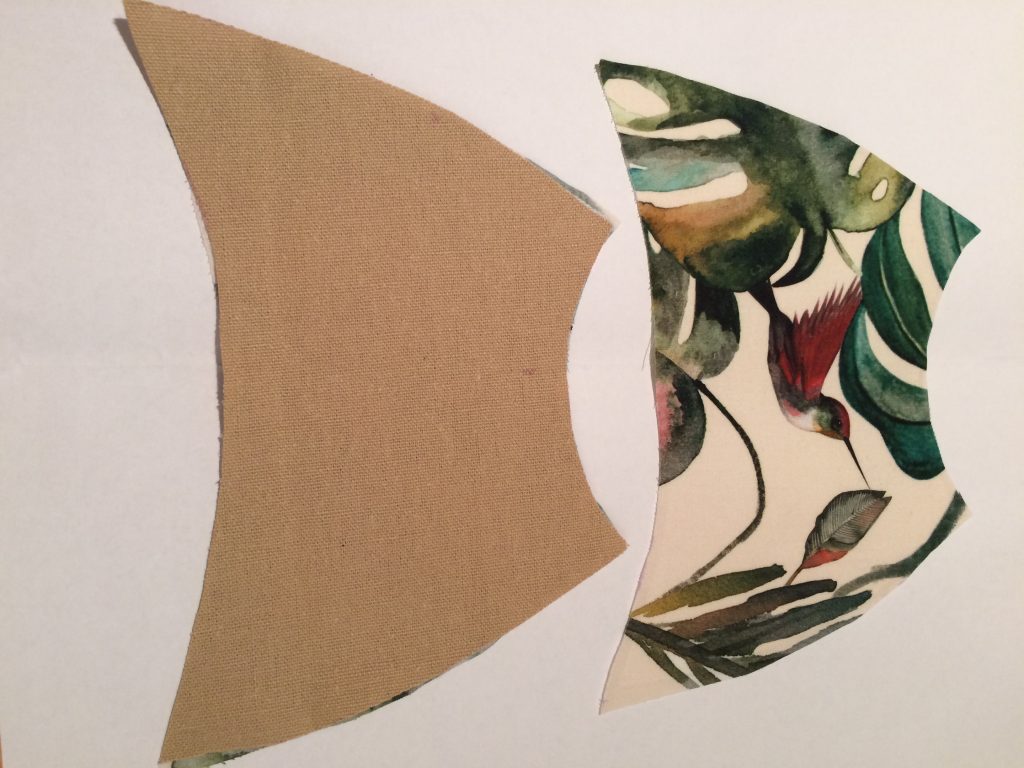
I created a small loop tab using the bias binding and placed this in the centre of the foot section. With the two front pieces right sides together I stitched the curved sections (toe end and foot end) and then turned right side out. I top stitched the toe and foot ends and then applied bias binding to the remaining raw edges. I think next time I will avoid binding the remaining sides and stitch 3 sides on the sewing machine, turn this and then fold in the remaining seam allowance and top stitch.
Next, I pinned the front parts in place and stitched them on using the creative yarn and blanket stitch.
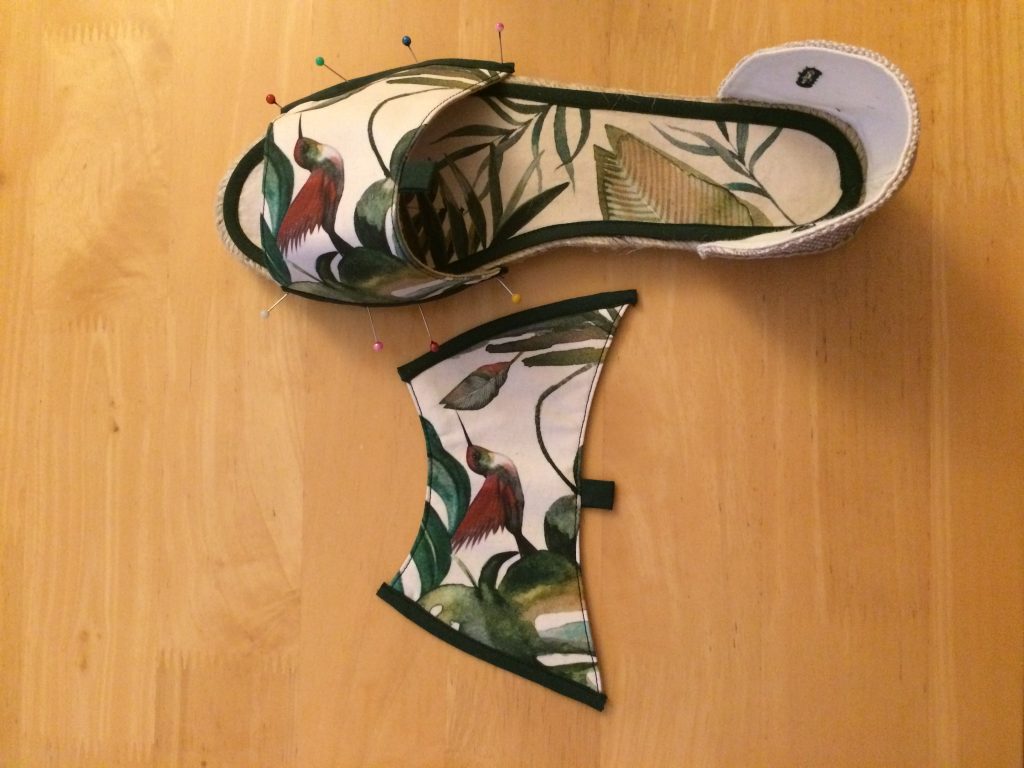
The final stage was to create the laces – I used approx 1m of bias binding for each shoe. I opened the bias binding out flat, then folded it right sides together and stitched along the crease, approx 10mm from the raw edge:
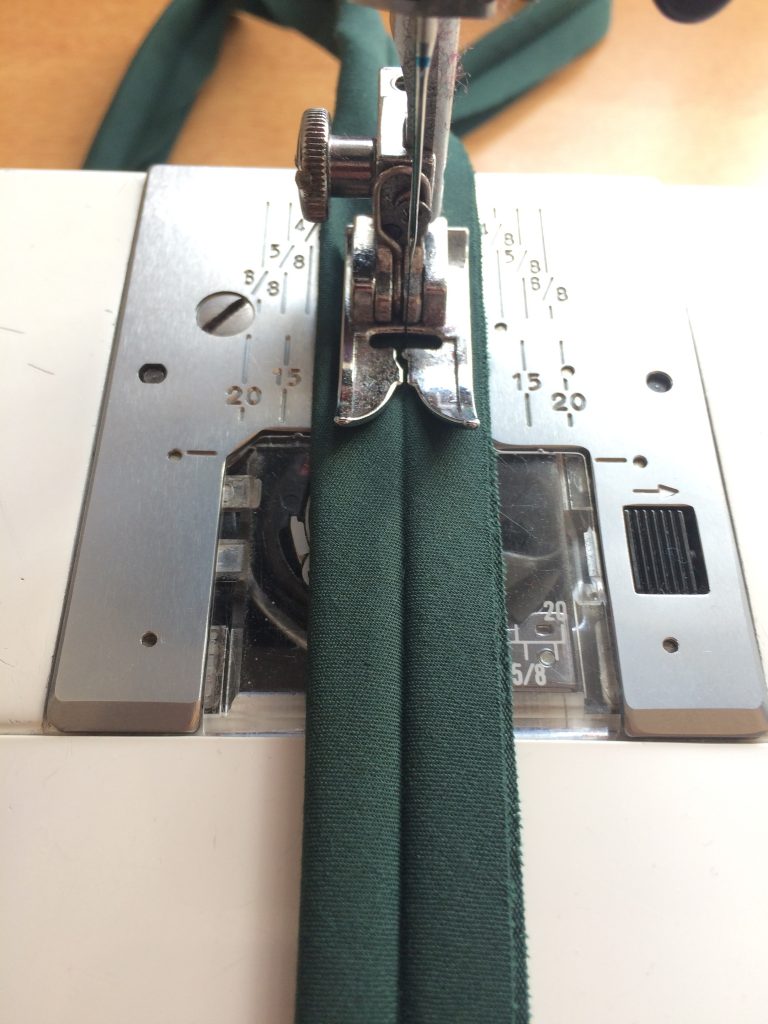
This was then turned right side out. The raw edges were pushed inside the tube and hand finished. When I’ve created lacing using this method before, I’ve read that sometimes the seam allowance is trimmed before the tube is turned. I didn’t trim and find that the seam allowance helps to fill the tubing and create a fatter lace.
The lace was added to the shoe and they were ready to wear!!!
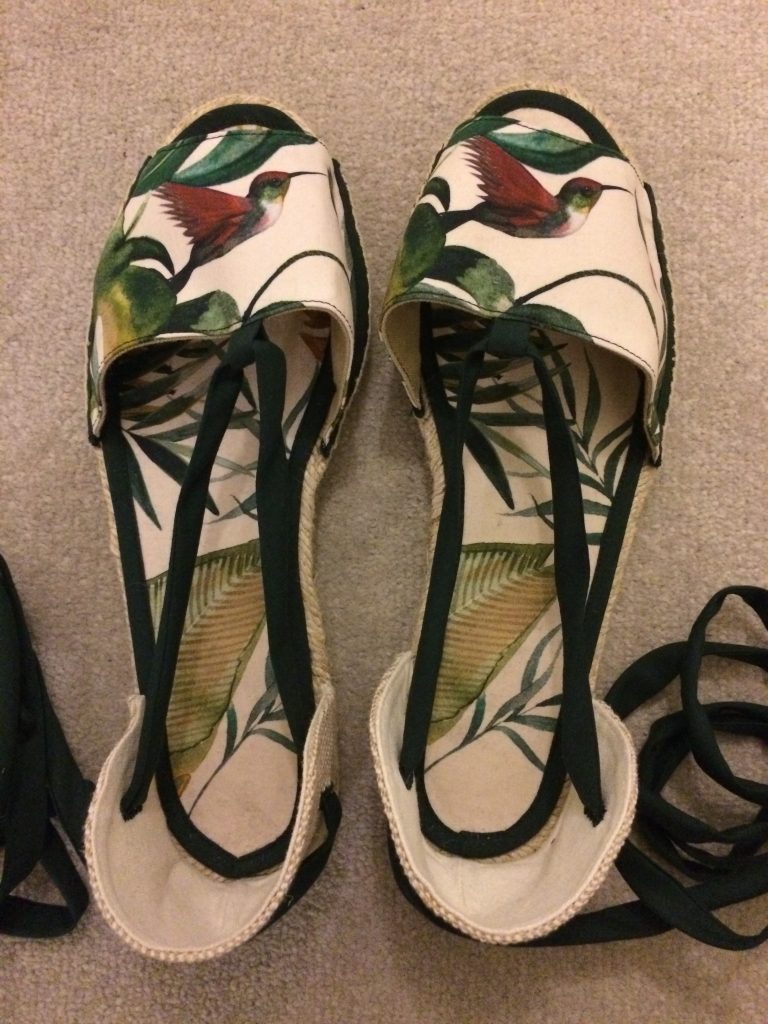

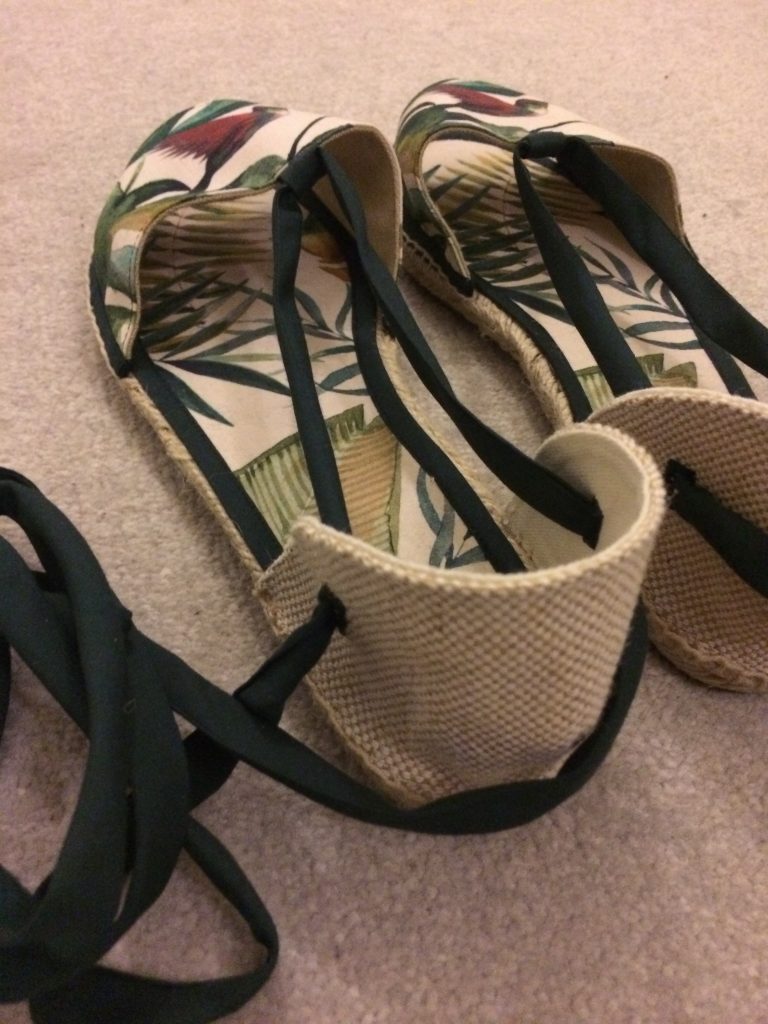
I’m a size 8 and these are a size 6 sole, but I’ve got them on… I’m really hoping they fit my friend… fingers crossed!!
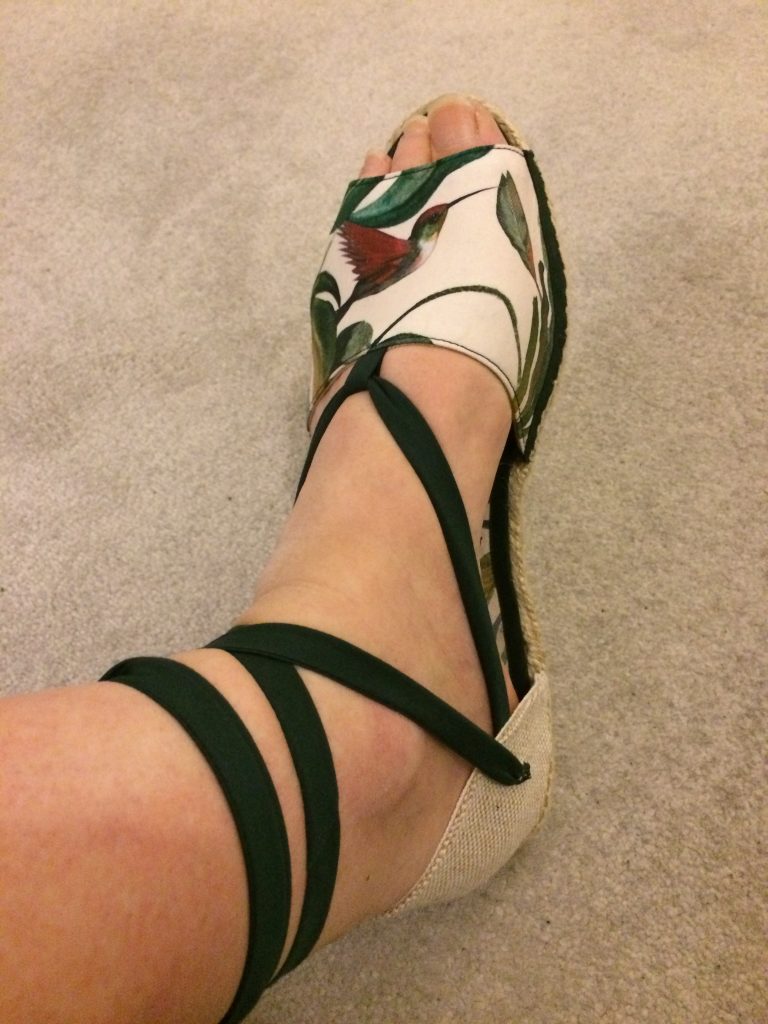
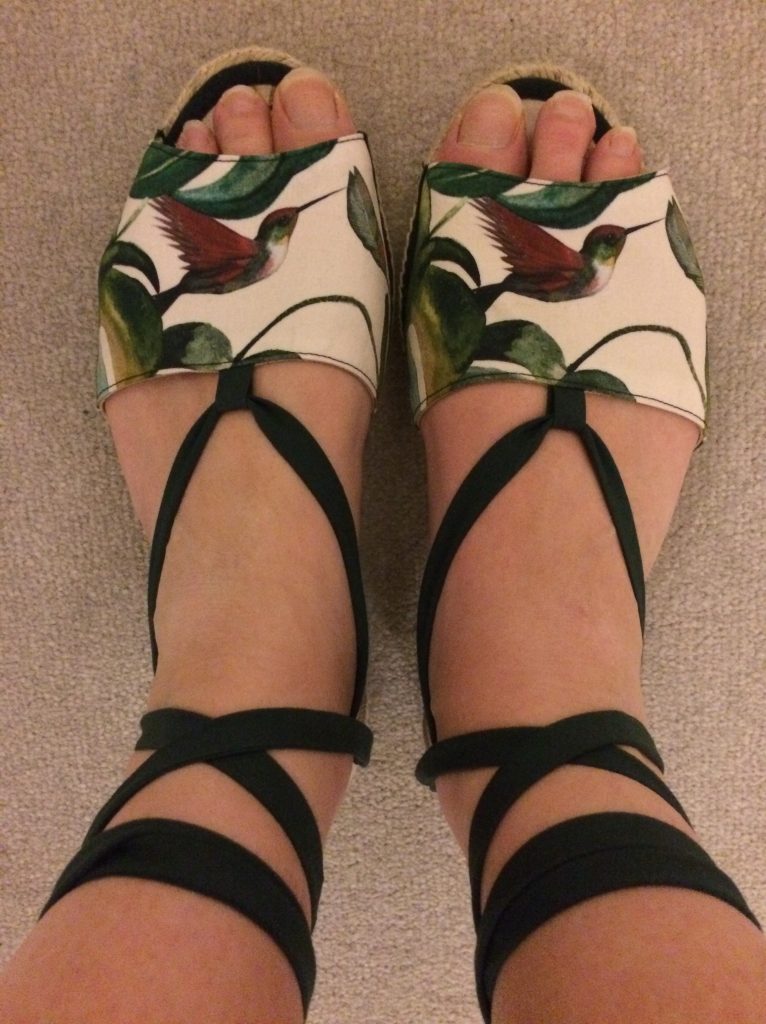
I’m off to another wedding in July 2018 and have plans for my 3rd pair.. this time in pink!! watch this space for more info!
