I haven’t made a jacket for myself since about 1999 while I was at uni. It was a bottle green jacket, a bit of a disaster and I think my mum finished it for me. I’m not sure what I was thinking at the time… it was same colour as my old school uniform and not a good look.
Since then I’ve made and altered jackets for other people but not got round to making one for myself. The only time I wear a jacket is for job interviews and I’ve not had one of those in years so making a jacket for myself could possibly be a bit of a waste of time.
However, I wanted a challenge and something to try out a few skills… I’d also got the perfect fabric that I’d been storing for about 10 years so I decided to give it a go.
I wanted to get this right and although I thought I knew what I was doing when it comes to sewing, I decided to hone my skills and signed up to a Tailored Jacket Making course at The Sewing Lounge in Hove. The course is taught by Jo Bunner who has a background in pattern cutting and making jackets commercially – she had to know more than I did about making jackets!
I was really excited to find out that there was only 4 of us on the course so it was a really lovely small group where everyone could get lots of attention. The class could be as large as 9 so having just 4 of us was a definite bonus, it also meant we had plenty of space to spread out.
In session 1 we were given a jacket pattern – Burda 7135
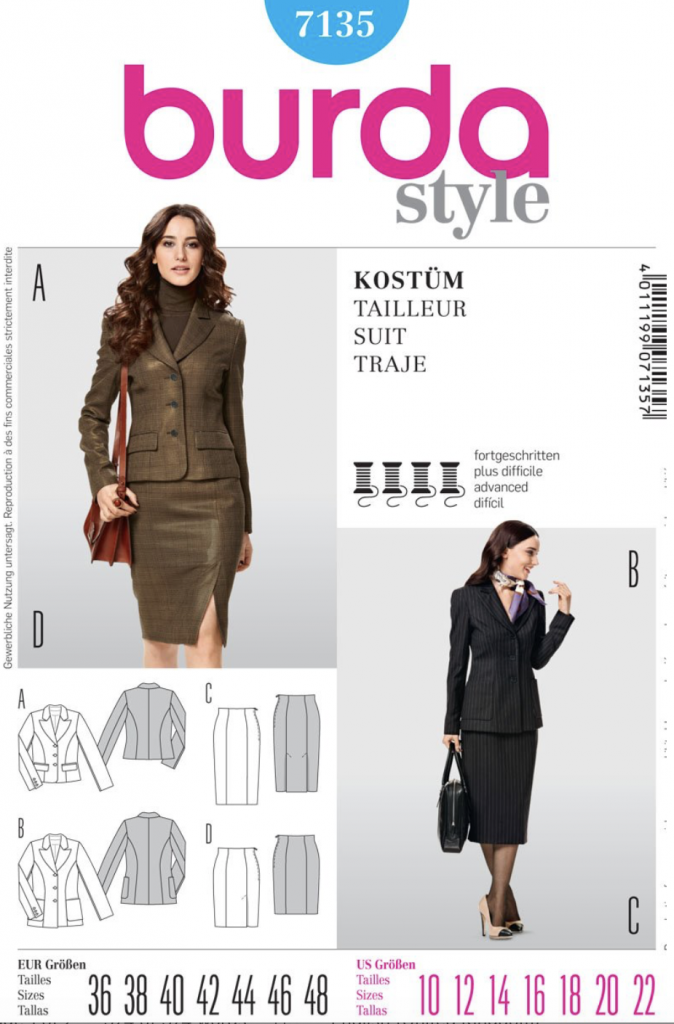
We measured and cut out the size based on our high bust measurement – I measured 94cm / 37″ which corresponded with a size 16. We didn’t take any other measurements on ourselves or compare any other measurement on the pattern. This seemed a bit odd – I’d normally do a few other measurements and compare to finished garment measurements… or something… but… I cut out the size 16 and then drew on the seam allowance, pinned it all together and Jo helped me to fit the paper pattern to me.
The paper pattern wasn’t far off being the right size! I needed to lengthen the nape to waist section by 1cm. I also added 4cm to the length of the jacket from waist to hip. The pattern is calculated for a height of 5 feet 6 inches (168cm) and I’m 6 feet 2 inches (185cm) so altering the length was not a surprise. The sleeves were also far too short and I needed to add 5cm to these. The rest looked to be an OK fit so the next stage was to create a trial garment in calico.
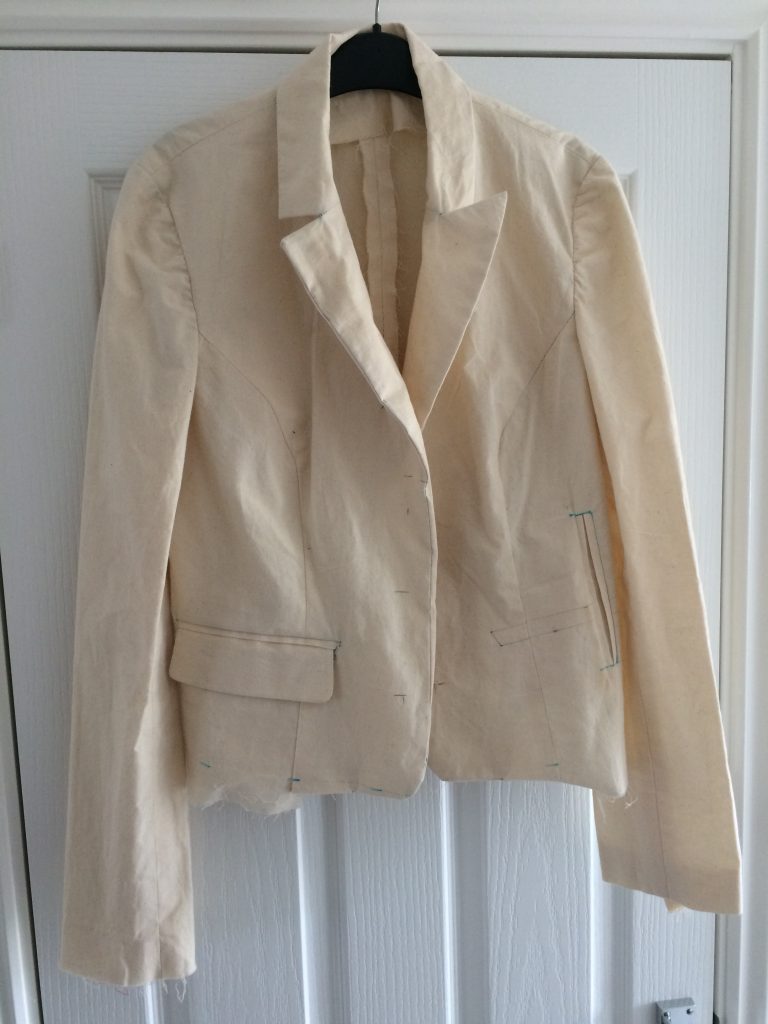
I made the alterations to the pattern and made up the toile. Each week on the course we were shown a different technique – pockets, collars, lining etc. So the toile was created over a series of sessions. Initially I’d gone for the longer length but I didn’t like it so I went for a shorter version, keeping the original cutting line for view A and then reducing this by a further 1cm.
Once the toile was completed it still needs a couple of minor alterations:
- Slightly extra fabric was required in the shoulder – I added around 8mm to the seam allowance at the shoulder point and tapered this to the neck.
- I took a small amount in at the top of the princess seam – this balanced out the amount I had added at the shoulder so the armhole measurement wasn’t changed.
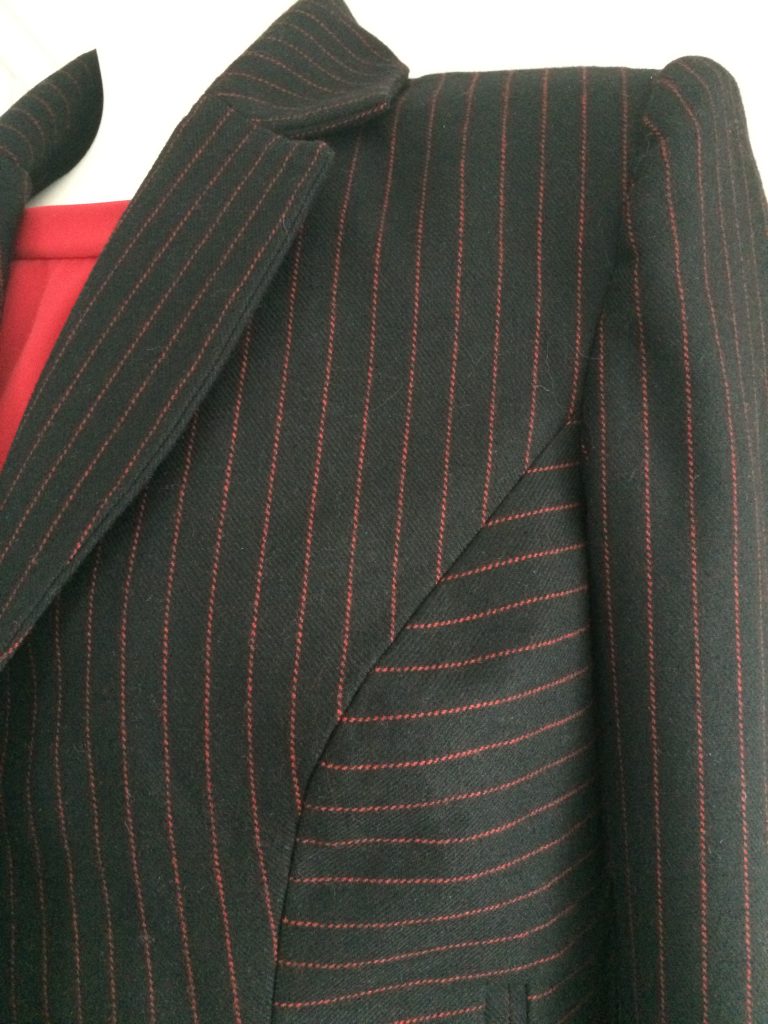
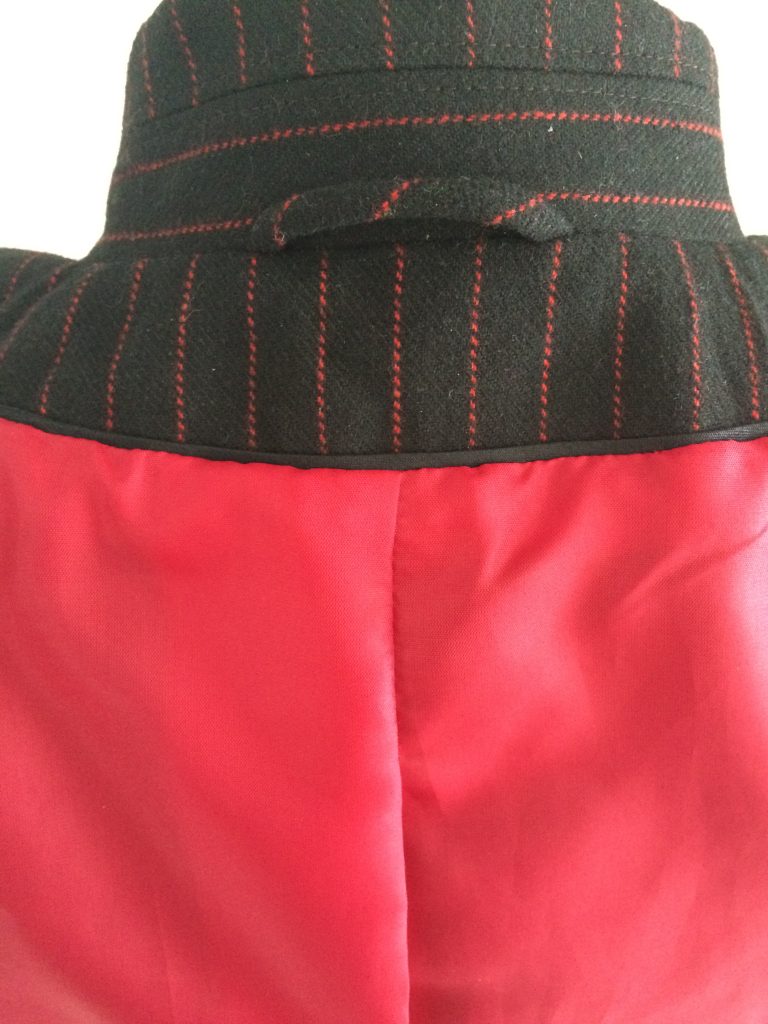
- I also didn’t really liked the peaked shape of the collar so I flattened this off and skimmed a bit off the width of it too.
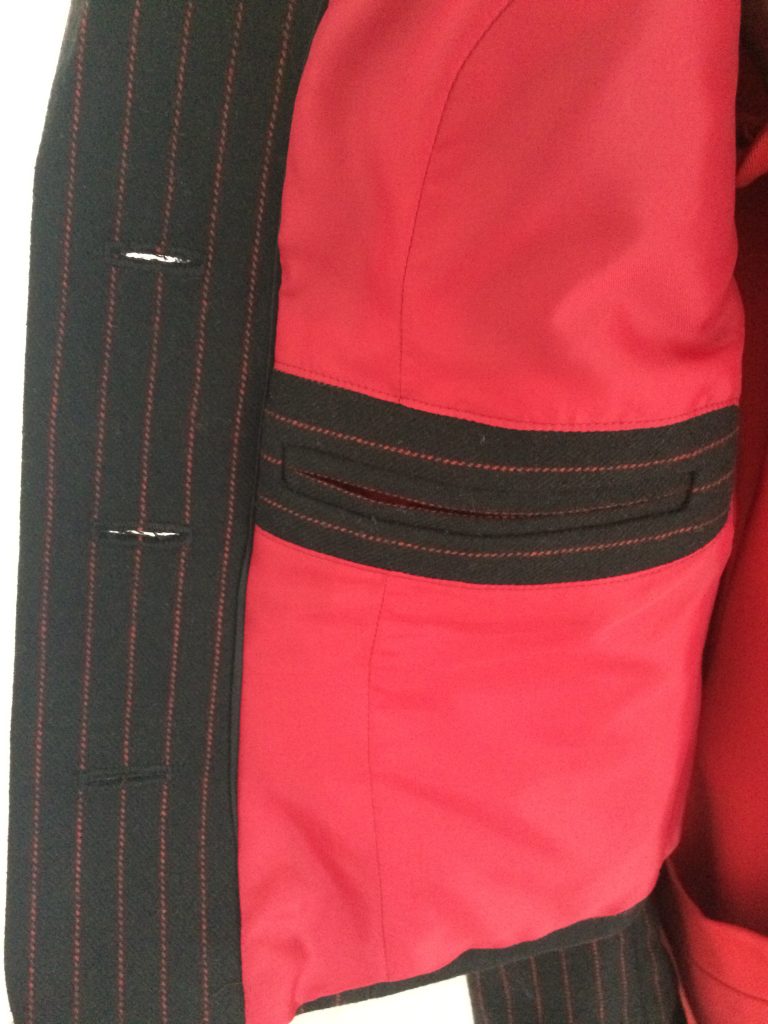
On Jo’s instruction I also made adjustments to the front facing pattern, adding in a step (shown in red) to better match to the front and to allow the lining to be more easily machine stitched in place (the pattern suggests hand sewing the lower edge), the lining then needed to be amended to match.
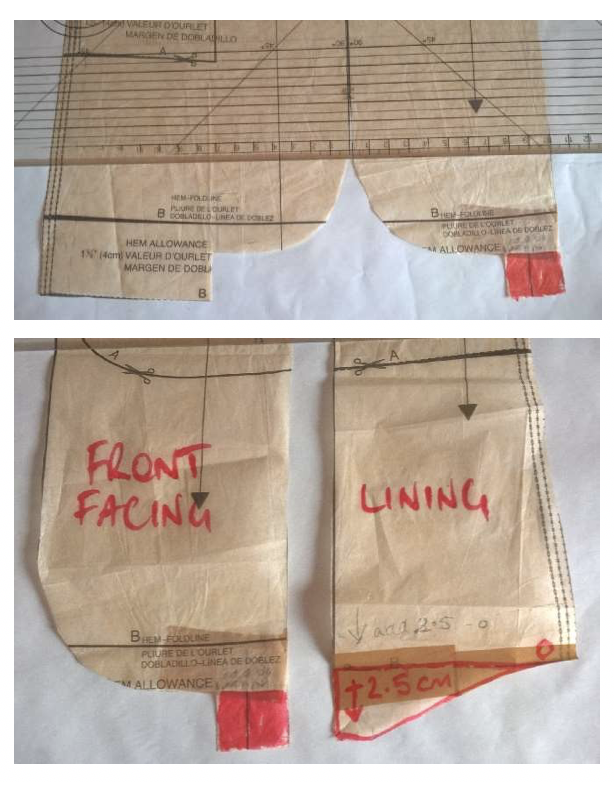
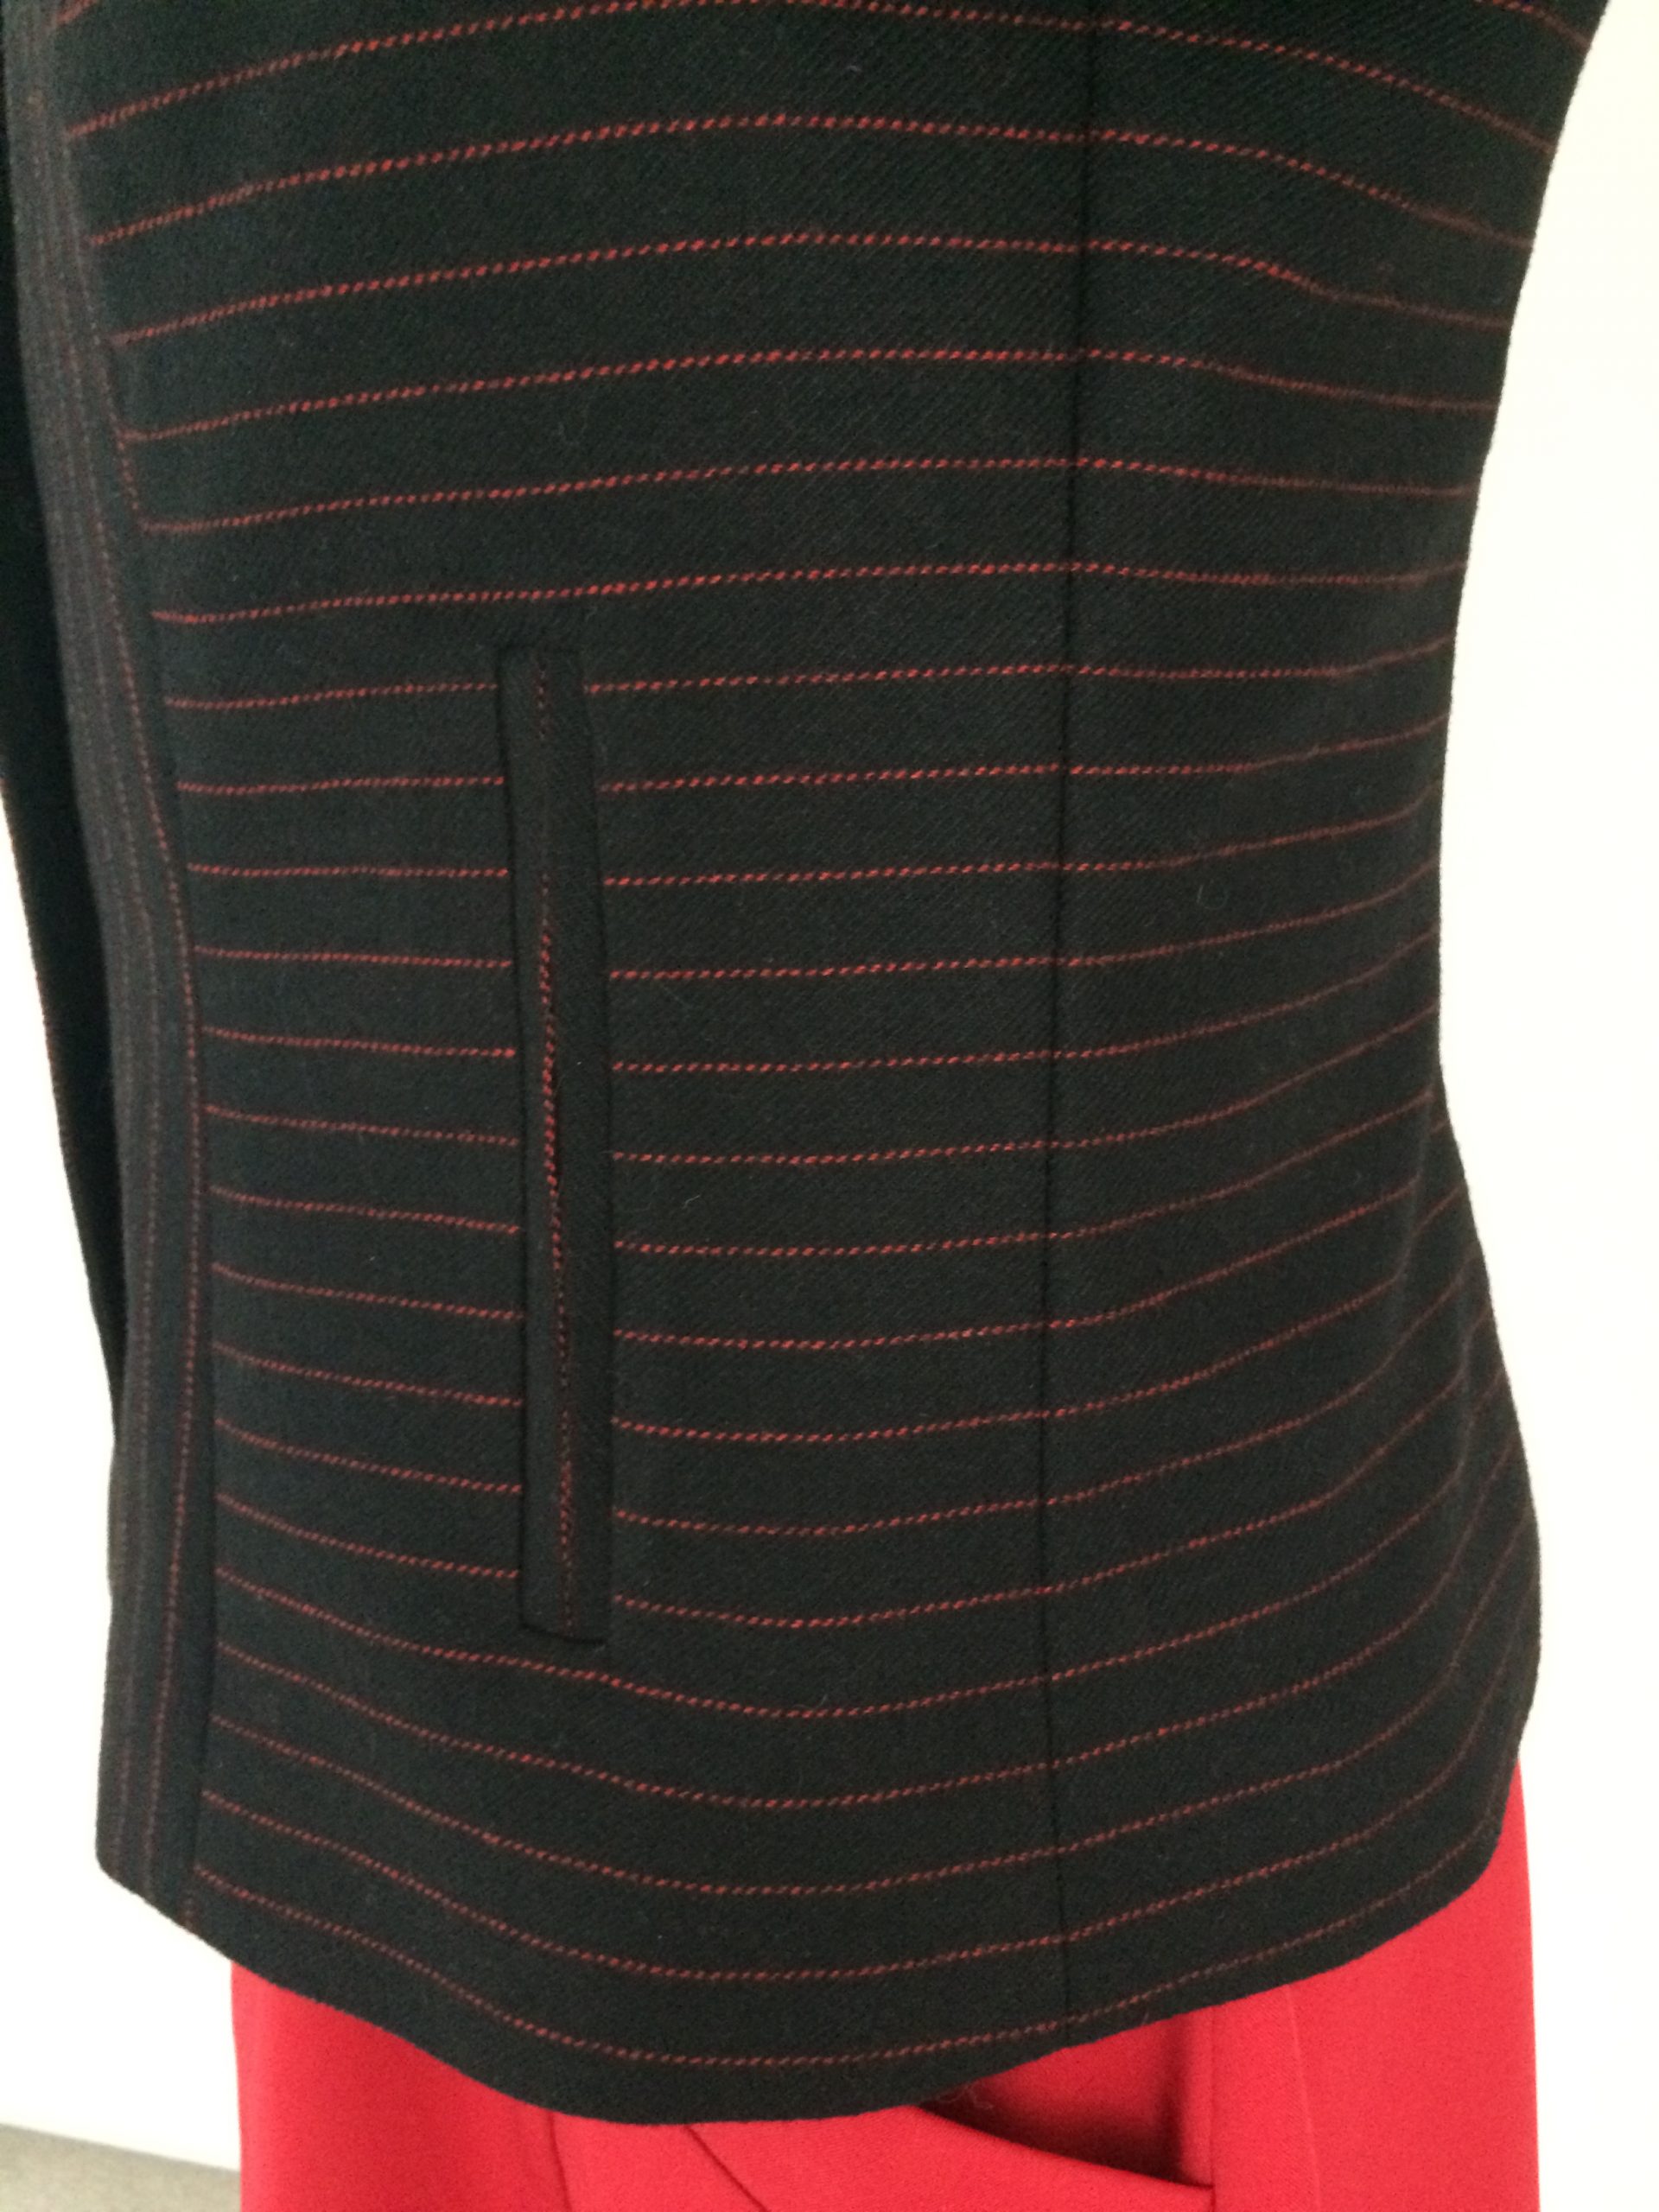
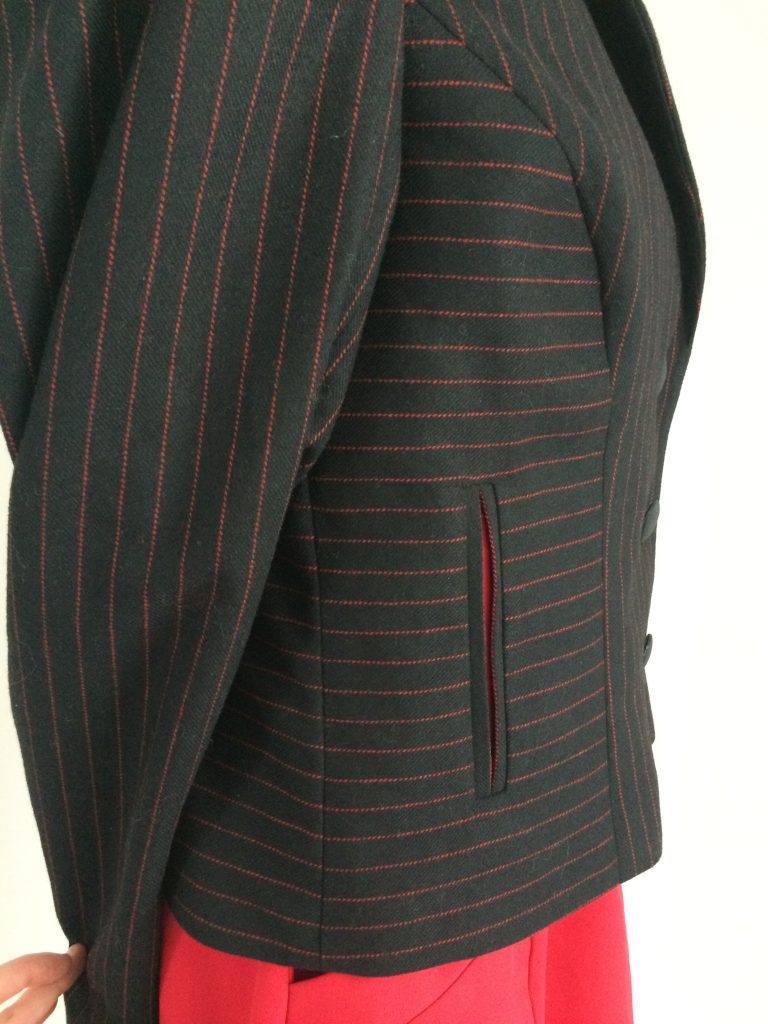
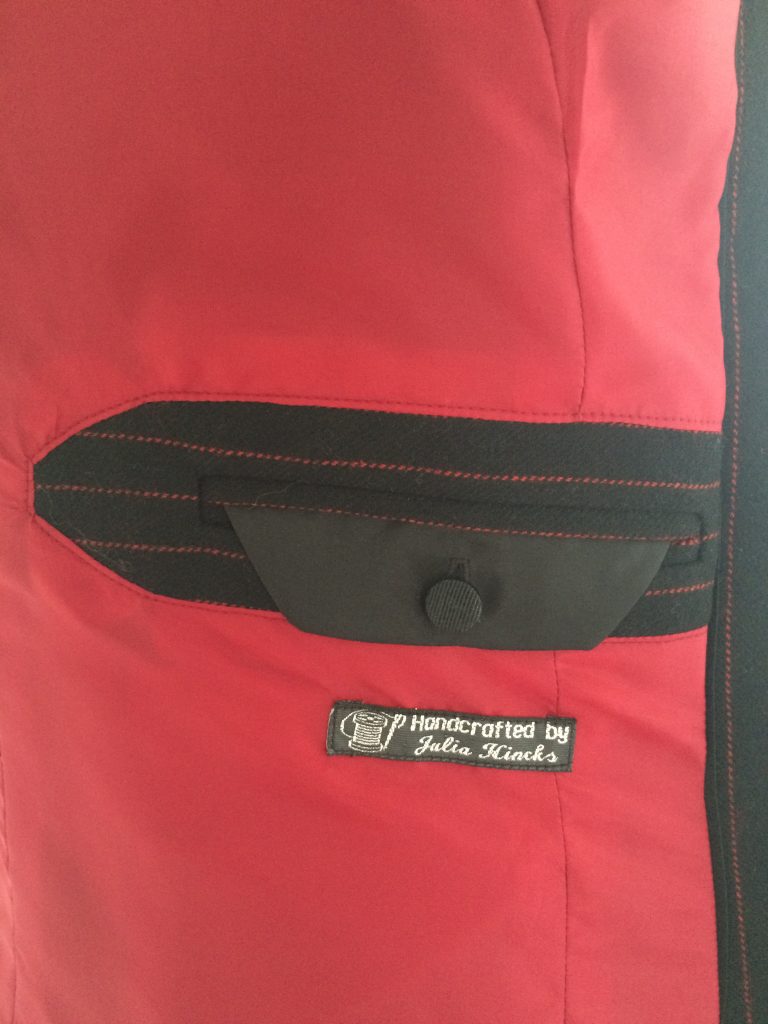
I decided to make further alterations to the lining to allow for inside bound pockets. – why keep things simple?
Jo also shared her advice about interfacing jackets – the patterns don’t always use as much as you need to. I’ve normally use non-woven interfacings and nearly always the iron on / fusible type. Jo suggested we bought woven interfacing as this is much better for jackets, so I purchased some good quality stuff from Ditto in Brighton.
We added interfacing to the whole of the front and side front pieces which the pattern doesn’t say to do. This makes a huge difference and adds some needed structure, without making it too bulky. It also makes adding the pockets easier since the whole area is more stable. Interfacing was also added to the facings, welts, collar and collar stand, and all the hem allowances of the shell, to cover the section where the hem is folded.
The cutting out, interfacing and transferring all the pattern markings took far more time than anticipated, but it always does, especially since I kept changing my mind on the layout direction for various panels. I used a combination of tailor’s tacks and chalk marks to transfer all the pattern markings – I did a little tester and found that face wipes remove the chalk lines perfectly from this fabric! Who knew?!
After all that I could finally start the making process.
Having made a toile and made all my mistakes there, the real thing went together much more easily. I was a bit scared about ironing it as I have a habit of ruining things with irons (I don’t learn!) but this fabric ironed really well – it’s a wool blend so I needed to be a bit careful not to melt the fabric but low/medium iron heat was just enough and I also used a pressing cloth when ironing on the right side of the fabric!
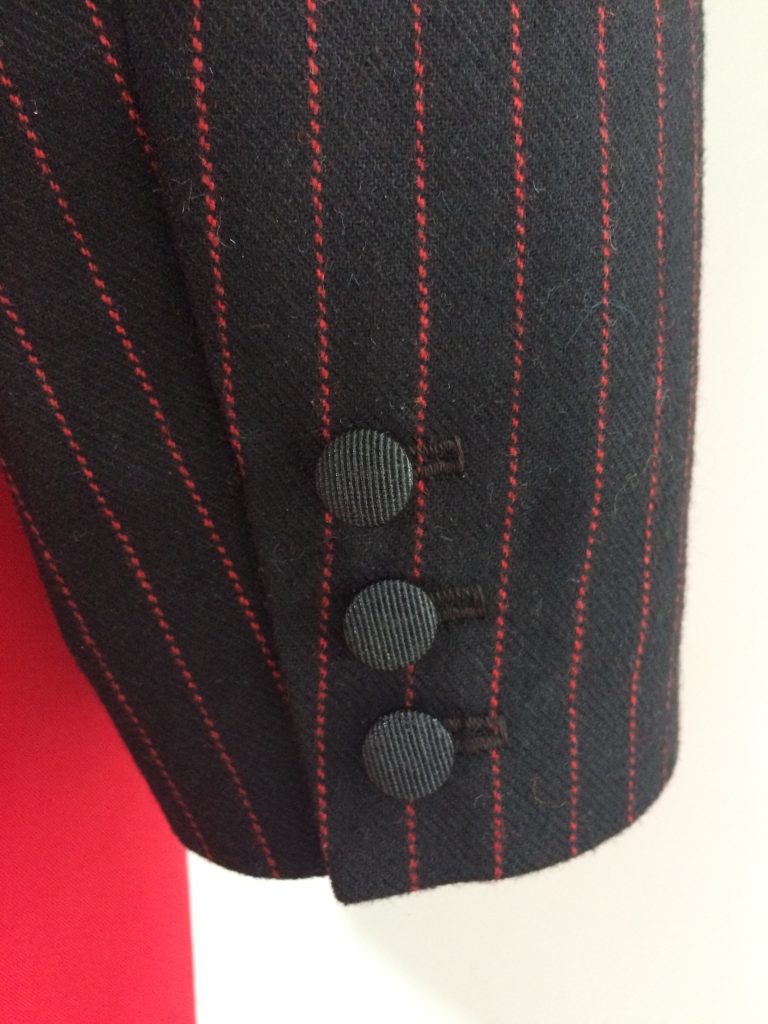
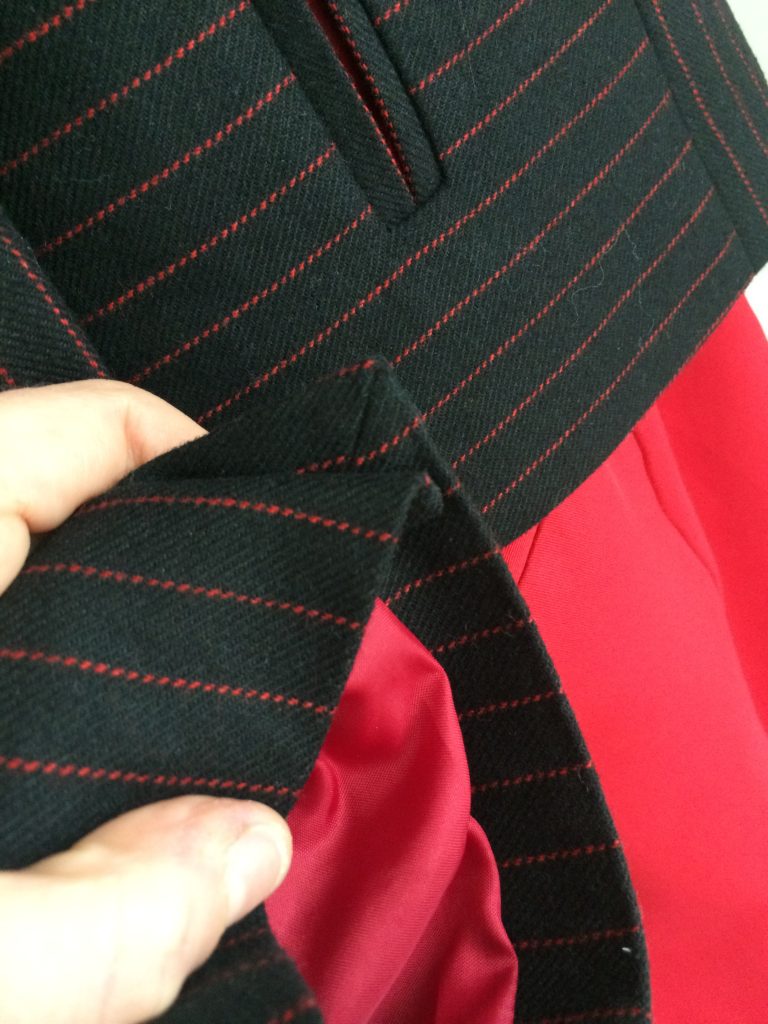
For some additional extras and a more professional finish, I added in shoulder pads, sleeve head roll, a hanging loop and some bias binding / piping between the lining and the shell.
To stitch the lining, or the ‘bagging out’ phase, I left a large hole in the front seam of one of the sleeves and turned everything through this hole. I’d never done it that way before – I’d always left the hole in the hem and then hand stitched it closed afterwards. This was a bit of a revelation!
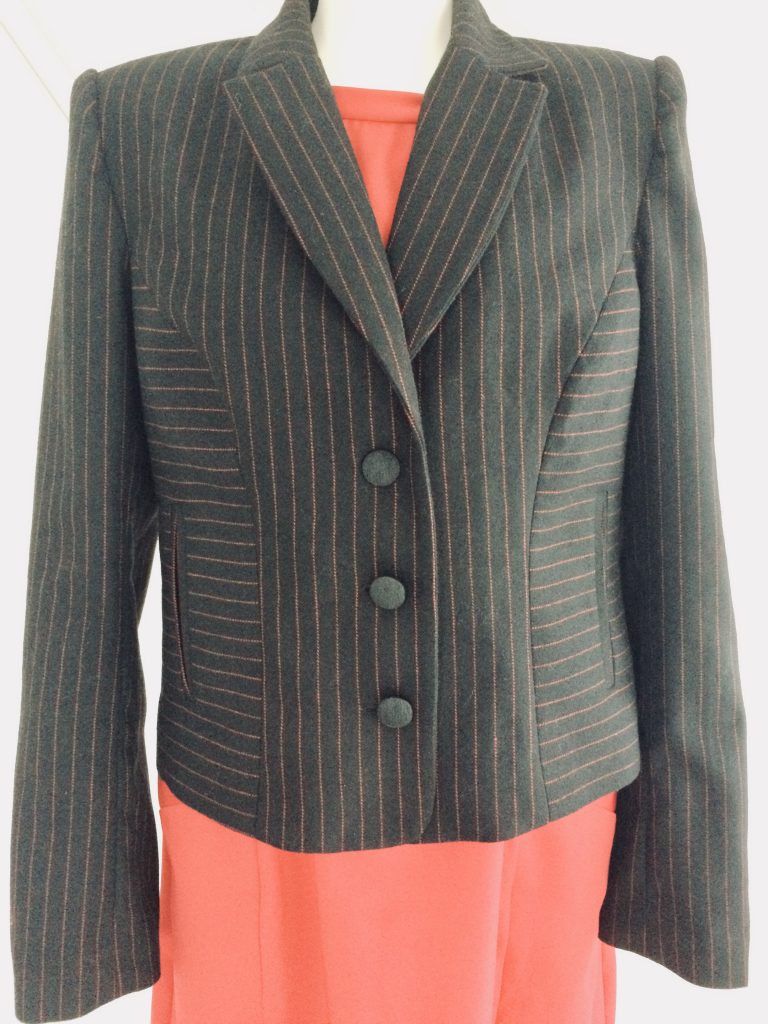
et voila!

So… my verdict…?
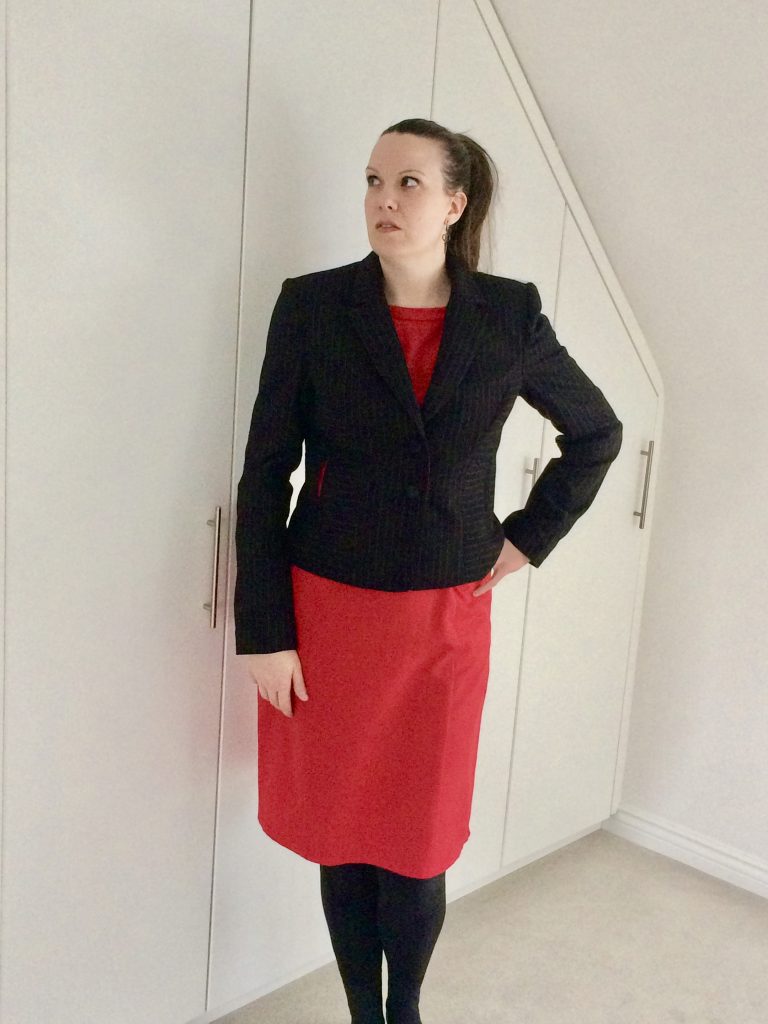
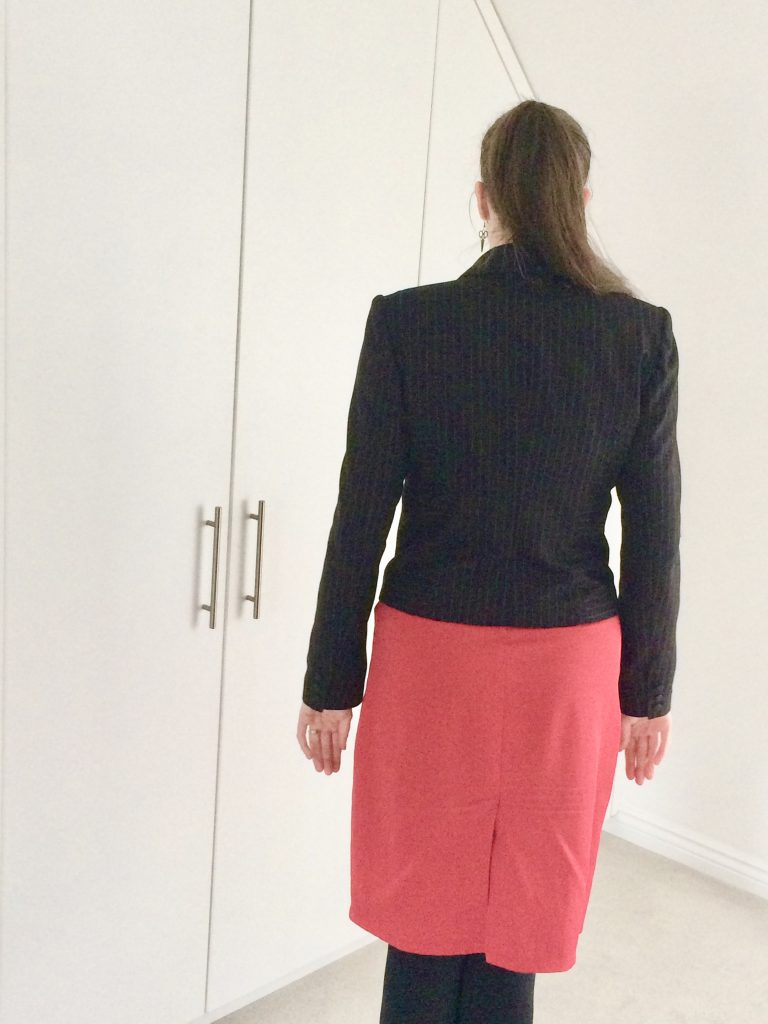
I’m really pleased with how this has turned – it fits perfectly and al my messing about with the pattern layout and direction of the pinstripes really worked! The jacket making class has given me back my confidence – I do know what I’m doing!
I feel a bit daft wearing this jacket though… it’s a bit too smart. Perhaps one day I’ll decide to do a bit of power dressing at work and give the jacket a road test. For now it looks rather good on a hanger in my wardrobe!
The next sewing challenge for me?? – a winter coat!
(just in time for summer!!)…
…watch this space!