
I was lucky enough to find this vintage caftan pattern in a collection that was donated to me and I’ve had it on my ‘make’ list for some time.
I am so excited to have finally made it….
…just in time for winter 🥶
But there will be other summers right??
Even in the UK??
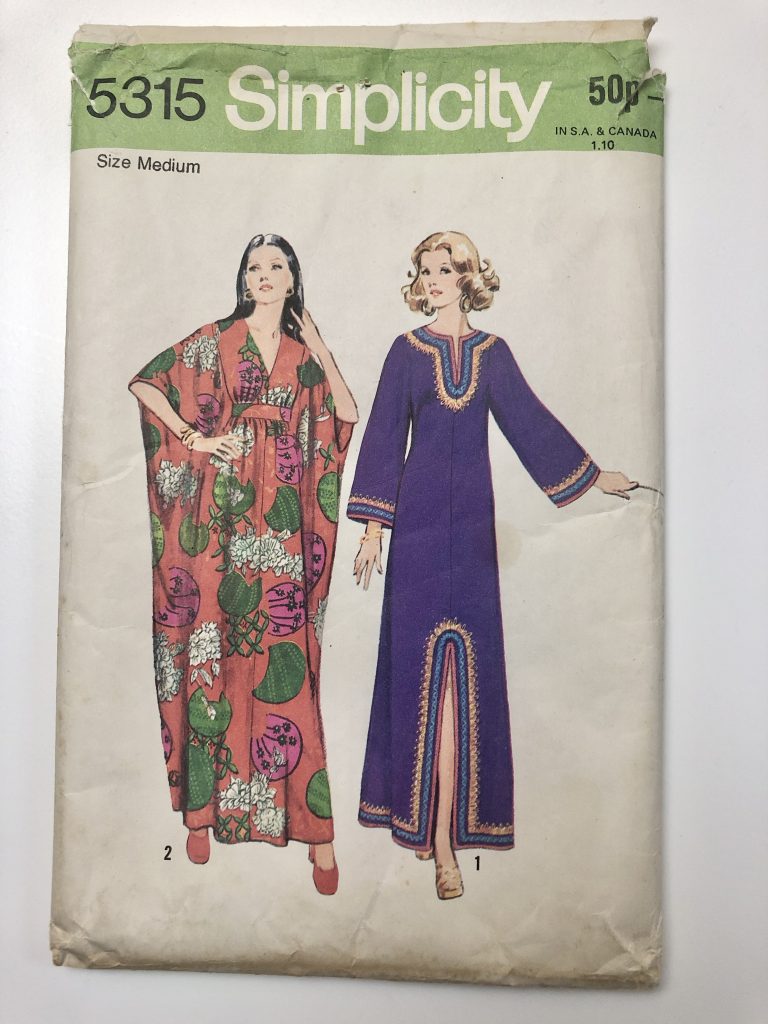
The Pattern
There are 2 options:
Option 1 is an ankle length caftan with a back zip, high round neckline, kimono style / ‘grown on’ sleeves, front slit opening and novelty brain trim.
Option 2 is an ankle length caftan with a back loop and button closure, ‘V’ shaped neckline, with front section gathered to a midriff band and inside ties.
I chose to make option 2 as the image of this on the pattern looks so fabulous.
I can just imagine myself swishing around on a sandy beach in this caftan…. just need to find the beach and some sunshine!
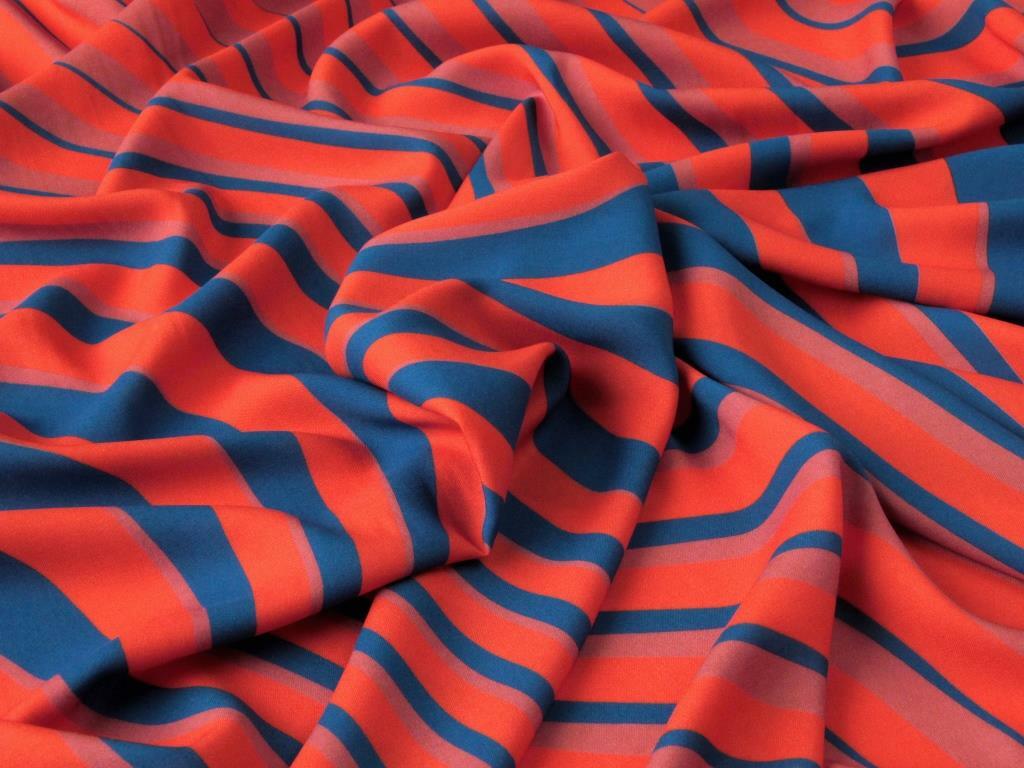
The Fabric
I purchased the fabric from Fabric Godmother and managed to pick up the last 3.5m of this gorgeous psychedelic orange and purple viscose lawn.

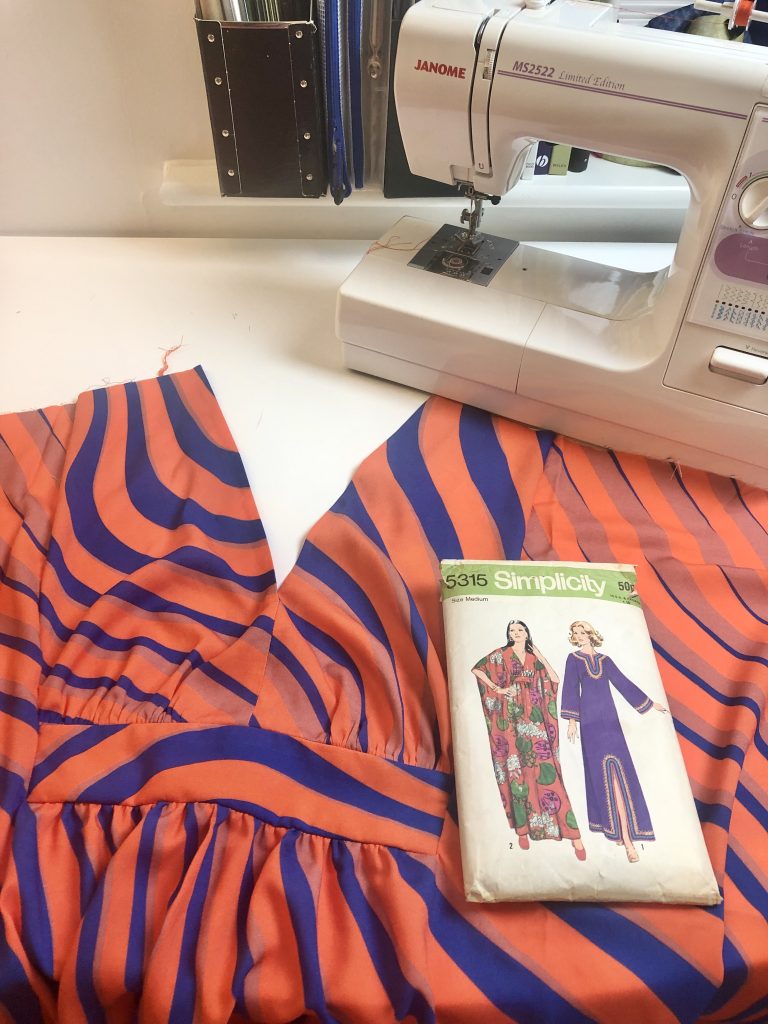
Cutting Out the Pattern
I was slightly concerned that the pattern sizing on the envelope said ‘Medium’, but the sizing for option 2 states ‘One size – fits sizes 8 to 16’ … so that’s a relief as I definitely fit more into the ‘Large’ sizing bracket.
When I opened the envelope I was a little frustrated to find that I didn’t have any instructions for my pattern, but thankfully the pattern pieces were all there and the information on the back of the envelope handily shows the pattern pieces required for each of the caftans.
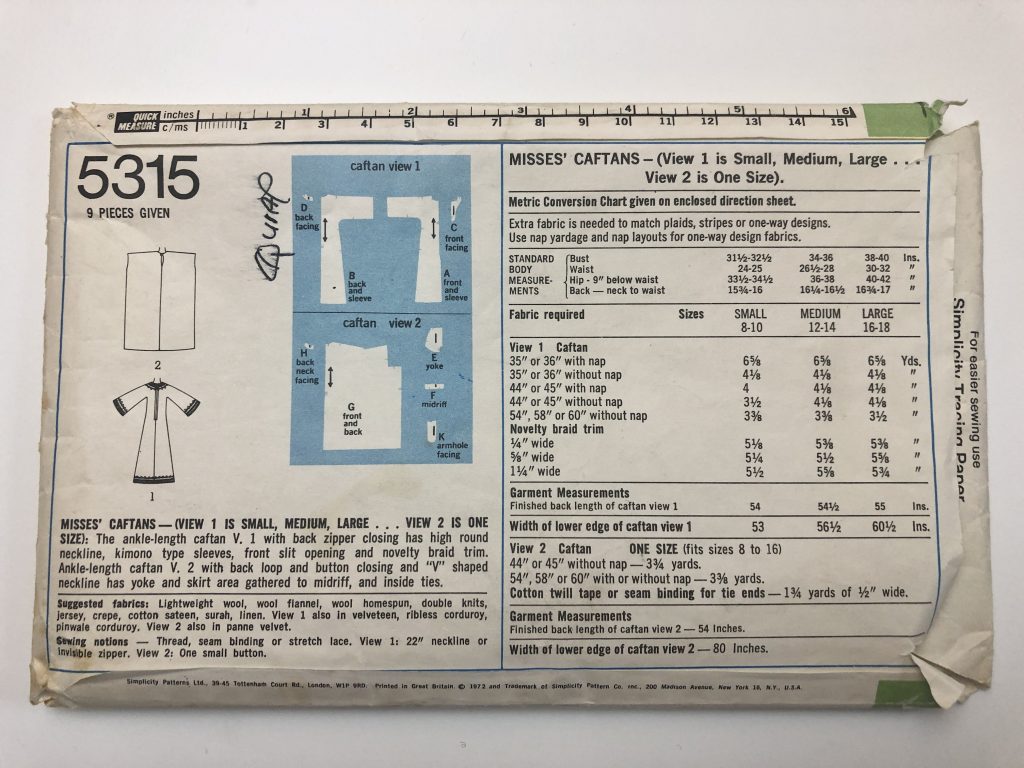
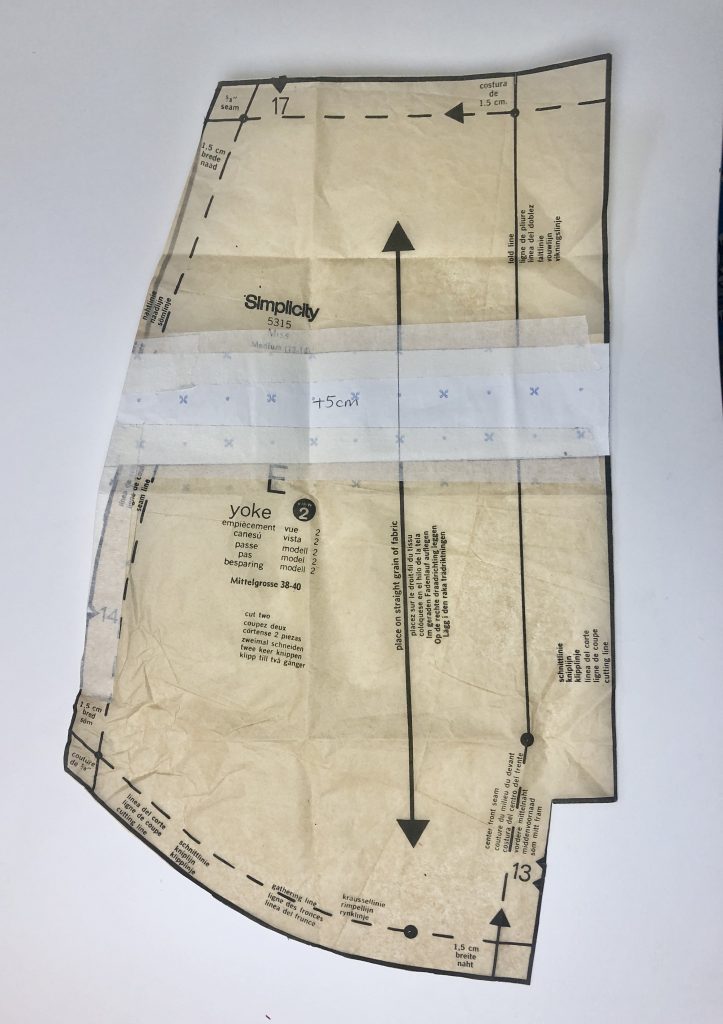
Option 2 consists of 5 pattern pieces – one pattern piece for the front and back, midriff, back neck facing, yoke, and armhole facing.
Please note: This pattern has been recently modified and re-released as Simplicity 8505. In this new version there is one pattern piece for the front and a separate one for the back. Other elements of the pattern and its construction may also be different.
When the garment is constructed there will be seams at the centre front and centre back of the dress.
I decided to make a few changes and omit the back neck opening with button and loop closure. I love the look of these but the button always gets caught in my hair and annoys the hell out of me!
I didn’t want to attempt any pattern matching so I decided to create some side seams and get rid of the centre front and centre back seams.
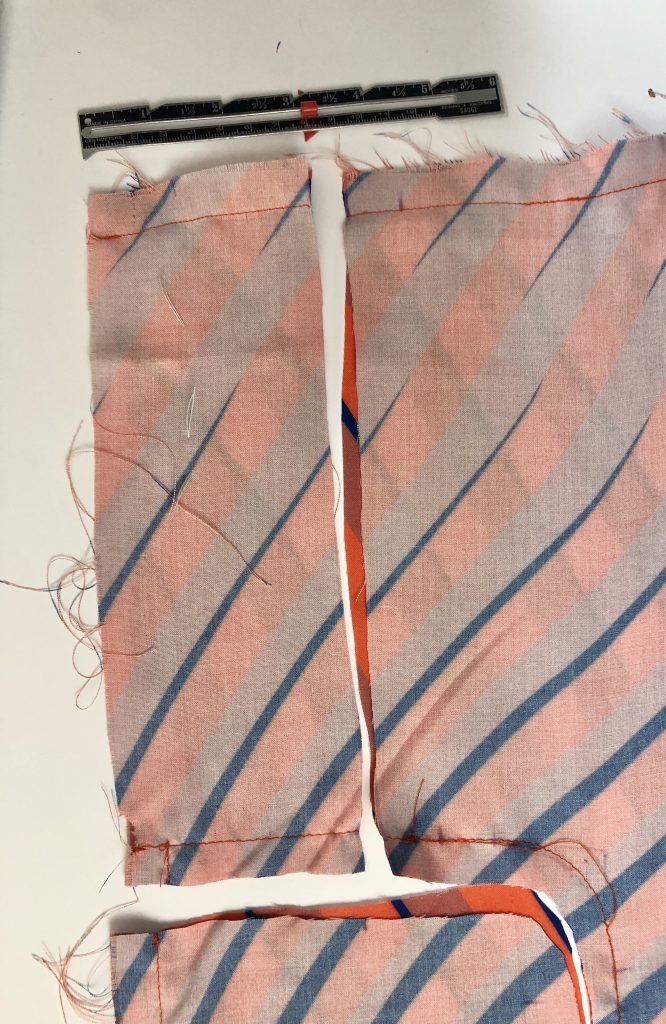
I drew a line down the pattern from the centre of the armhole curve to the lower edge. I then drew two further lines 1.5cm either side of this centre line to mark the seam allowance required at the side seam.
I added 10cm to the length of the caftan.
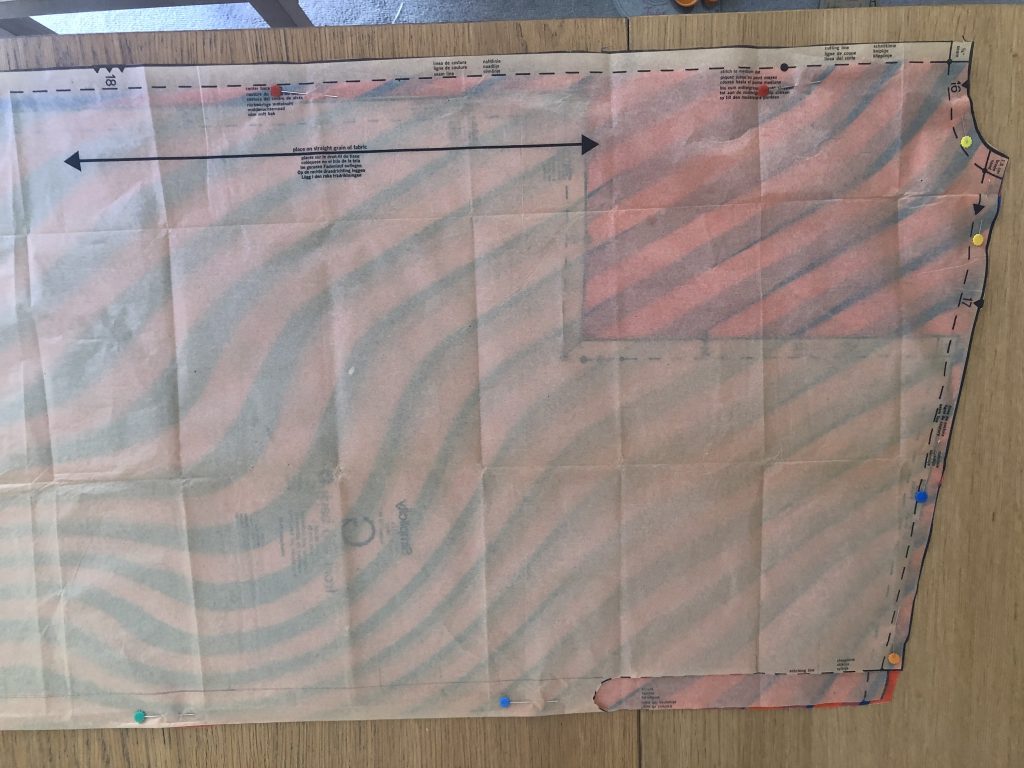
I cut out the pattern for the front on the fold and repeated this for the back.
The image below shows how I’d folded the pattern in half for cutting out the back piece. I placed the seam line for the centre back along the fold of the fabric.
At the armhole I continued the straight edge of the side seam to the shoulder but placed a marker to show where the side seam should come to and stop for the armhole opening.
As I’d added a side seam I didn’t need the armhole facings but it did mean that I could add in some in-seam pockets, because everything is always ultimately better with pockets.
To create the pattern for the pocket I just copied a pattern piece from another garment.
Constructing the Caftan
Without any paper instructions I attempted to logically put the garment together in the right order. This process was made a little easier as the notches are numbered so you can more easily see which pattern pieces will be joined together.
I started with the construction of the front yoke and midriff.
I cut out two midriff pieces and interfaced both.
I also interfaced the front opening edge of the yoke pieces, up to and slightly over the fold line.
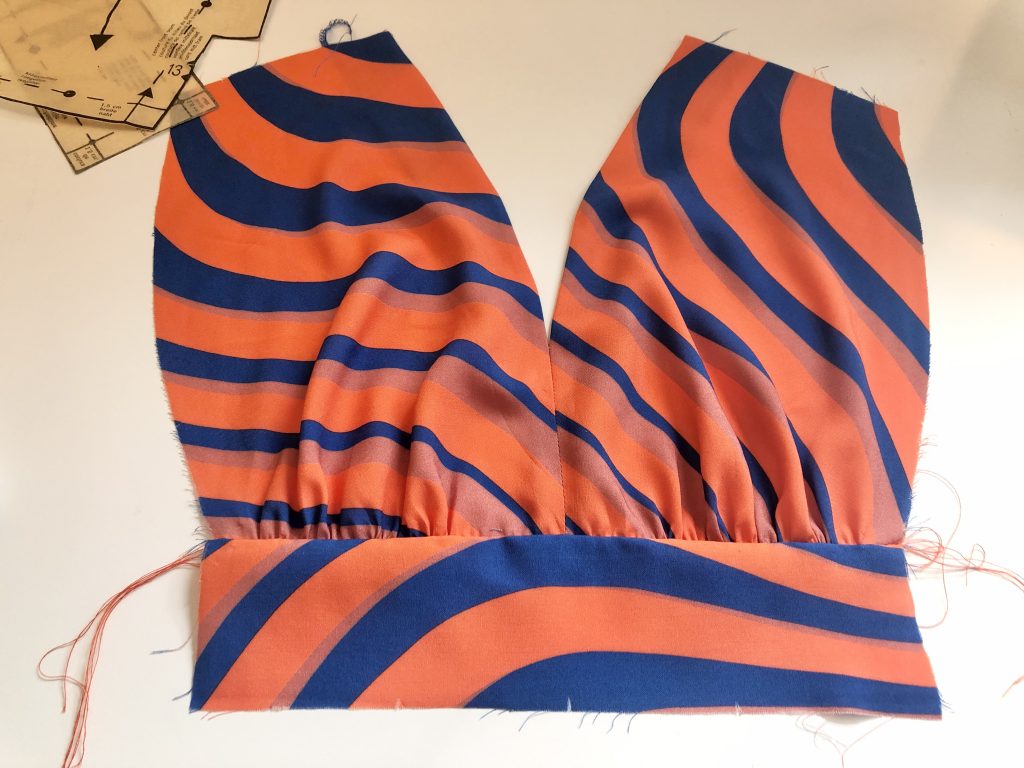
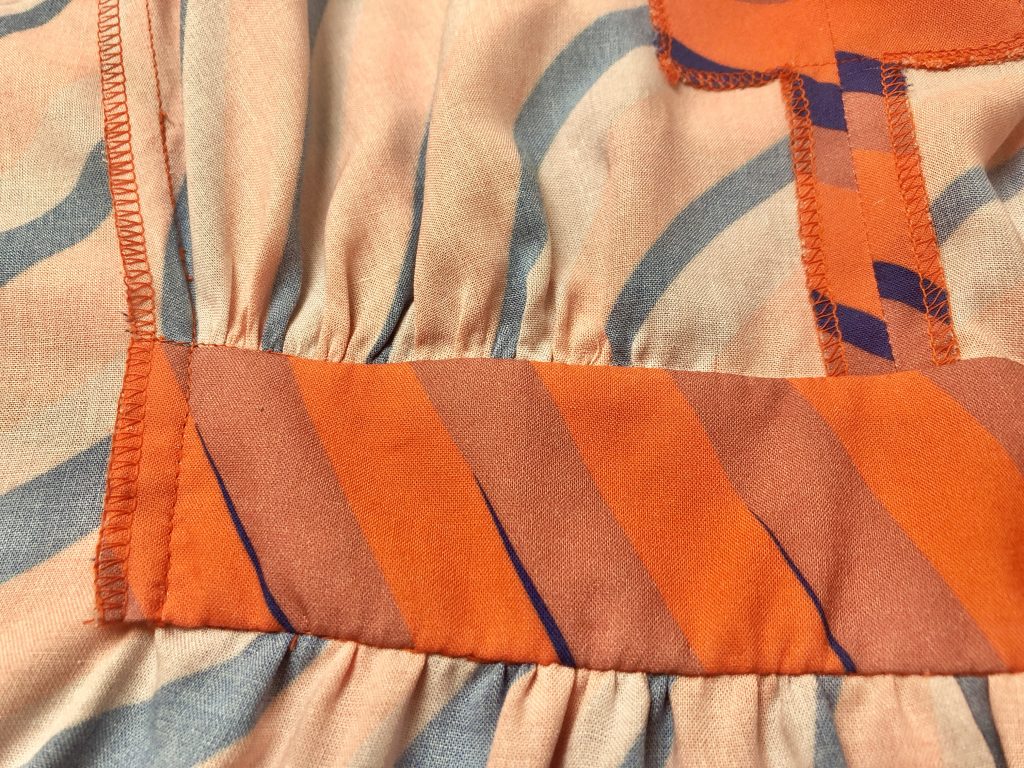
The yoke pieces are joined, seams and front openings edge finished, and the lower edge gathered and joined to the midriff. The yoke piece is sandwiched between the two midriff pieces.
After I reached this point it was clear that the front piece was too short and the midriff section reached the middle of my bust, rather than sitting under my bust.
I pinned the section to the front, pinned the front to the back and tried it on again but it just wasn’t going to work.
There was only one thing I could do.
Amend the pattern, re-cut the fabric and start again.
How irritating! – I’ve not read any other information or review that anyone else has written that suggests the front isn’t long enough. Surely it can’t just be me?
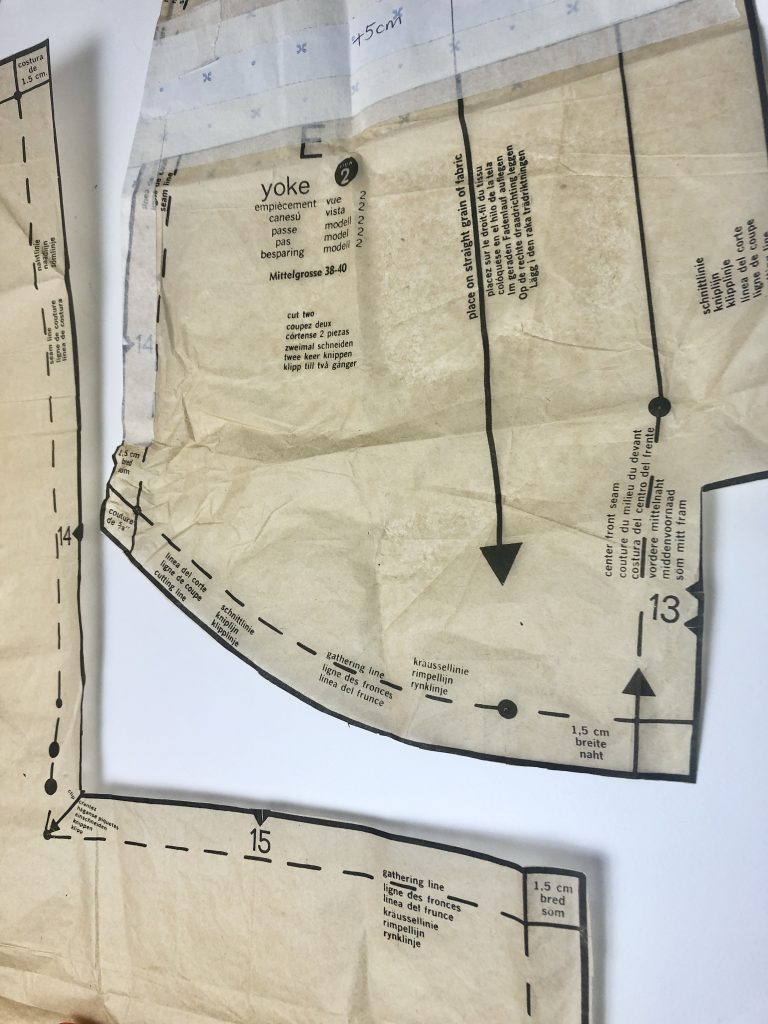
I added 5cm into the centre of the yoke section and blended the side of the pattern.
I also had to lengthen the opening at the front by 5cm to accommodate the new longer yoke piece. I simply cut away a 5cm piece from the fabric at the inner corner, extending beyond where the notch says ’15’ on the pattern below and then added the ’15’ notch back in.
I then reconstructed the front as before.
Next, the angled inside corners on the front piece are reinforced either side of the arrowed marker by stitching along the seam line. The front is snipped to the reinforcement stitching.
I pressed the seam allowance of the lower (unstitched) edge of the midriff facing under by 1.5cm.
The lower front section is gathered around notch 15 and the yoke and midriff are sewn into the angled inside corners.
I then edge finished the seams and hand stitched the lower pressed edge of the midriff facing to the lower front seam line.
Now the front part of the caftan is complete, the back facing is added to the back neckline.
I cut the back facing on the fold since there was no longer a back opening.
The facing is then interfaced and sewn to the back neck edge.
The seam allowances are trimmed, clipped and layered.
The next stage is to understitch.
If you’re wondering what on earth understitching is then you’re probably not alone.
Understitching is like magic – it helps bindings, facings or linings stay in place on the inside of a garment and stops them from rolling over to the outside of the garment.
Understitching is a line of stitching sewn using a regular length of stitch (2.5mm in my case). The stitching is done from the right side of the binding, facing or lining and goes through the binding and seam allowance, but not through to the main garment fabric. It can only be seen on the inside or wrong side of the garment.
If you want to see how this is done, then see my video below on how to attach a facing. The instructions for sewing the understitching start from 11:42 but you can see the preparation before this of trimming, layering and clipping the seam allowance.
Pockets
The next stage of construction is to add the in seam pockets.
I’ve made a video on how I create in-seam pockets which you can see below.
After inserting the pockets the shoulder seams are attached and edge finished.
When attaching the shoulder seam, the back facing and front facing pieces are opened out and sewn together.
The facing is then turned back to the inside and sewn in place at the side seam.
Next I tried on the caftan.
It was far too big!
The original instructions provided details about including inside ties to help take in some of the fullness of the garment but I didn’t have these and wasn’t sure how these would work or if I wanted them.
So I took a different approach and took out some of the fabric to create a sleeve.

The image above shows how I have shaped the side seam, stitching across from the armhole opening towards the front yoke, then curving the seam downwards and slowly tapering out towards the side seam.
I stitched in approximately 14cm on each side , then curved the seam around, taking the stitching in to a maximum of 17cm from the side seam.

The side seam stitching continues to taper out to the side, until it is blended back with the original stitching line.
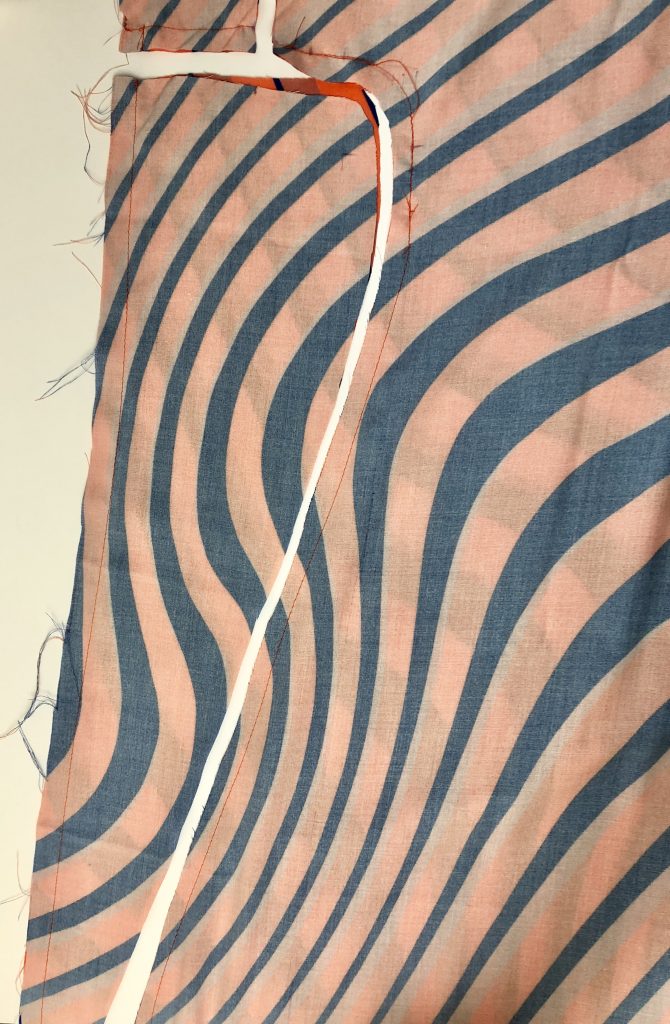
After stitching, I trimmed off the excess fabric and also cut a section of approximately 8cm away from the sleeve.
The side seam was then overlocked.
Hemming
The next stage is to hem the lower edge of the caftan and the sleeve.
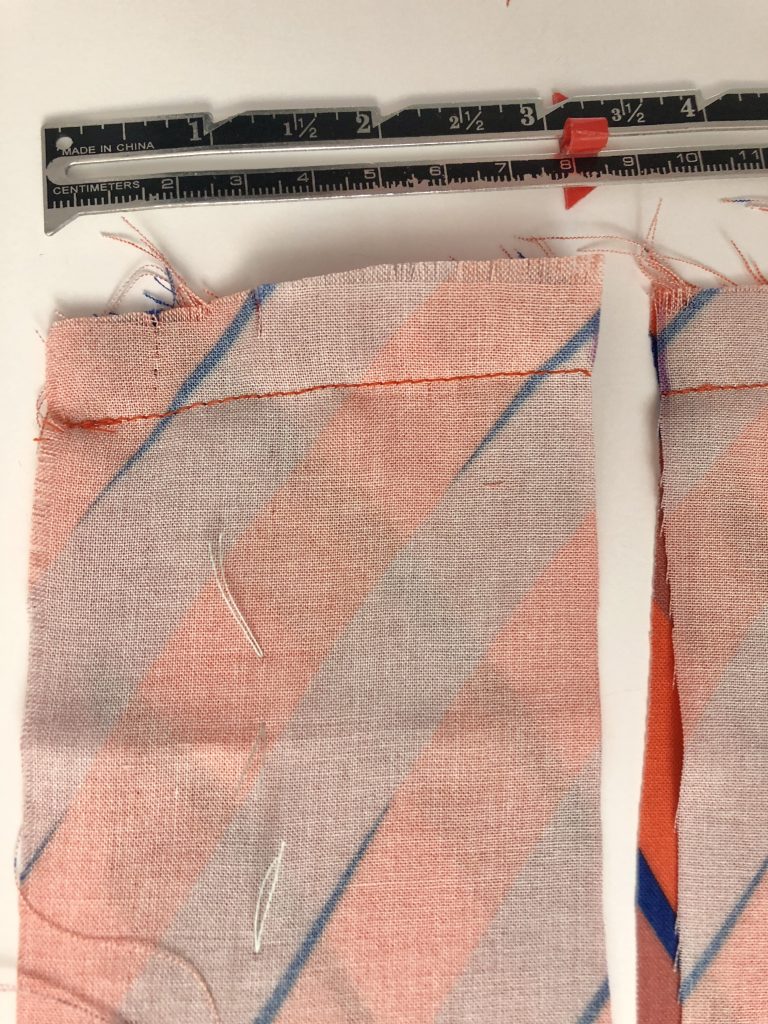
I made a 2cm hem on the sleeve and a 4cm hem on the lower edge of the caftan.
You can see how I create a machine stitched hem in the video below.
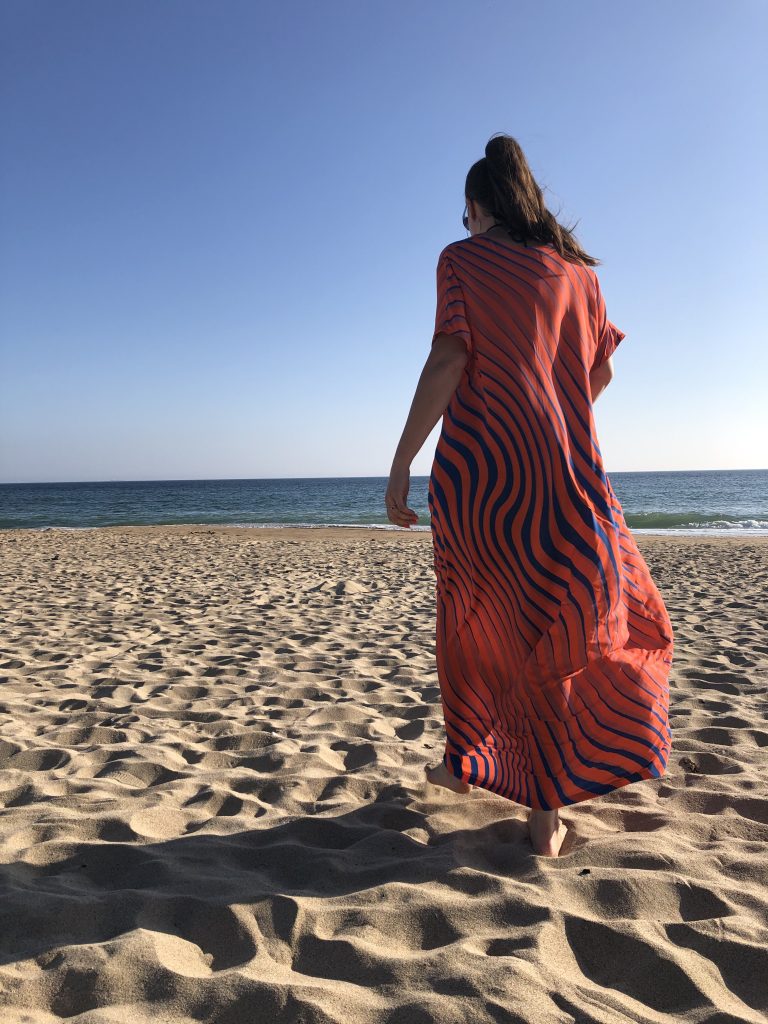
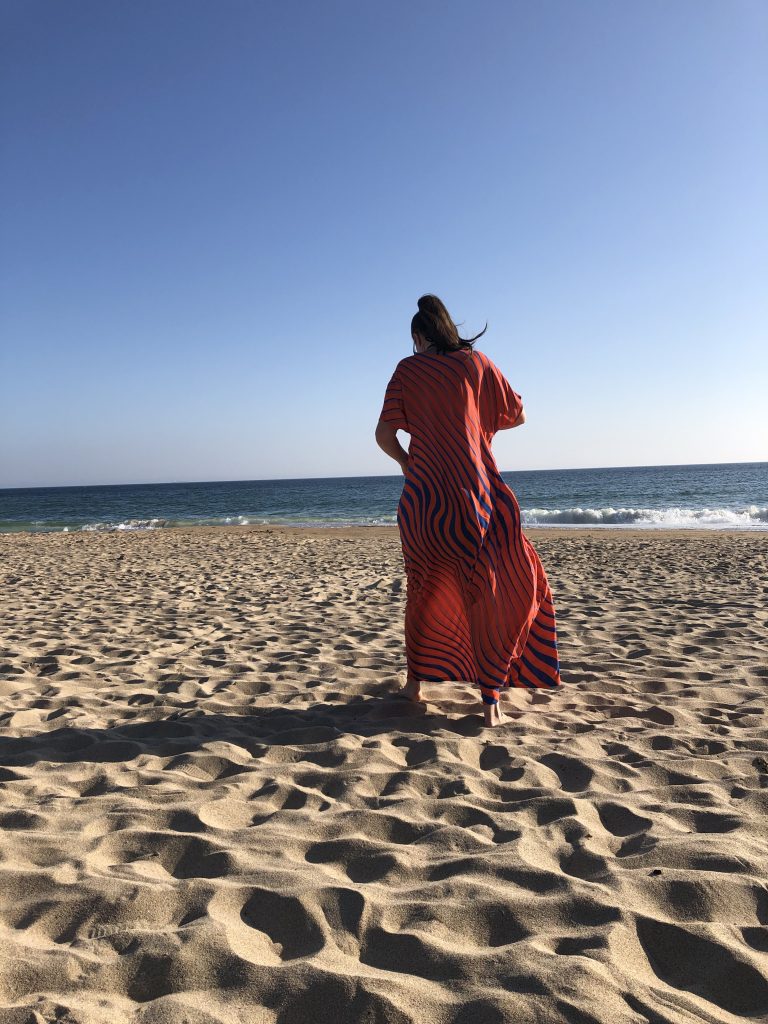
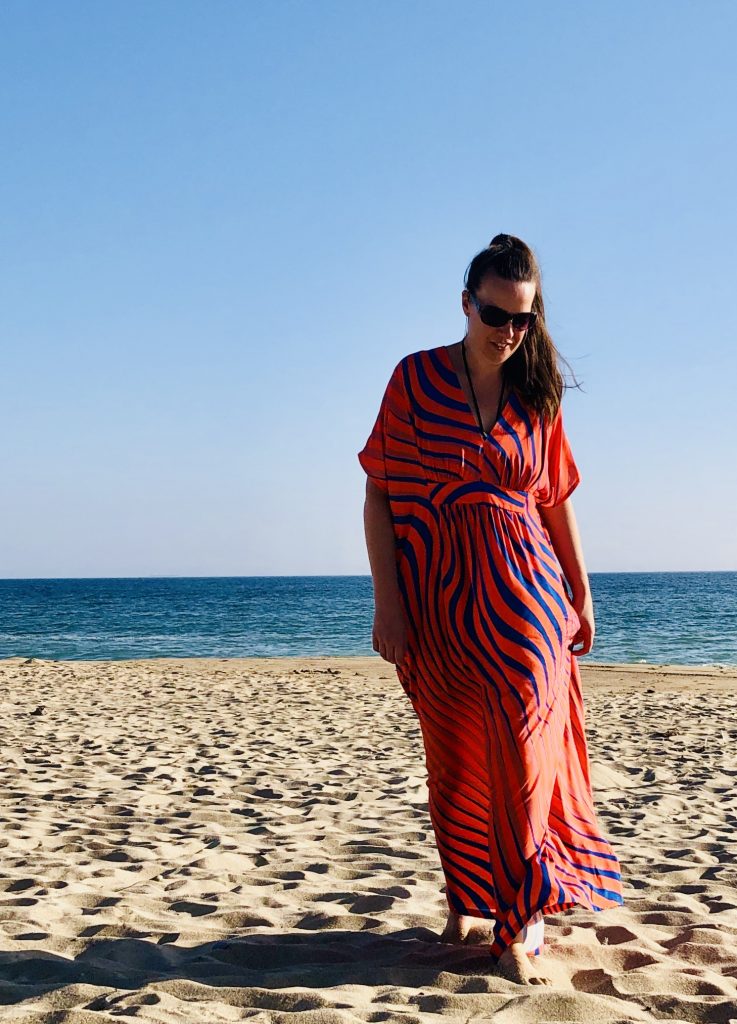
Here are some images of the finished caftan


4 thoughts on “Pattern Review – Simplicity 5315 / 8505 Caftan”
You look amazing! Love this kaftan on you xxx
Thank you so much! 😊 xxx
Thank you for this review…and I also had to adjust the bust to enlarge by 2 inches, same issue – midriff sat in the middle of my bust. I extended the yoke at the bottom which didn’t work out so well, also extended that front piece down under the midrif. I’m going to try adding the length the way you did it.
So good to hear it’s not just me having issues with fitting with dress. 😊
Glad I could offer another solution to adapting the pattern – hope this works out for you.
Comments are closed.