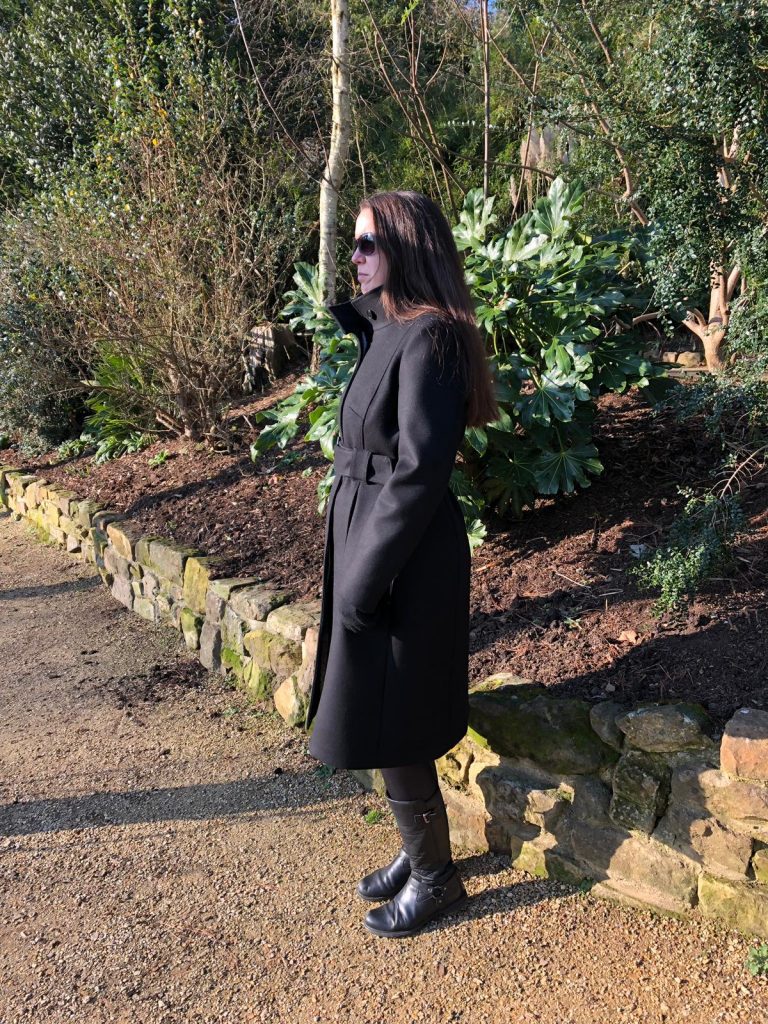
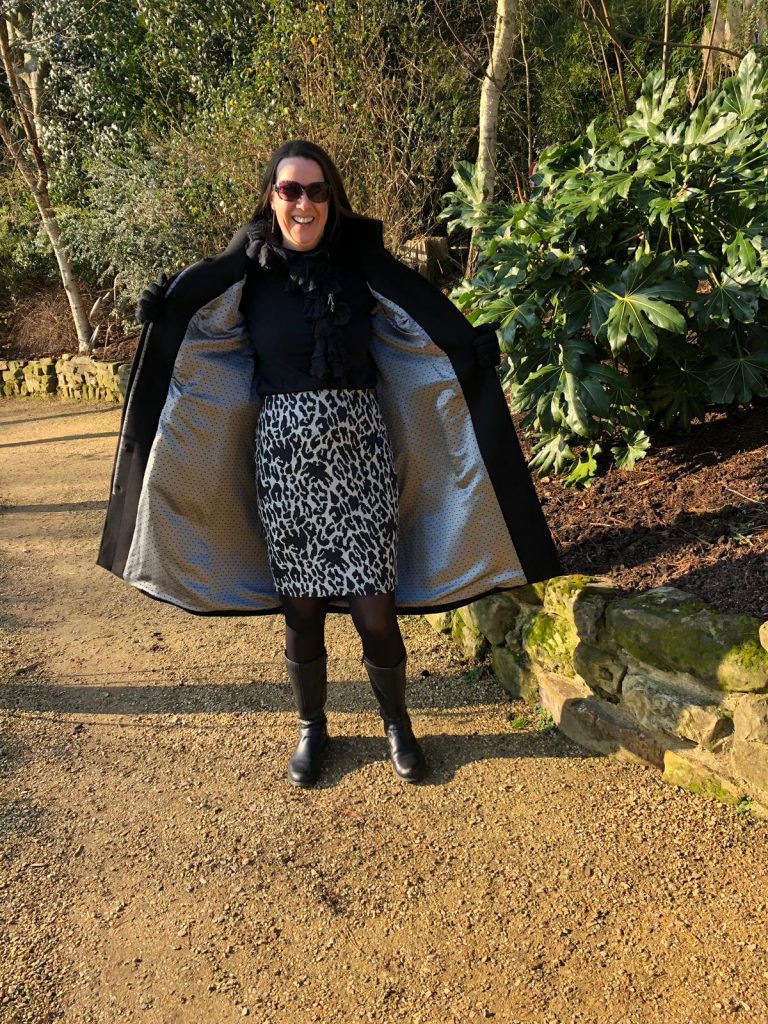
It’s only taken about 2 years to finish this project but I’ve finally done it and I’ve made the coat of dreams!!
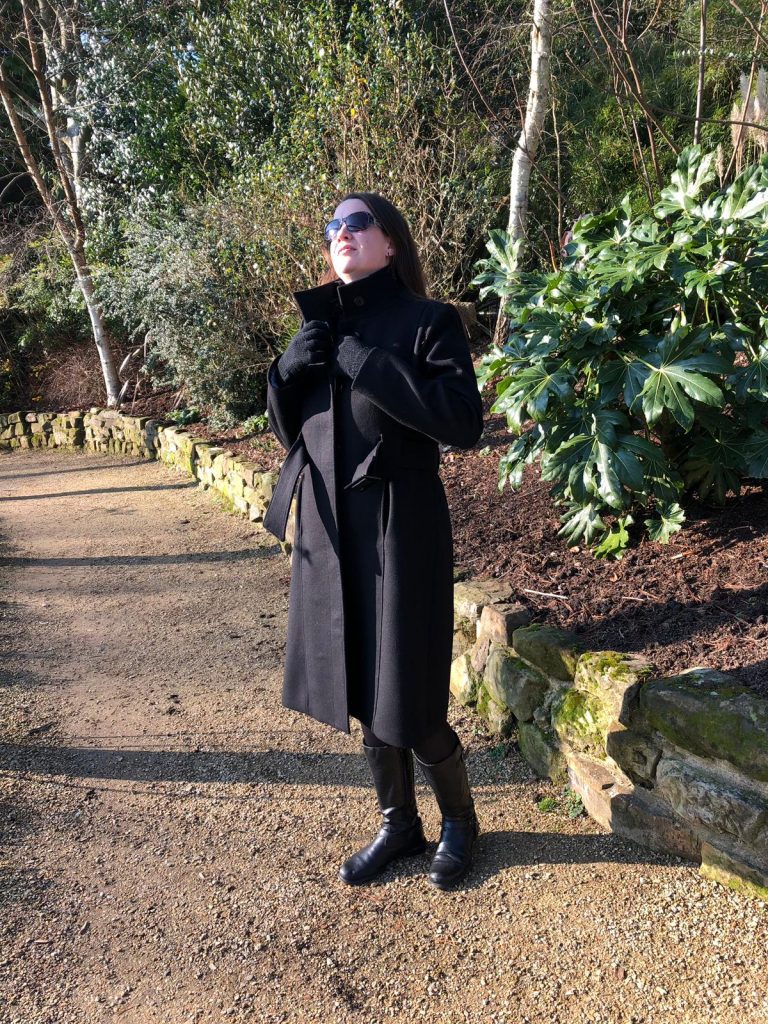
It’s the perfect style, it’s warm, it reaches my knees and the sleeves actually come to my wrists!!
Why did I wait so long for this???
I have been wanting to make a coat for ages because I’ve never been able to buy one that fits properly. They are never long enough in the body and way too short in the sleeves. I’ve been wearing a poor fitting black winter coat for over 5 years that was second hand when I got it and gradually becoming more threadbare. I’ve searched for a replacement coat but everything I’ve tried on just wasn’t right; the wrong style, the wrong fabric and always the wrong size! I’ve being making do with shop bought coats for too long and it was time to put my skills to work.
In November 2016 I bought the Butterick Lisette B6385 coat pattern from Minerva Crafts. I’d been looking for a pattern that was similar to my RTW coat since I liked the style but I didn’t really want to spend the time drafting a pattern myself. (The amount of time spent faffing and altering the pattern I probably could have drafted something myself!)
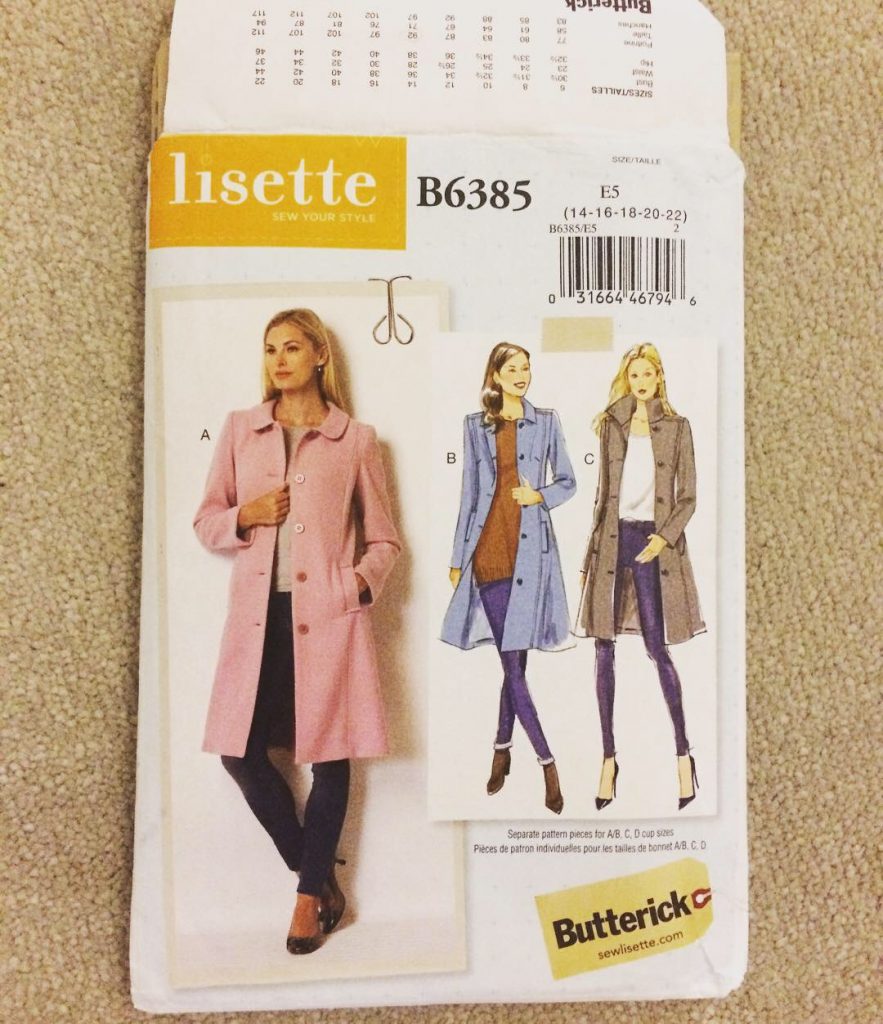
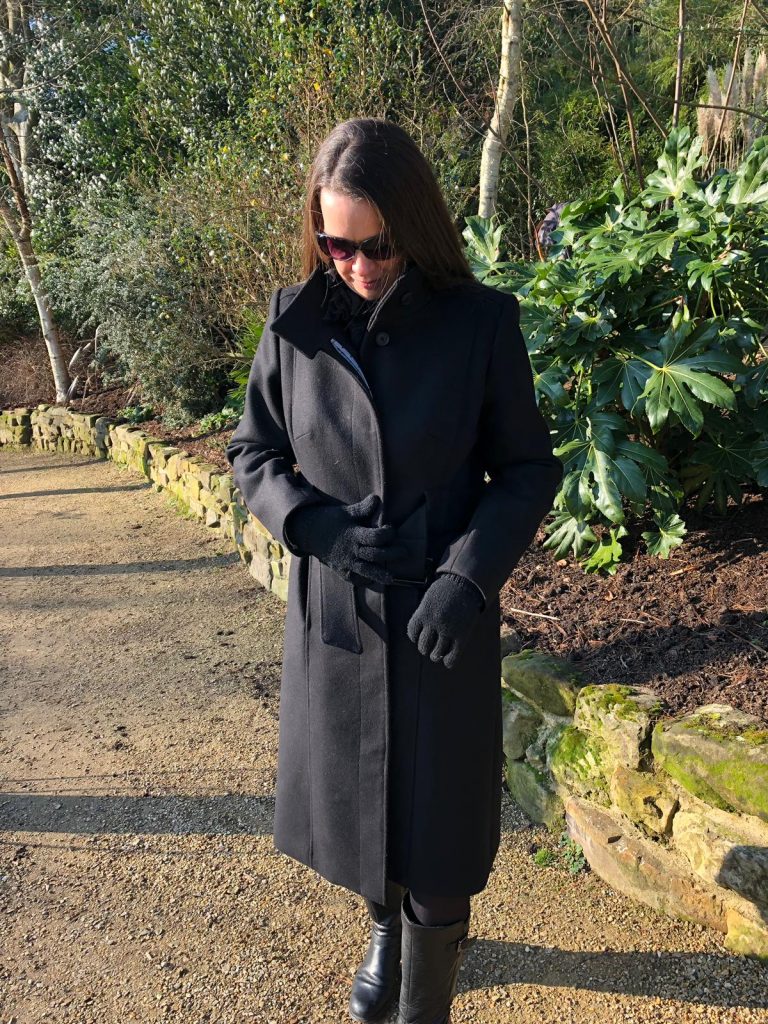
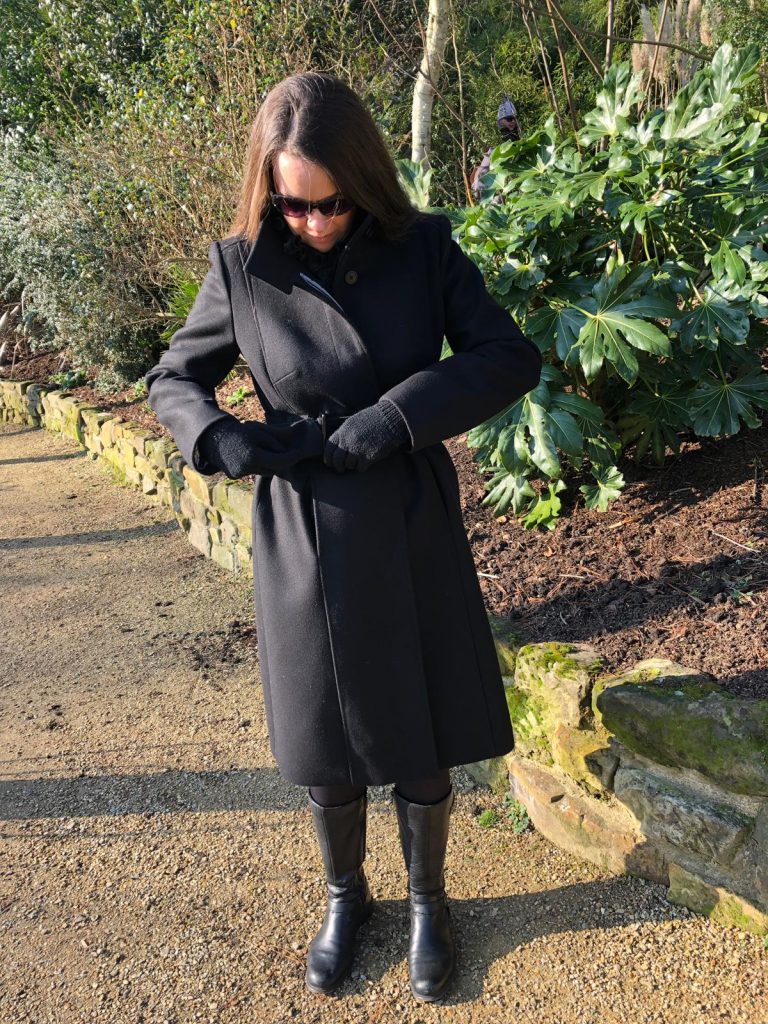
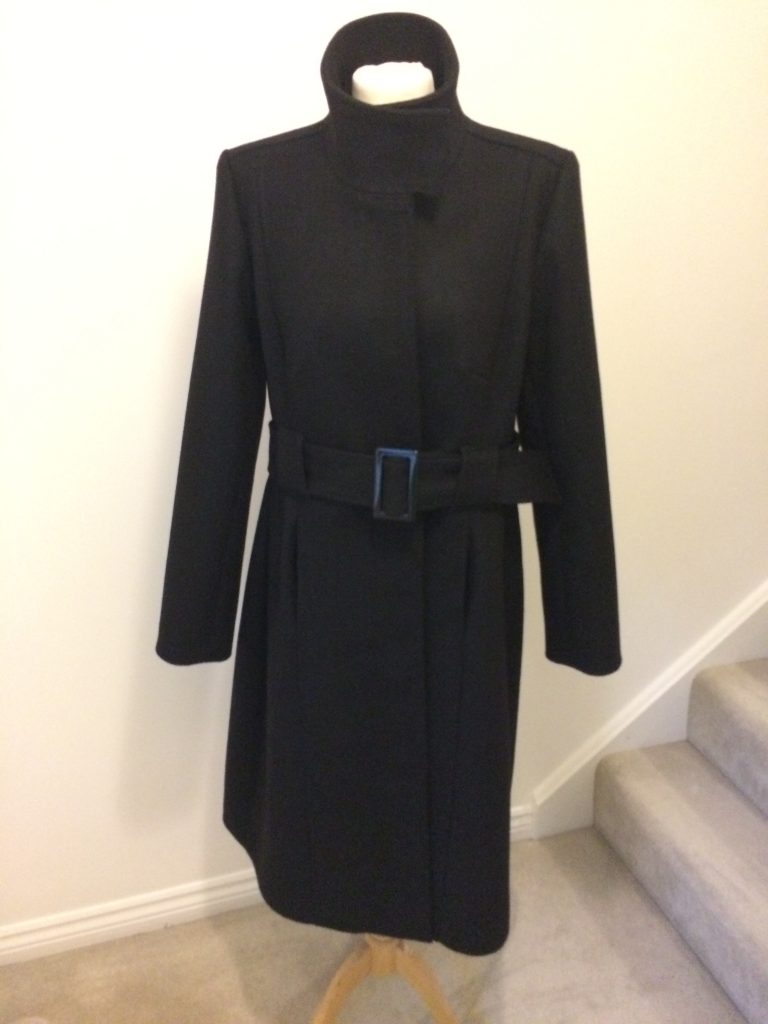
I really liked style C with the funnel neck – this was something my current winter coat has but I also wanted to add a belt, belt loops and a fly front so that the buttons and buttonholes would be concealed once the coat is fastened. I don’t like to keep things simple and just follow the pattern.
I’m always a bit dubious about the fit of a garment when it is pictured only as an illustration – what does it really look like on a real person? I did a bit of research to find out how others had got on when making this coat. The first post I found was a gorgeous soft grey coat by Fiona on her blog, the Diary of a Chainstitcher. I love the colour of this coat and the detail that has gone into explaining the construction of the coat.
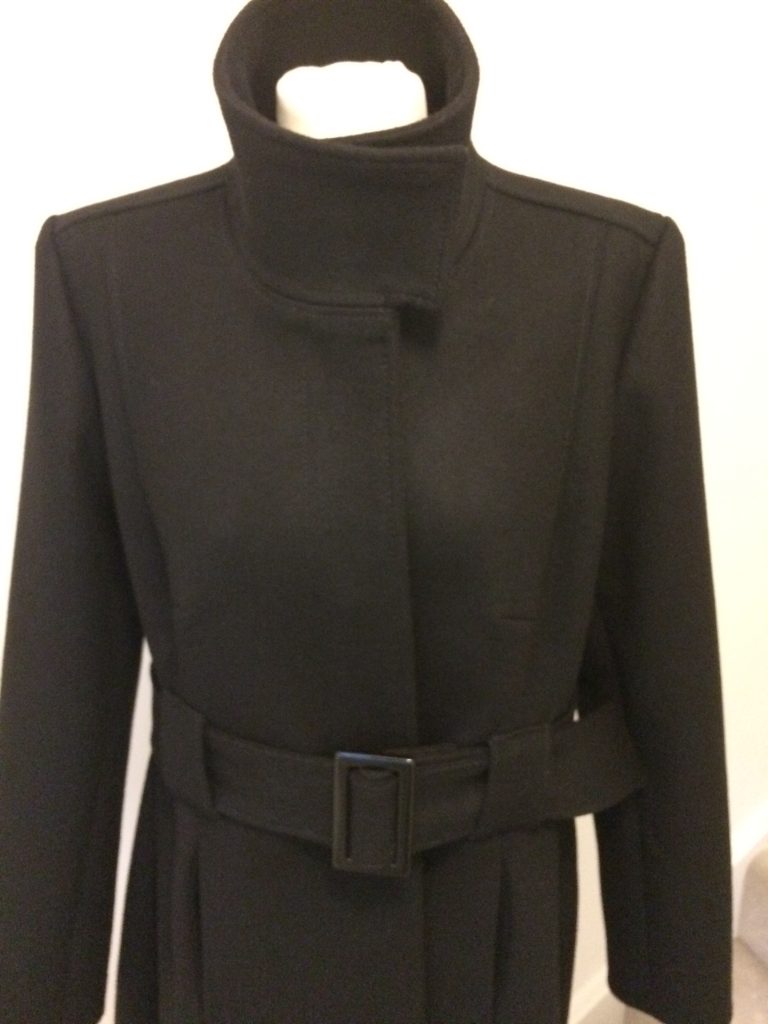
As I read more about this pattern I found a few people who’d made it and said the funnel neck wasn’t wide enough to button up over their face and they needed to keep the coat unbuttoned. This was something I’d need to fix – I wanted this coat to be super warm in the cold months.
I then found Riva la Diva’s coat in a stunning hot pink so I began wondering if I should go for something that would stand out and make all the hours of construction worth while…. but no…. I opted for black! It’s just more practical – it goes with everything and I’m going to wear it all the time.
I’d been spending a lot of time looking for fabric and decided on some Italian wool melton for £15 a metre. I bought around 4m from Fabric Godmother in November 2016 then purchased some lining fabric and woven fusible interfacing from Ditto in Brighton and picked out some rather plain black buttons from eBay. As I was intending to create a fly front the buttons wouldn’t be seen and also needed to be flat.
I then spent a lot of time procrastinating! I’d recently finished a tailored jacket and could apply most of the the same techniques but something was stopping me from getting started… probably knowing how long it would take and the strain on my brain of puzzling all my alterations!
I decided to join an evening class in Dressmaking for Beginners and Improvers at Friends Centre. Yep, I do work there… and I probably didn’t need to do a course to make this coat but I thought that if I set the time aside each week by enrolling on a course then I’d actually make the coat and finish it…or so I thought. It also meant that I had someone on hand to help with fitting and to bounce ideas off in case I got a bit stuck.
The first stage was to work out the size of pattern that I’d need. I took my high bust measurement, full bust and hip and then went from there. The pattern is sized for A/B, C and D cups – I roughly matched the size 16 C cup so traced off all the pieces for the outer shell. At £8.25 for the pattern I didn’t want to mess it up and have to buy another one!
After tracing I did a quick tissue fit of the pattern to fix any immediate issues before making the toile (another good thing about being on a course and having a knowledgeable tutor to help – it’s almost impossible to tissue fit on your own!) I knew that pieces would need to be lengthened and so I added 5cm to the sleeve, 1.5cm from nape to waist – I added this in above the dart on the front as this needed to be lowered. I also added 10cm around the hip area to lengthen the coat. The paper pattern looked a little too snug and since my fabric choice was a thick and heavy fabric I’d need a bit more room around the hips so I tapered out the seams slightly to allow more ease.
When it came to constructing the toile (finally!! – after hours of tracing, amending patterns and cutting out calico) I realised that I was missing a sheet of instructions – there were 3 sheets in the pattern envelope but two of them were the same! – how annoying! – I really didn’t want to buy another pattern but thankfully a quick email to Butterick and I had everything that I needed.
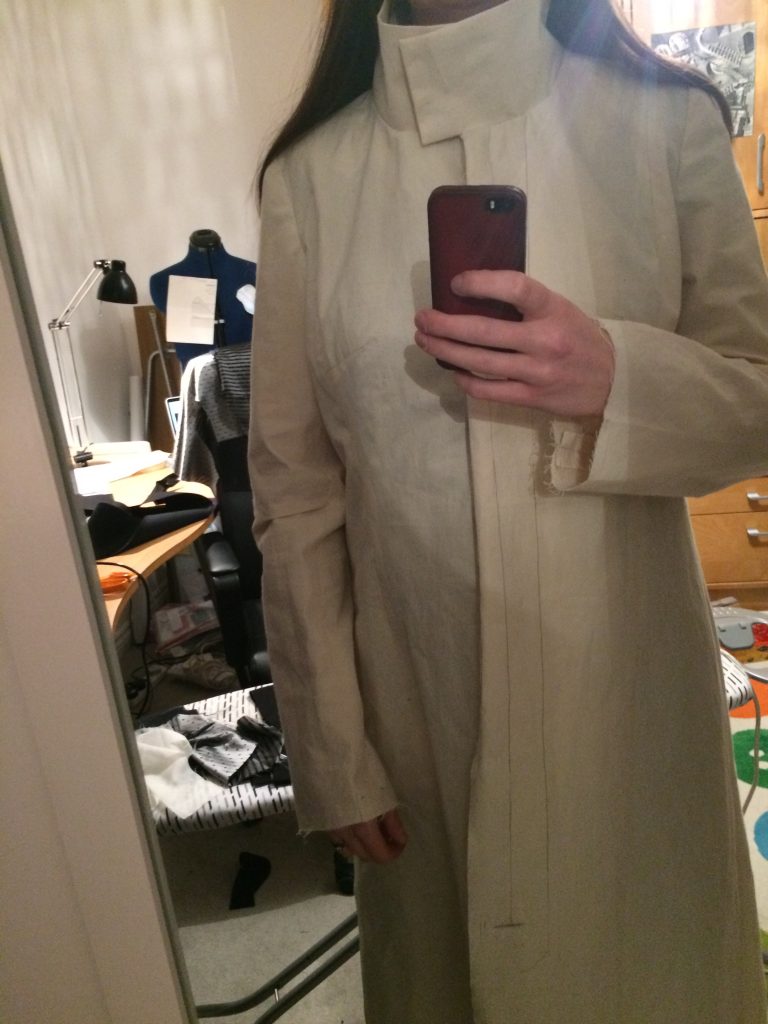
I left out the pockets and made up the toile to check the fit. It was clear that the collar just wasn’t right; it was far too tight around the face and didn’t come up high enough. I needed to draft another shape. There were a few other pattern drafting elements that I’d been avoiding too.. namely the front fly / concealed button stand and how that was going to work. For now I decided to ignore that and just move on to cutting out the wool melton since I could do that bit without too much thinking and come back to the hard bits later.
I made a few further alterations to the lining pieces and the front facing; I made the front facing narrower, rather than the width of the front panel and then combined the side front and front lining pieces so the piece was larger, I added a small tuck in the front lining too for ease. I made more adjustments so I could machine stitch the lining and not hand stitch as the pattern suggested.
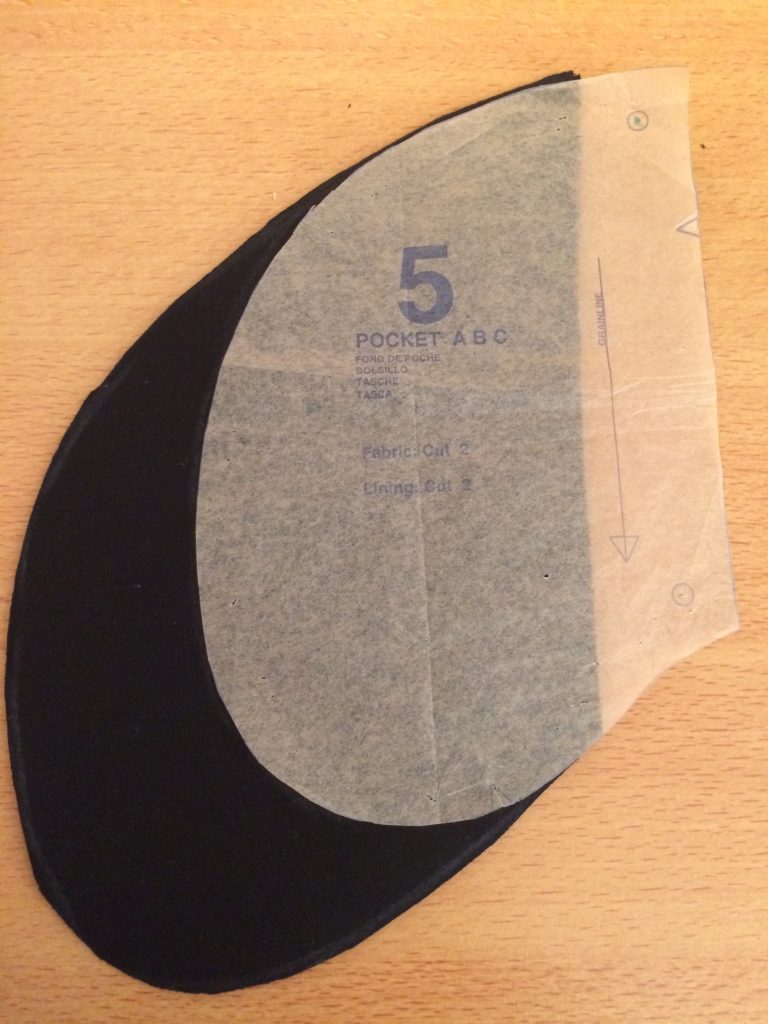
When it came to cutting out the pockets it was clear that they were far too small – who even has hands that size? (Or perhaps my fingers are just rather long, like the rest of me!?).
I made the pocket pieces larger but after finishing the coat realised that the original pocket had been made that small so it fitted between the side front seam and the centre front… oh well – it still works ok and I’d rather I can actually get my hand in the pocket!
I used black silk for the pocket lining and it’s seriously soft in there!
I had a few issues with the welt on the pocket – I put it on but couldn’t get the topstitching right and it just felt too bulky so I took it off again. I think it looks better without a welt.
When it came to interfacing I used really good quality woven fusible interfacing and used it in more areas than the pattern suggested. I interfaced the whole front panel, side front, front and back facings, collar and also applied a 6cm strip to the hem area on the remaining pieces, including the sleeves so as to add a little weight to the hem and also to create a better fold line – always make sure the interfacing strip is wider than your hem allowance.
I love these tips from Fashion Incubator on using interfacing
The fabric was a bit of a nightmare to work with – it’s lovely fabric but my machine really struggled with the layers on the really thick parts around the collar. I spent a lot of time trimming, layering and pressing the seams. To get the flattest results I used a wooden clapper so I could put lots of steam into the fabric and then use the clapper to flatten the seams without burning them.
My machine also struggled with the top stitching. I used a Gutermann topstitching thread in the top and regular thread in the bobbin. I swear I unpicked more topstitching thread than is actually sewn into the fabric! – The stitching just wouldn’t look neat – it would vary in length as I stitched a seam, sometimes short, sometimes long stitches and so I’d redo it, then it would skip or pucker so I’d redo it again. I even ended up pulling some topstitching thread out of the bin and rewinding it to use again as I ran out of thread.
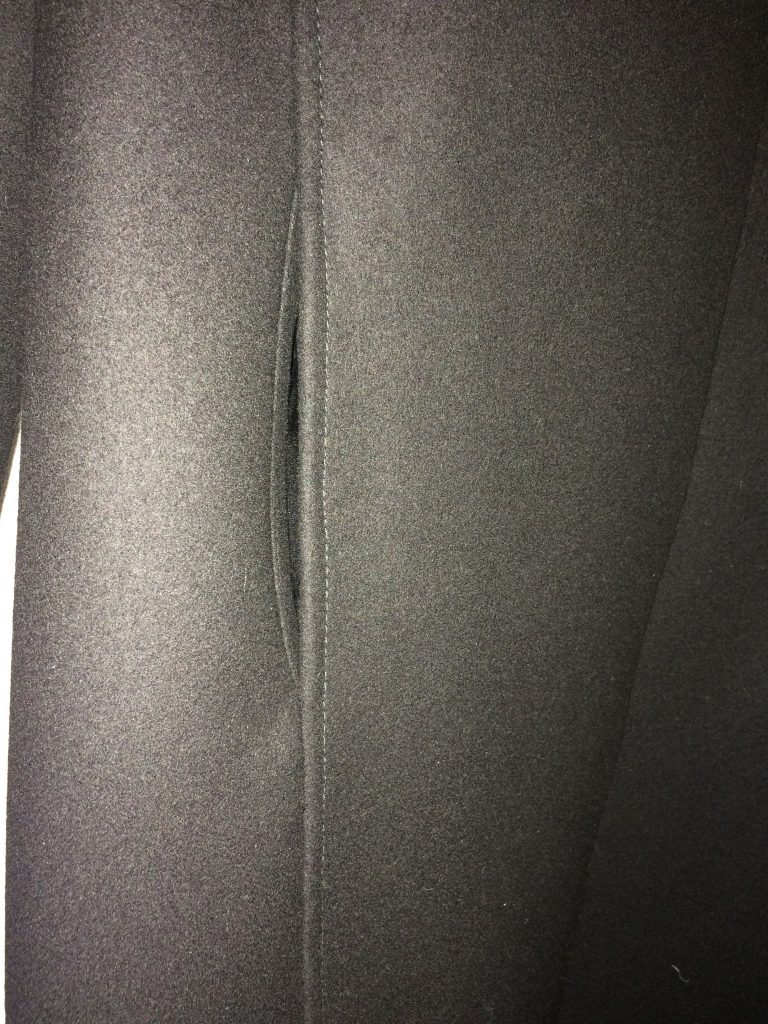
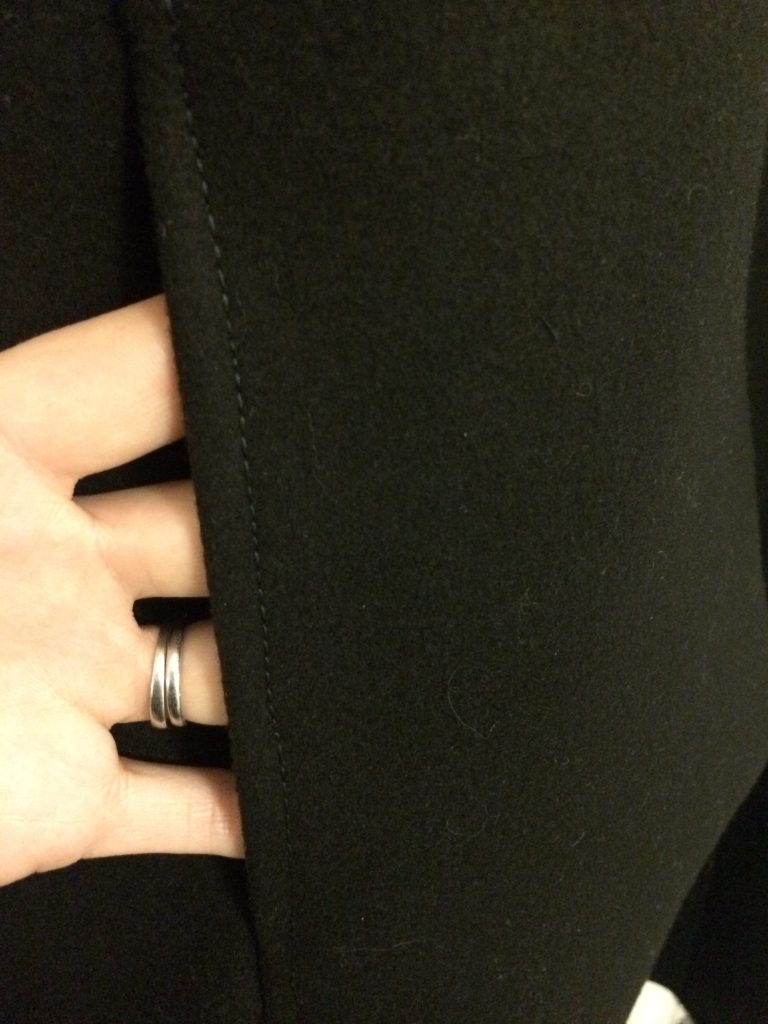
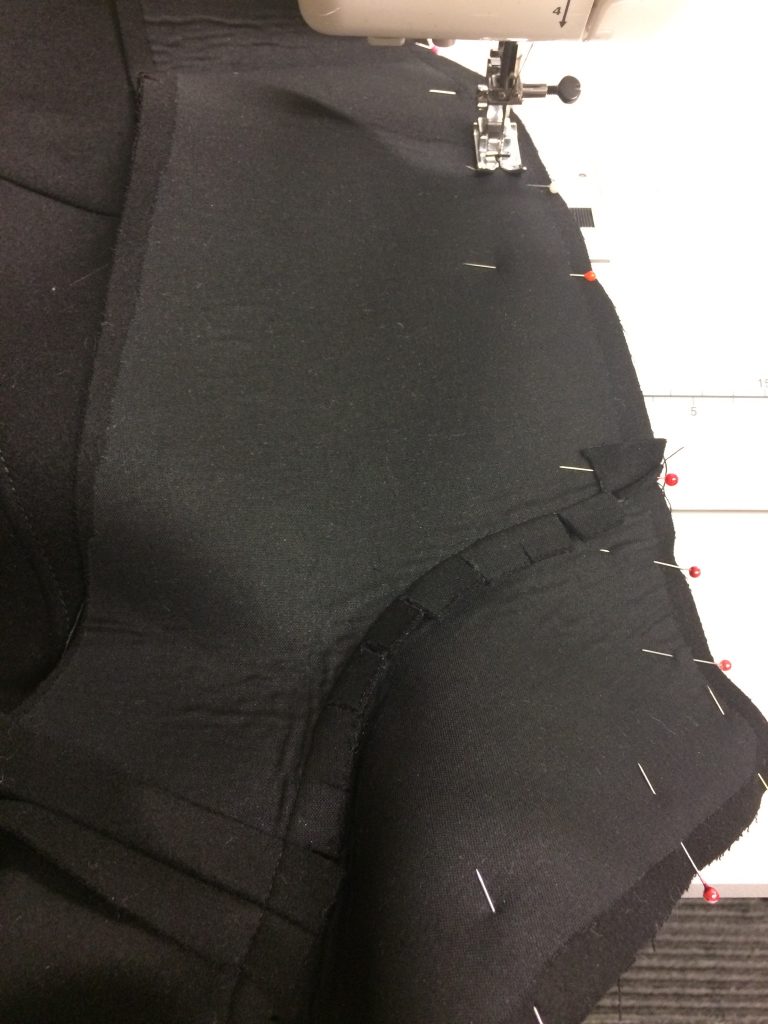
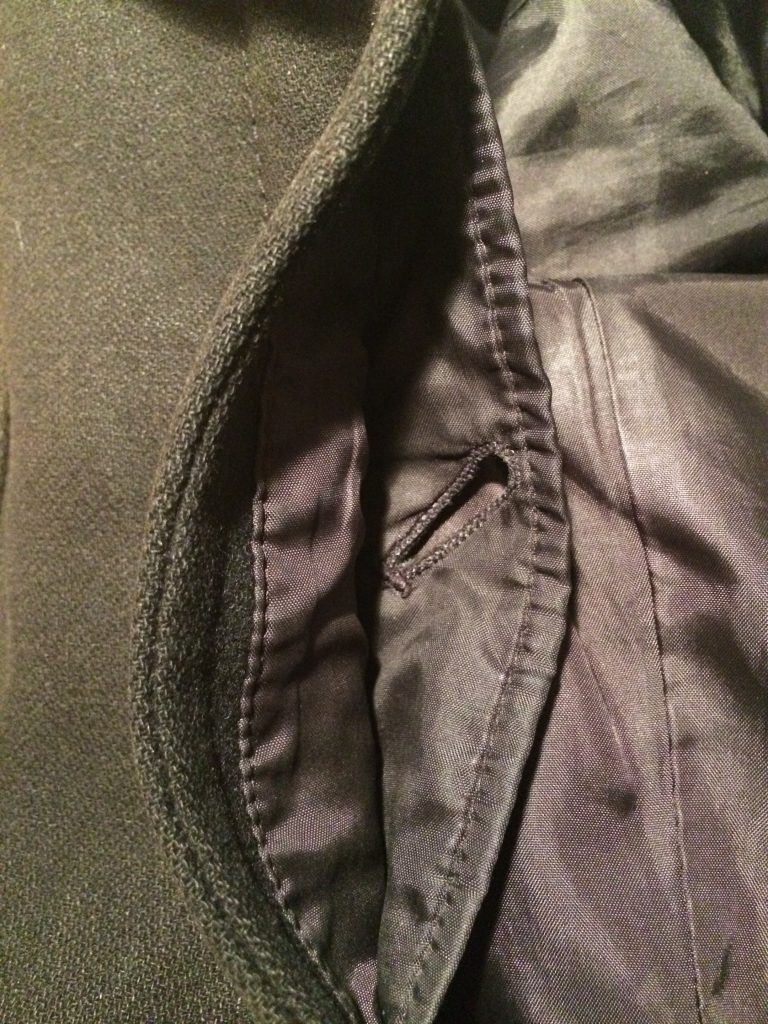
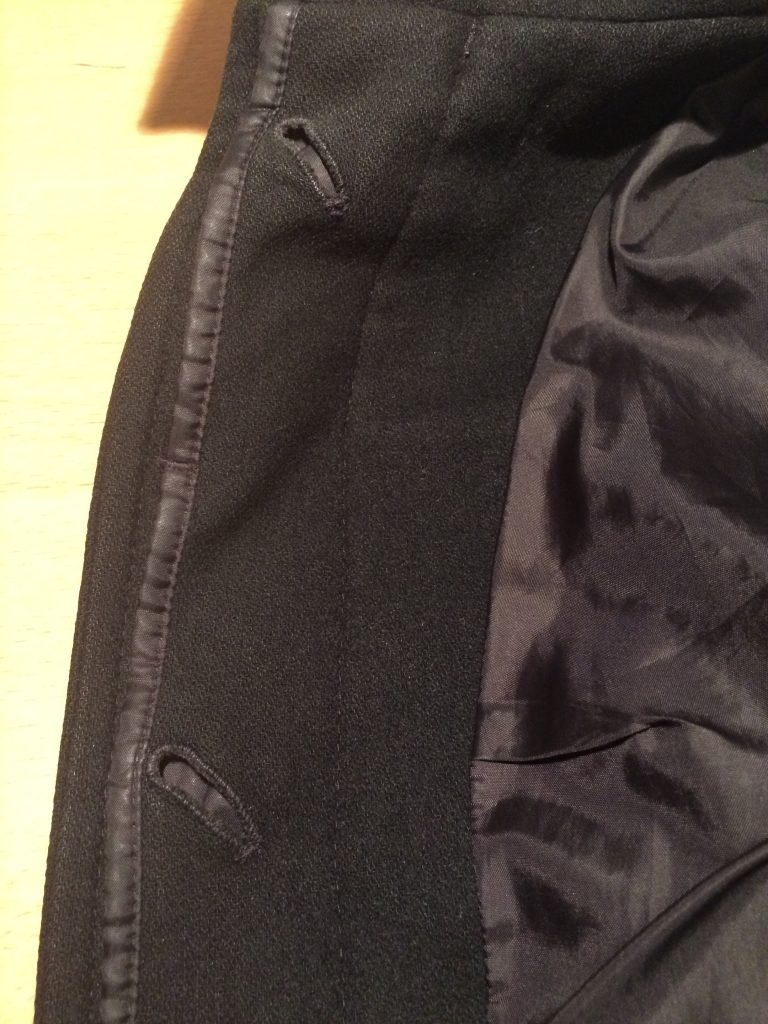
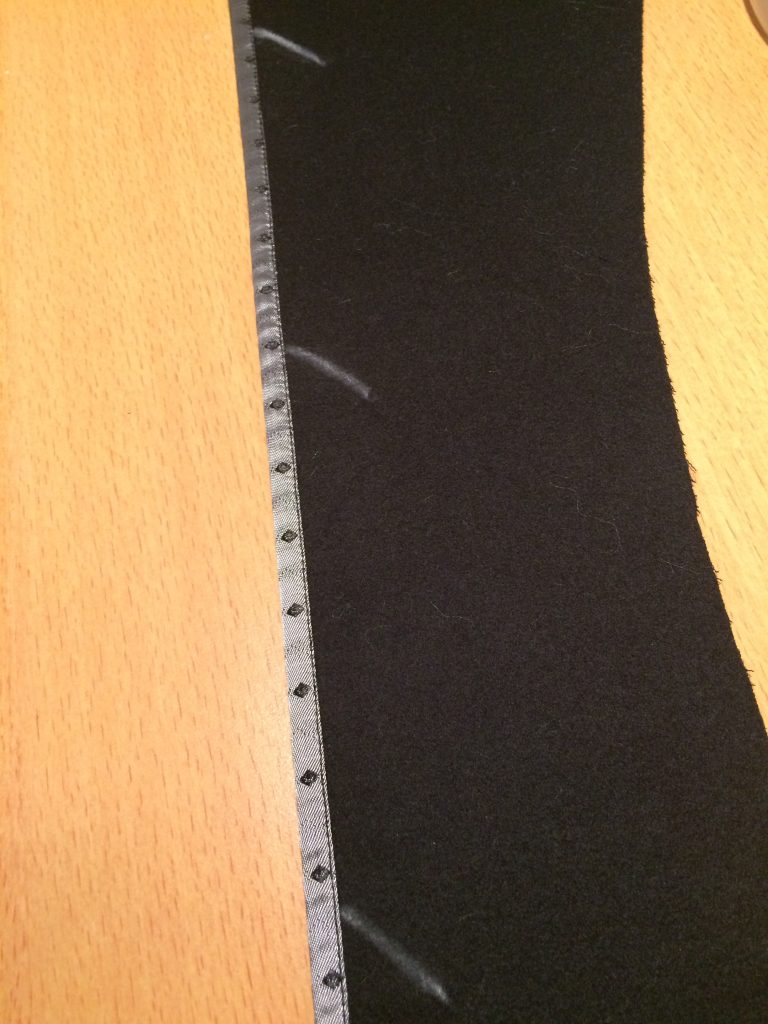
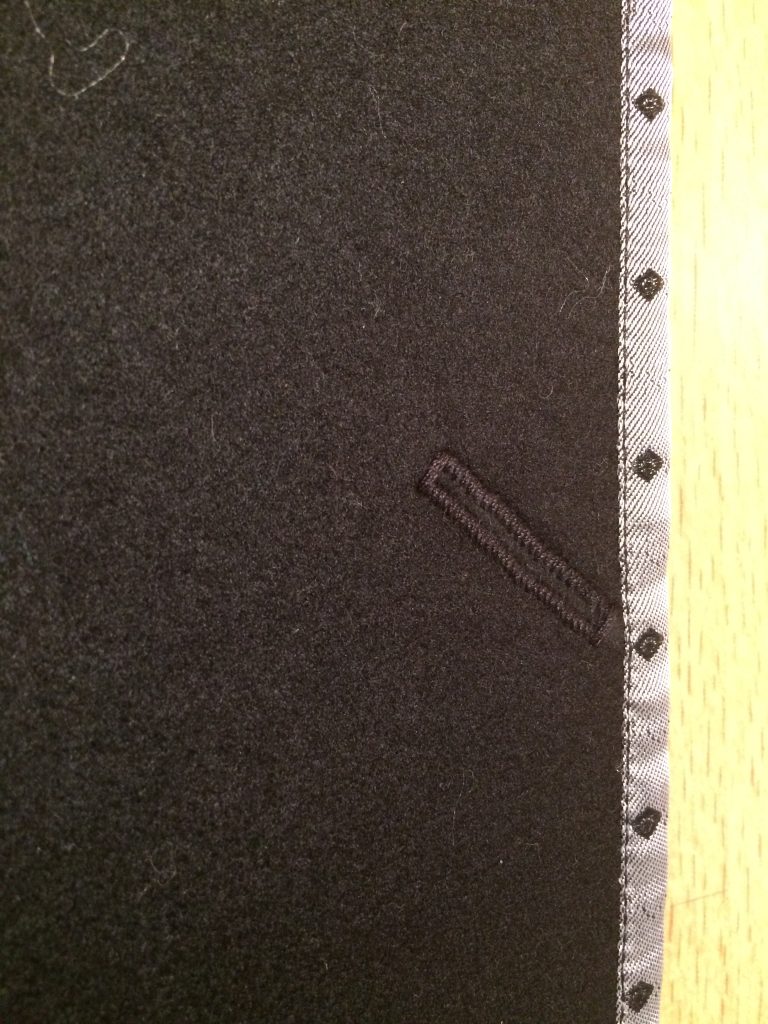
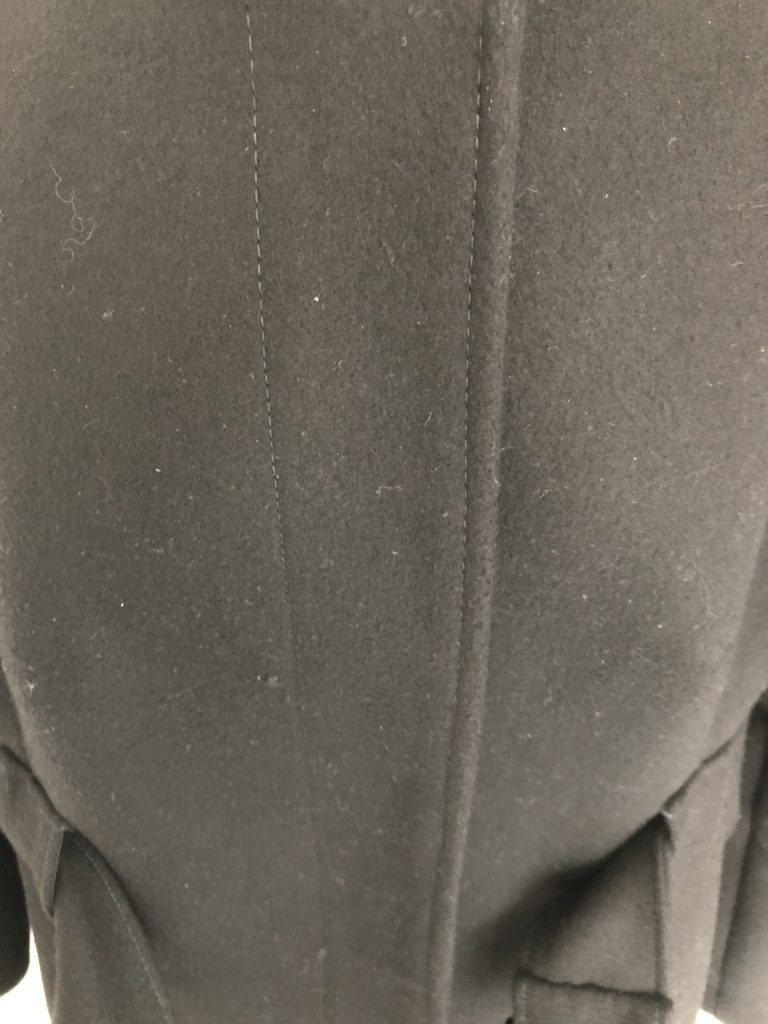
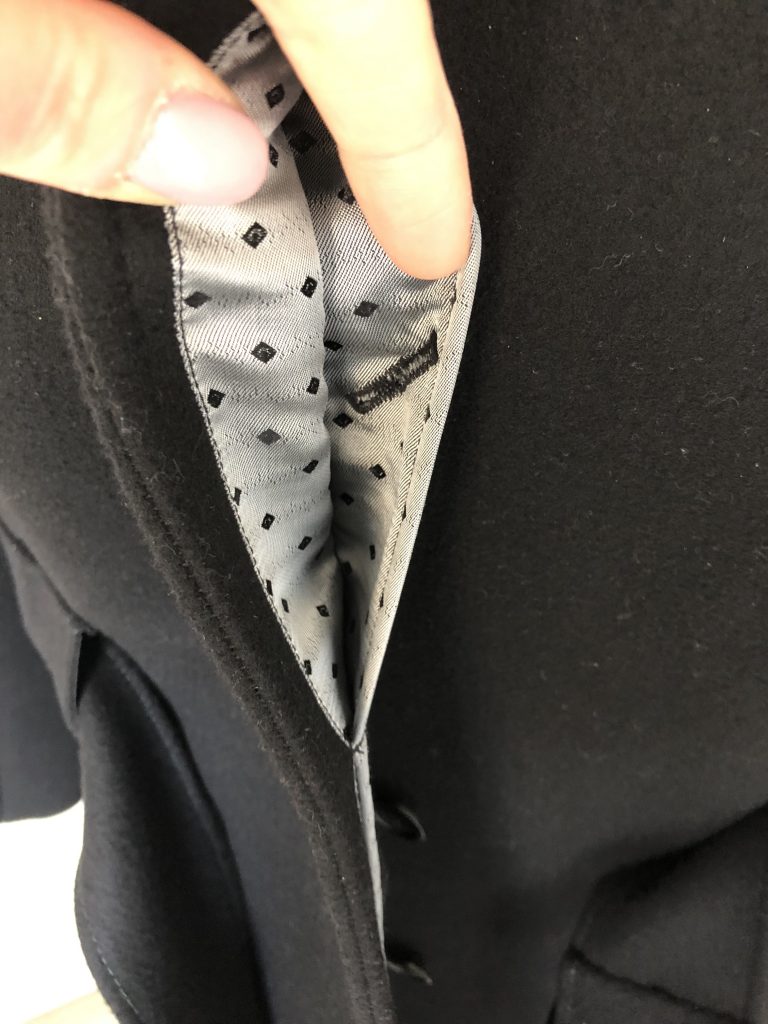
I’d decided to create a fly front and tried to replicate the effect on my RTW coat which was a bit like constructing a welt pocket and I’m pretty amazed it turned out so well.
Below are the images from the RTW coat that I copied:
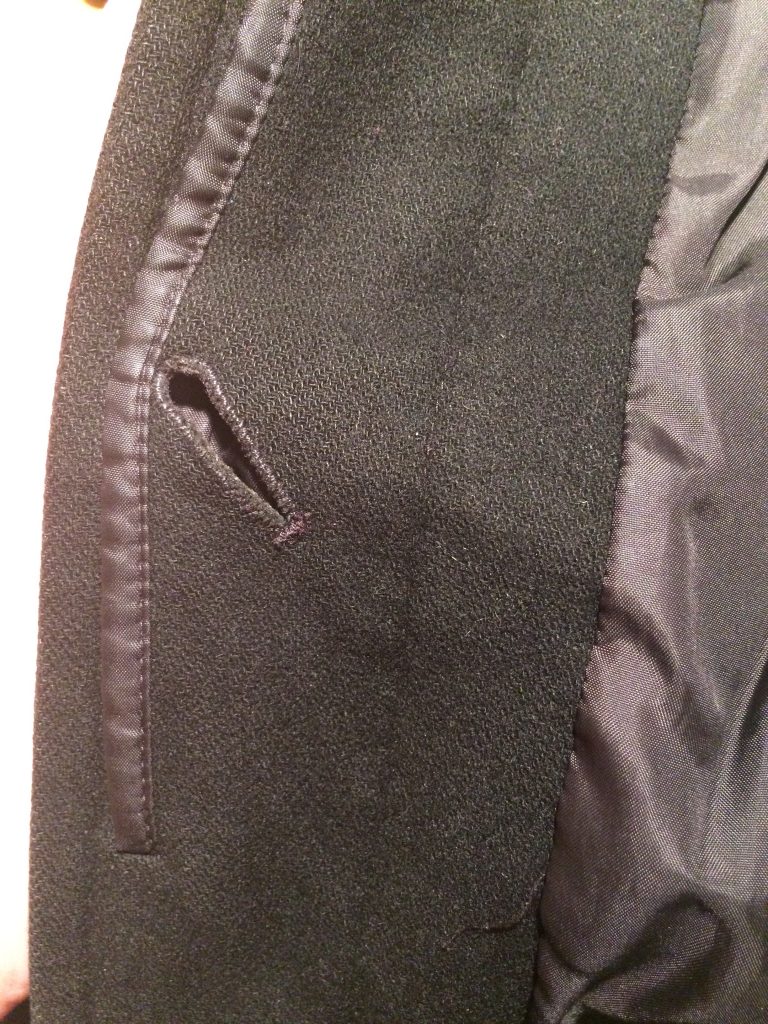
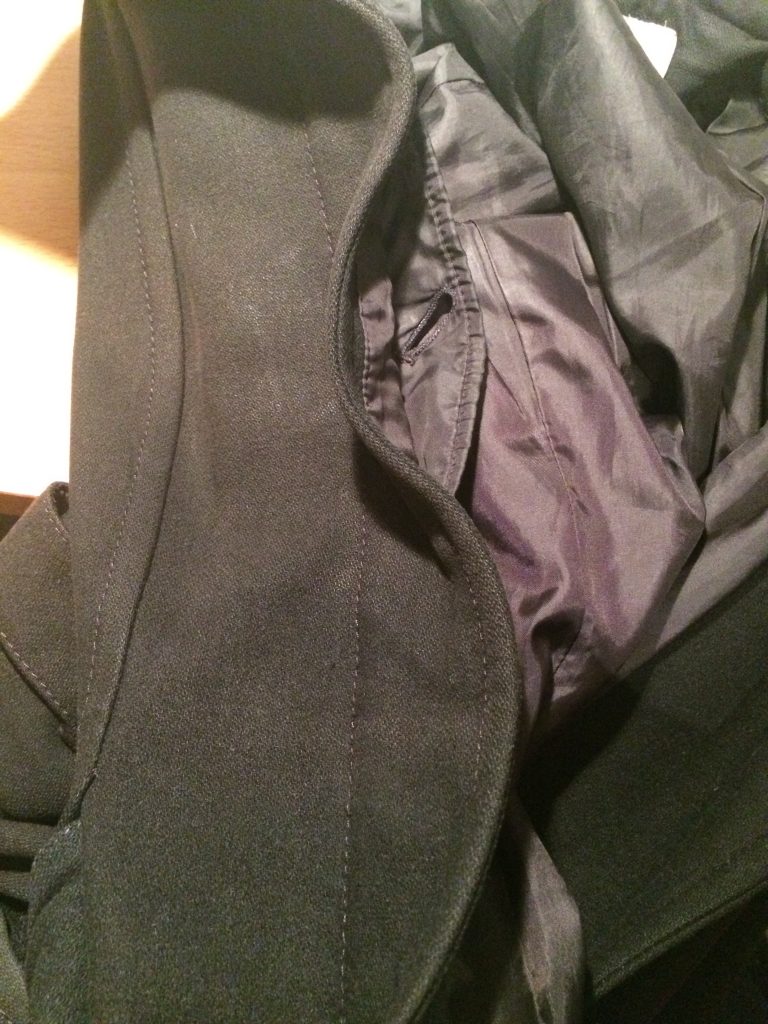
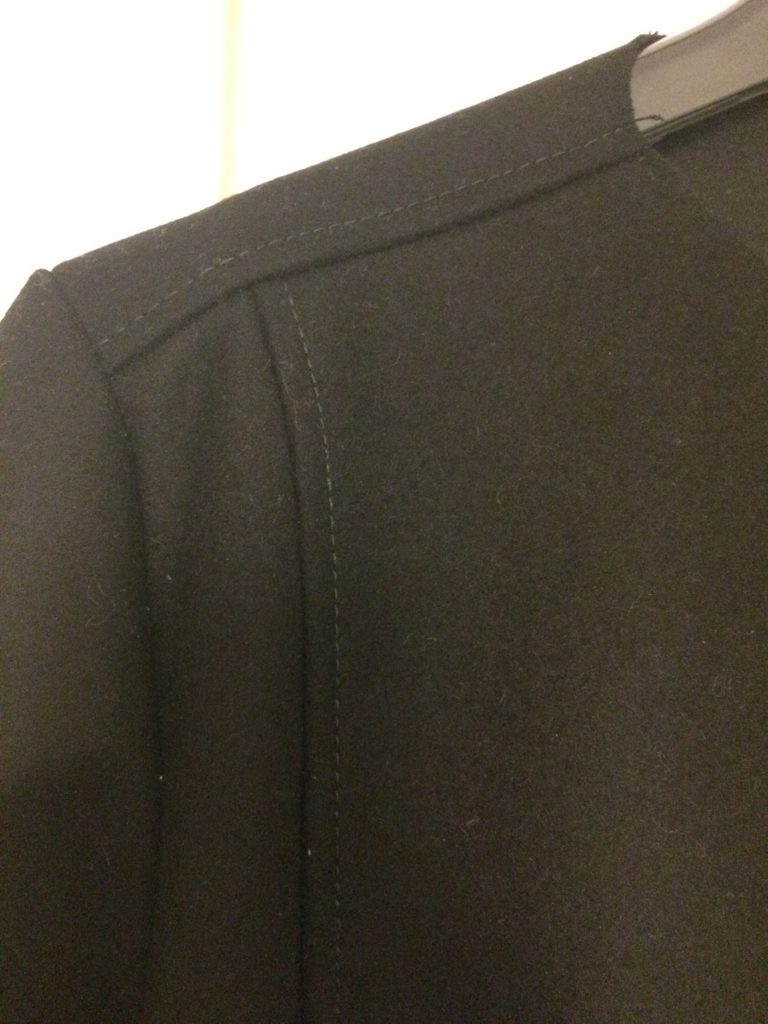
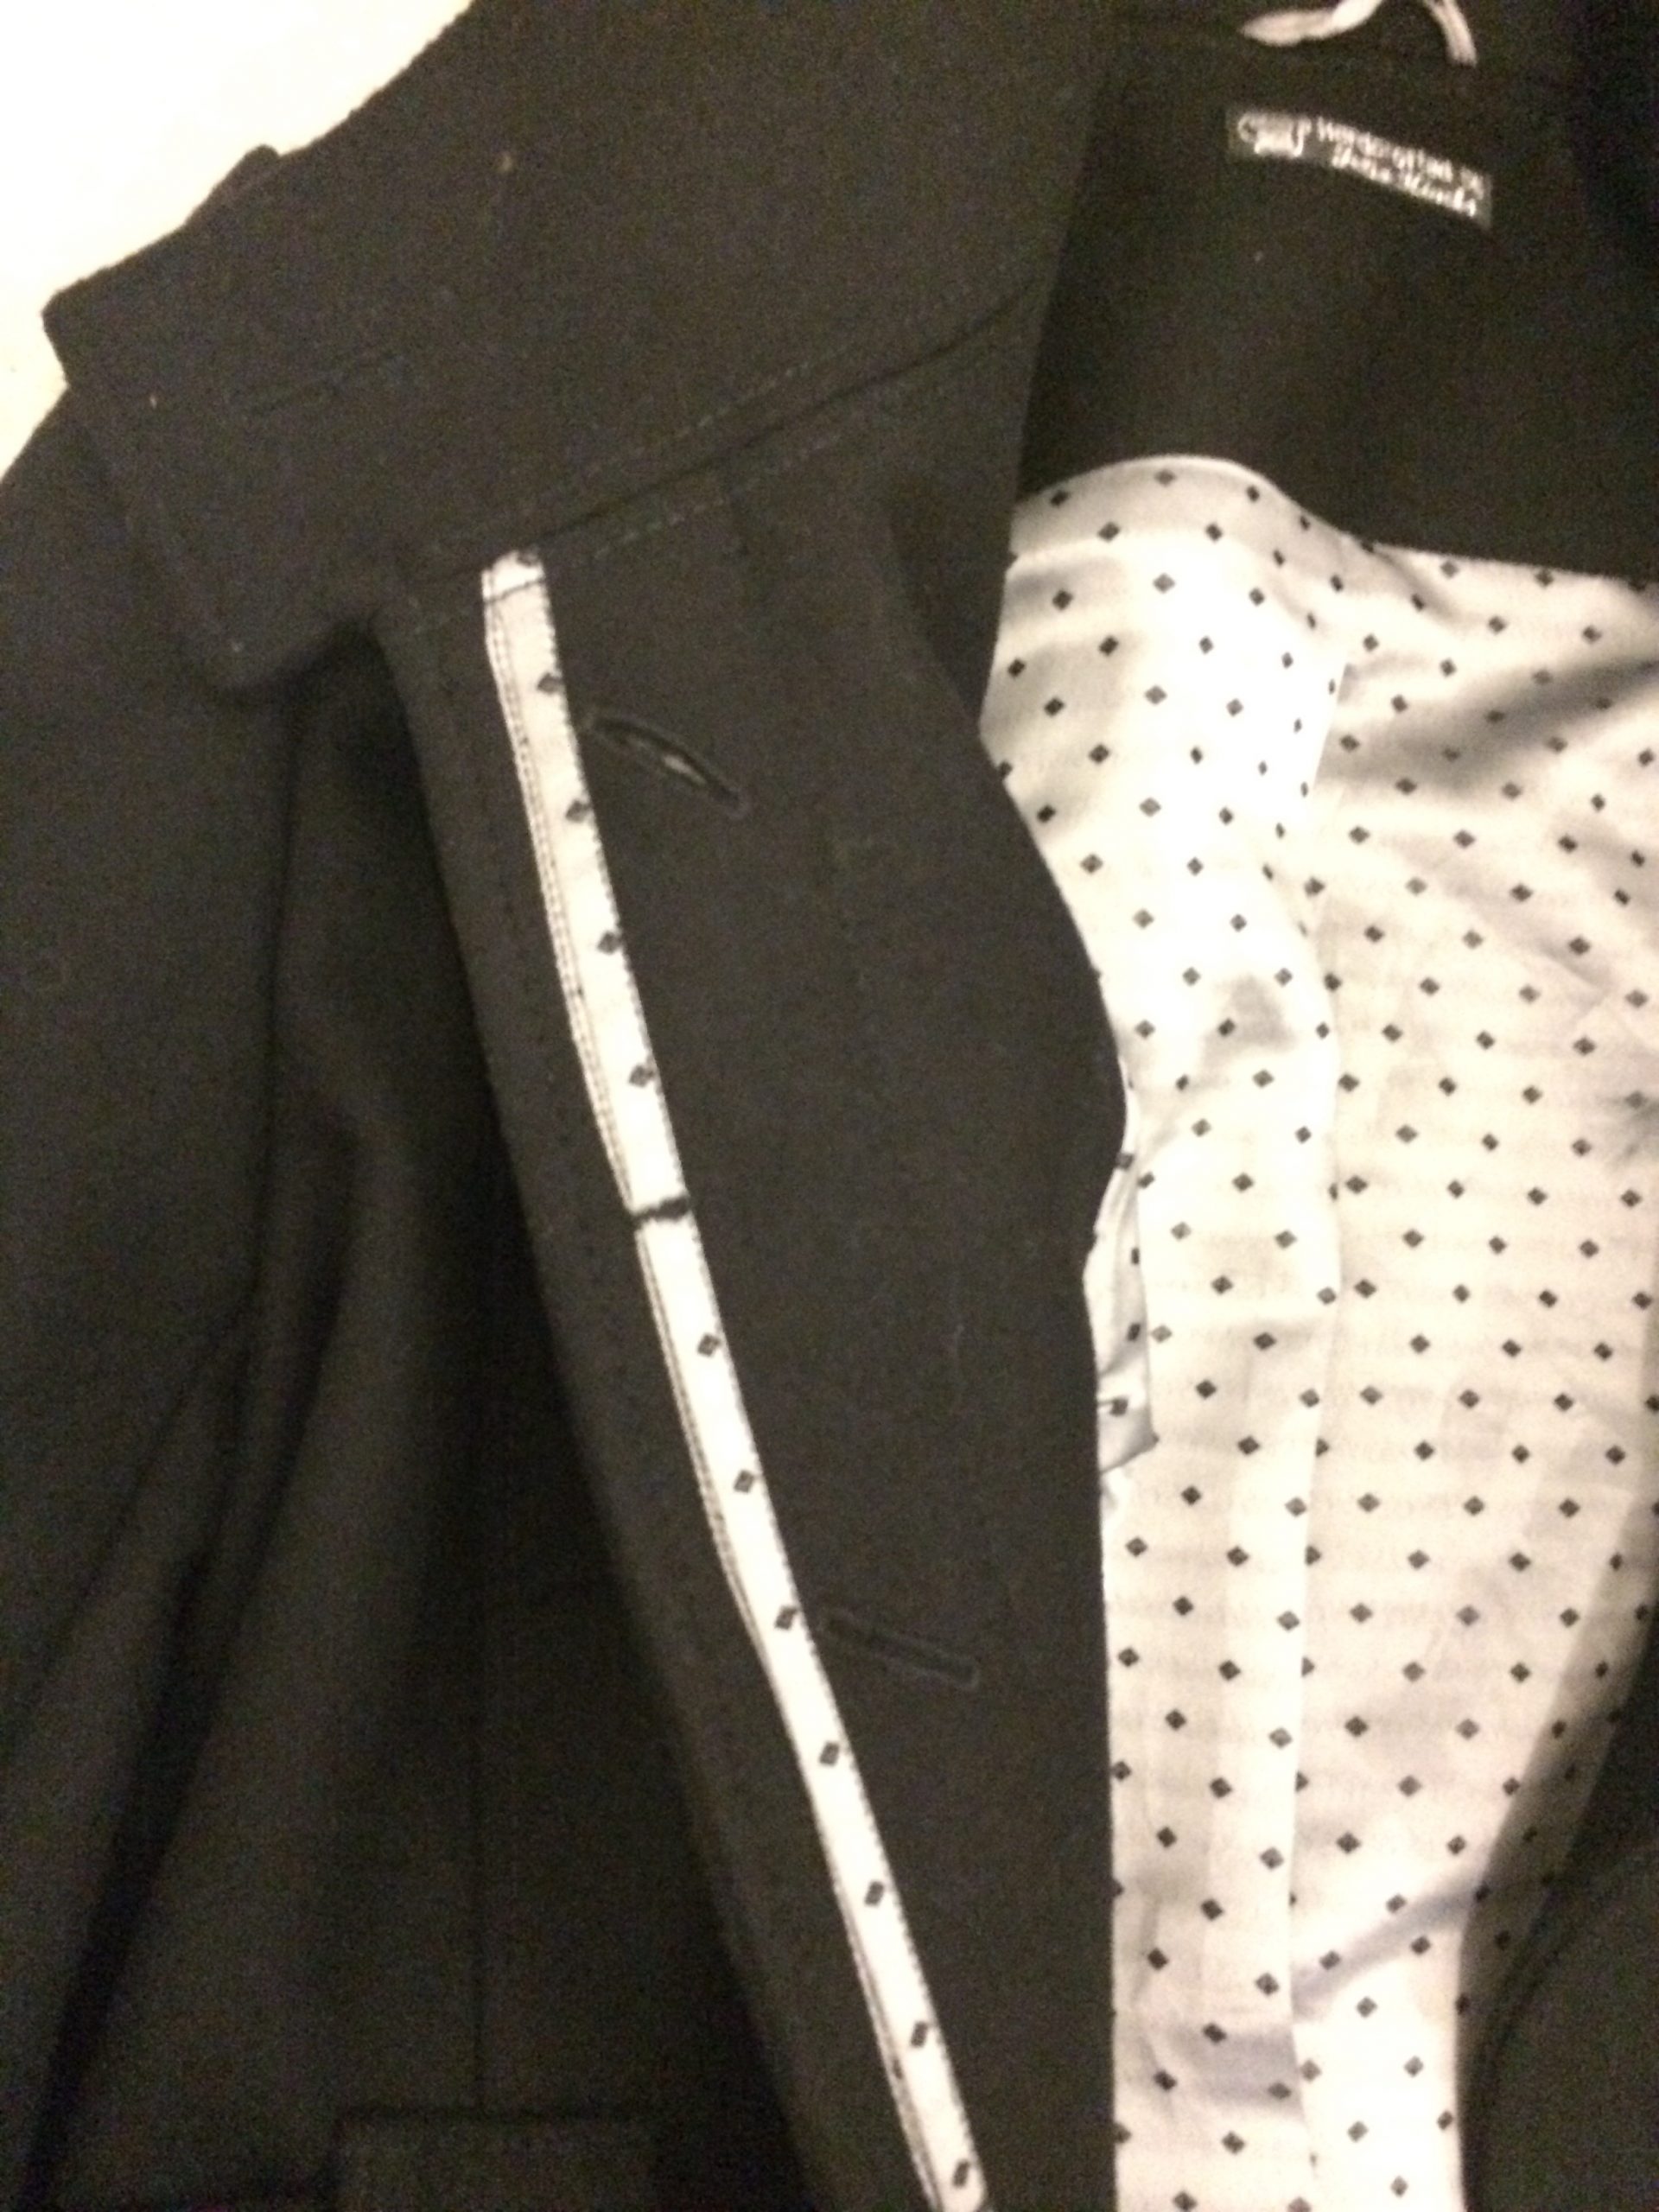
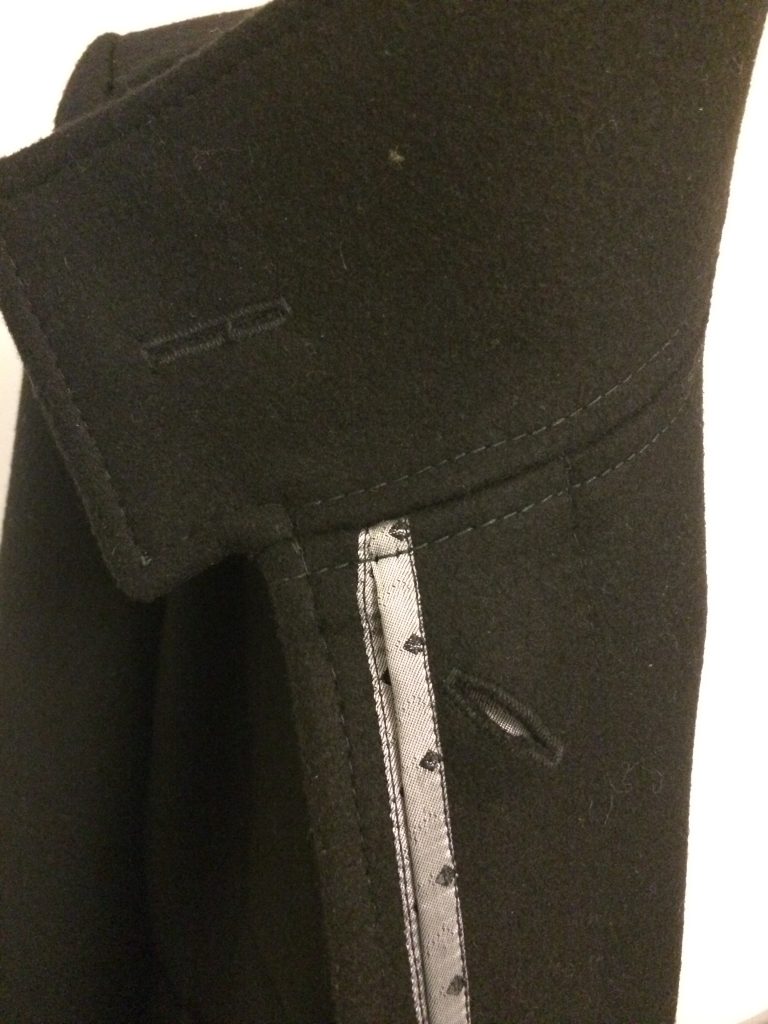
and this is my version: (excuse the fluff on the fabric!)

I added shoulder pads that I bought from Kenton Trimmings they have a range of sizes and thicknesses and they’re so much nicer than the usually ones from the haberdashery department. I also added a sleeve roll to create a professional finish.
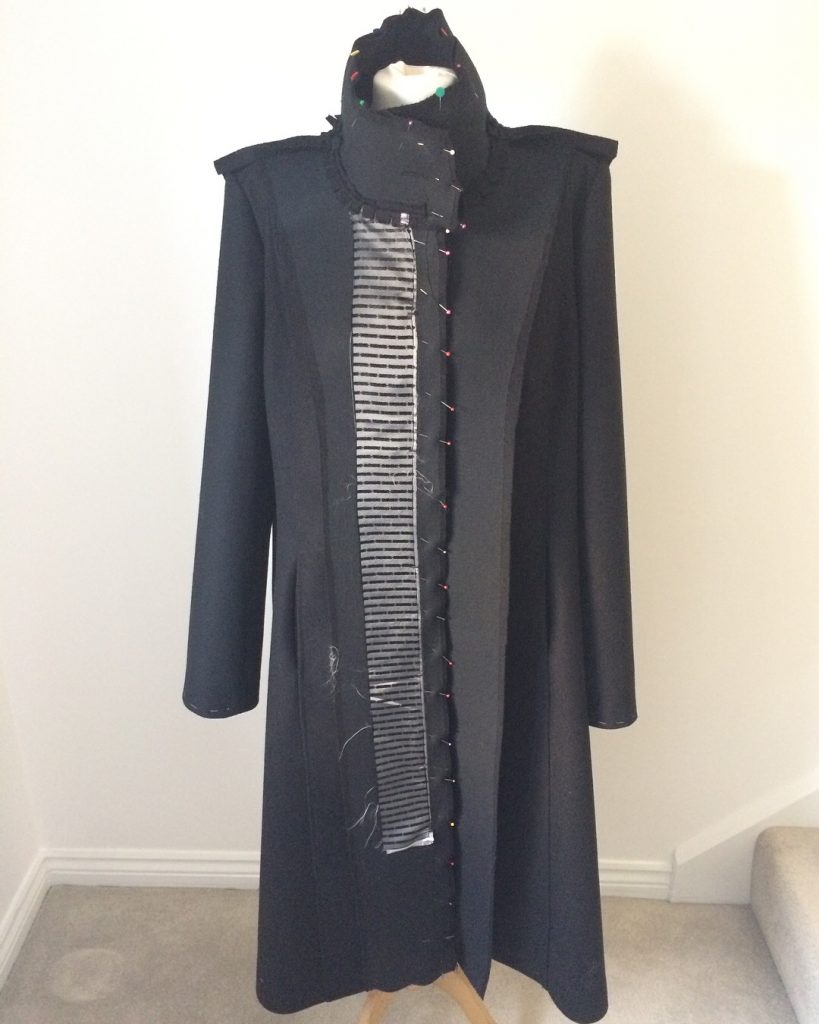
I then left the coat half finished on my mannequin for about 6 months – I only needed to add the lining but I just couldn’t bring myself to do it plus by this stage the weather was warmer and I wanted to make summer clothing not a thick heavy coat!
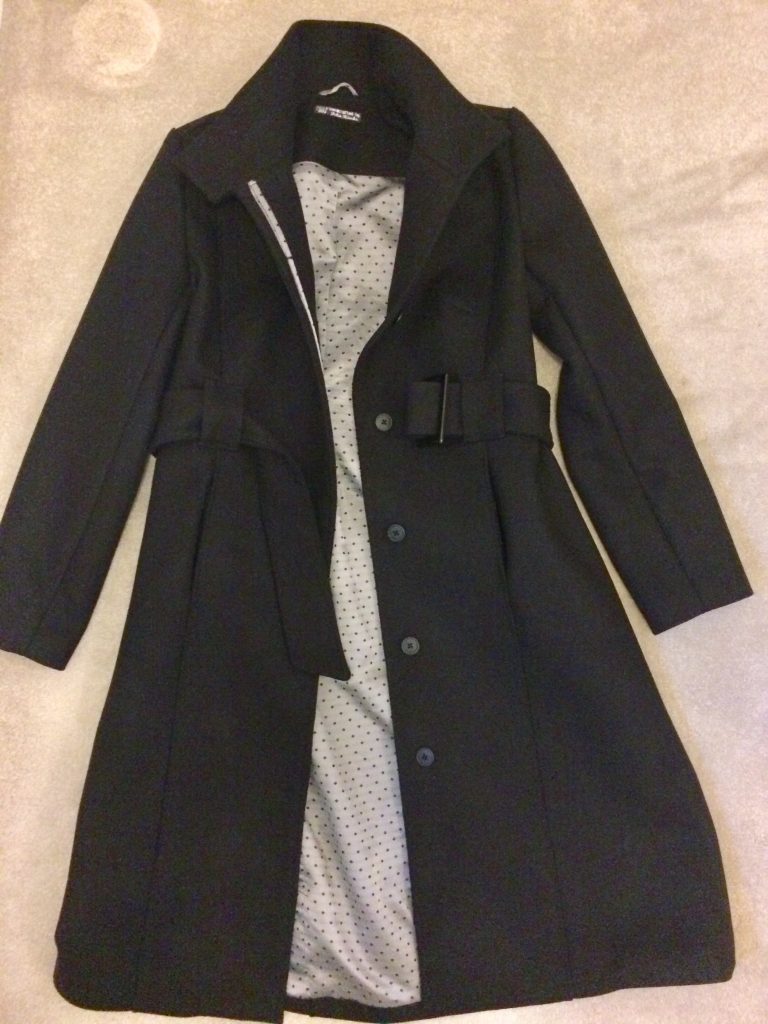
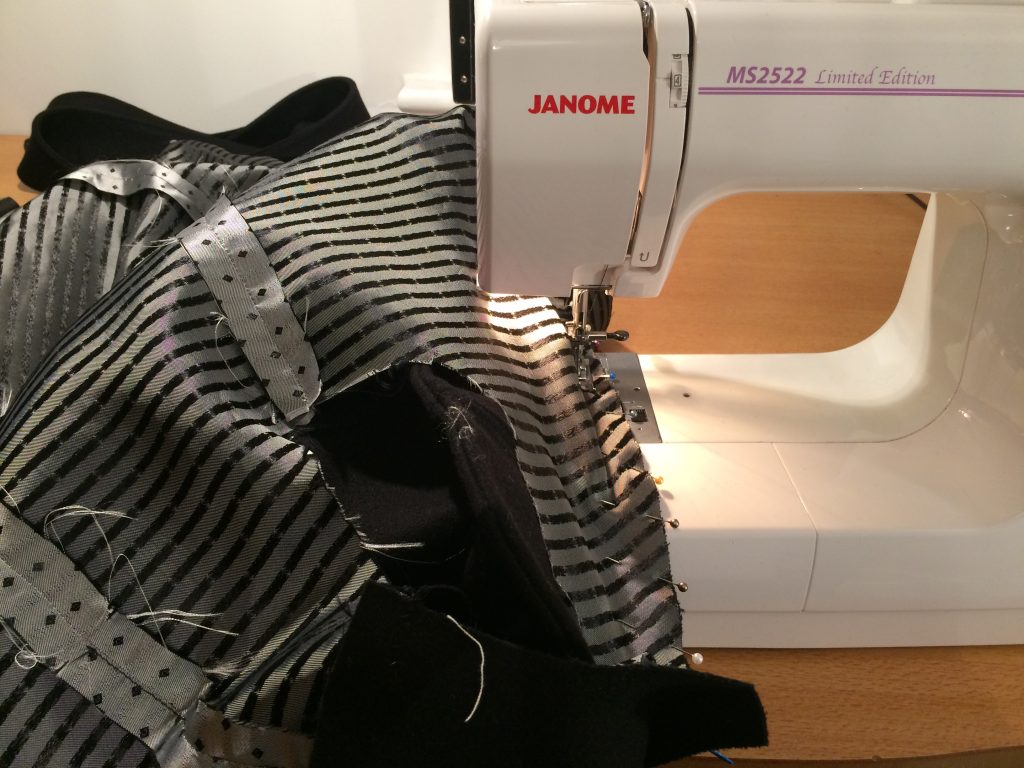
When I sewed in the lining I used the ‘bagging’ method. The lining was put together fully but I left a hole in the back sleeve lining on the left sleeve for turning. I then attached the lining to the front and back facings and to the end of the sleeves.
I’d thought about adding in piping between the lining and the main fabric but at this stage I really just wanted to get this thing finished.
The final addition was a belt – I searched everywhere for a buckle but couldn’t find the right shape or size so I cut the one off my old coat and it’s perfect!
I’m so pleased with the finished coat! It’s almost everything I’d wanted – ideally I’d like an exact replica of my old RTW coat but that will have to be another project for anther time!
Sadly the photos aren’t great – why is black so hard to photograph!! I also blame the model and the photographer… I’ll try again another day for some better ones but for now these will have to do.