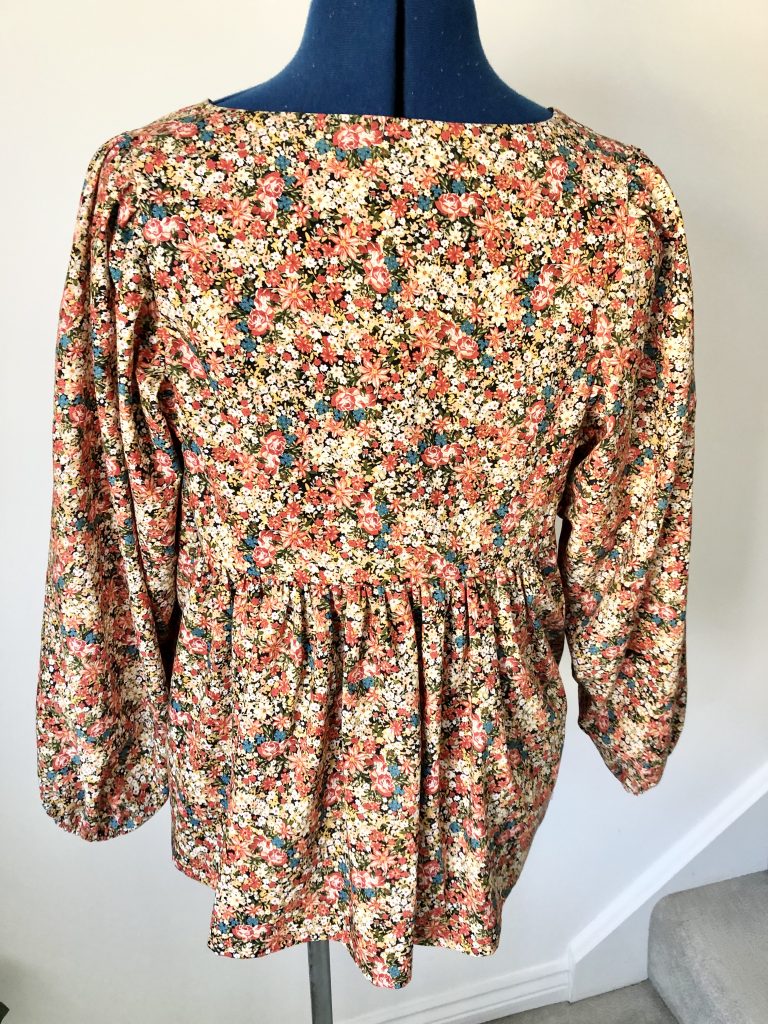
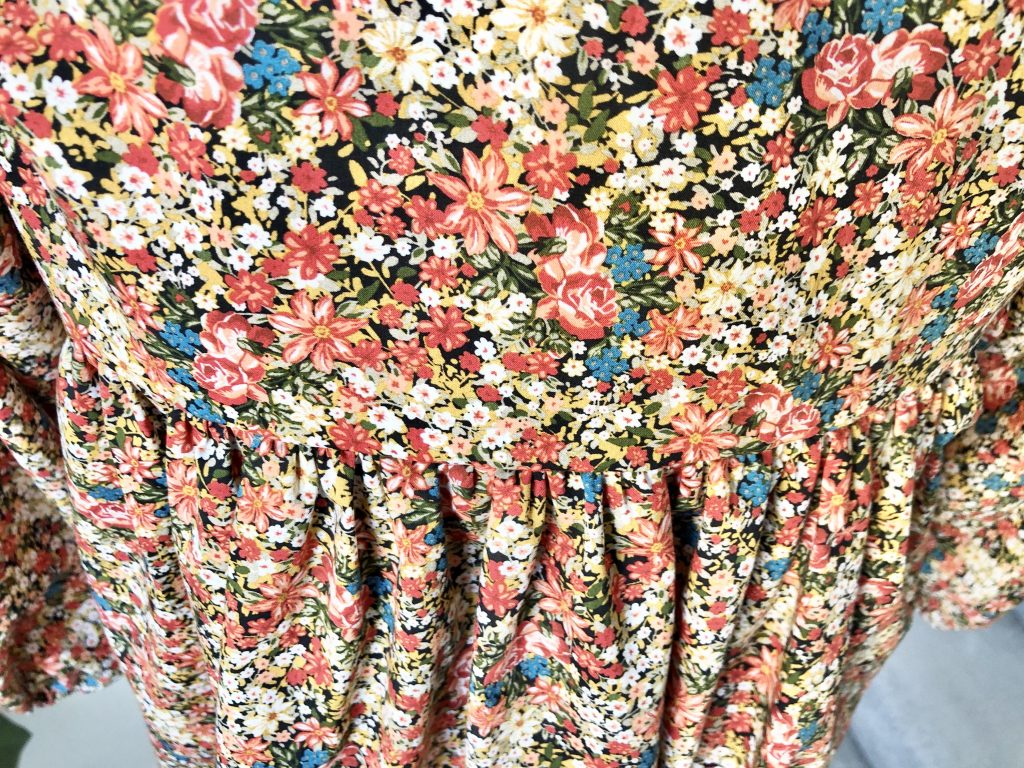
Here’s my lastest make – The Esther Tunic Top made using Lady McElroy’s ‘Lobelia Bloom’ cotton lawn.
I was asked to this by Josie at Fabric Godmother for the June 2021 Fabric Godmother Dream Wardrobe Subscription Box.
The pattern is by Liberty Fabrics and available in sizes XS – XXL.
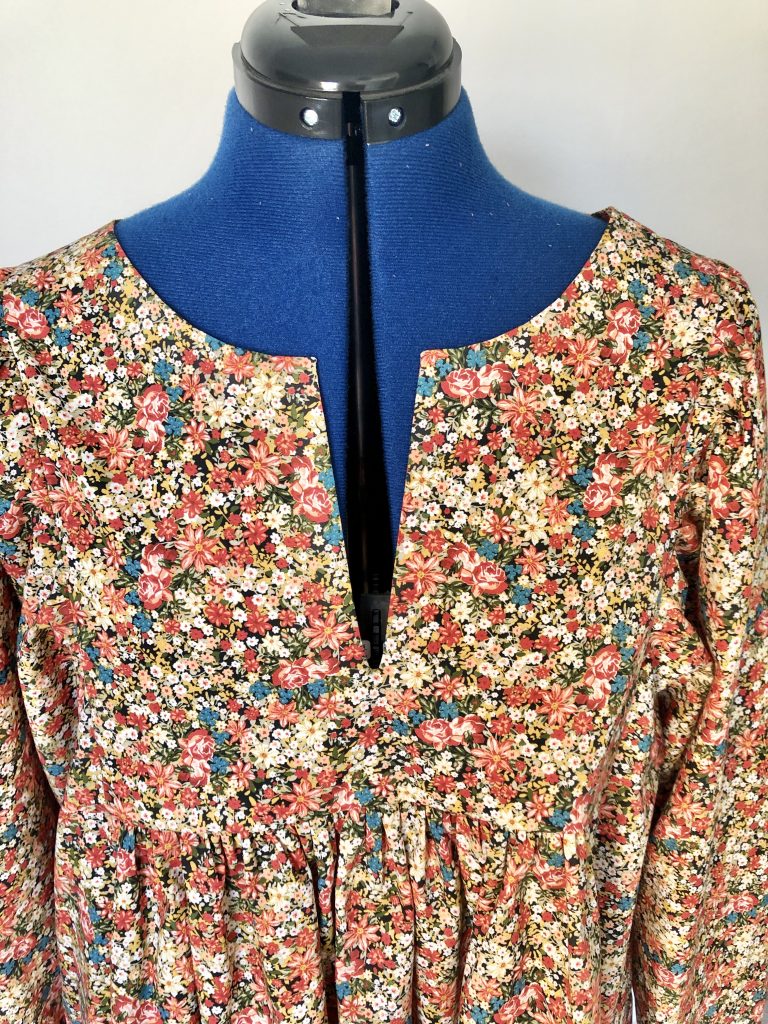
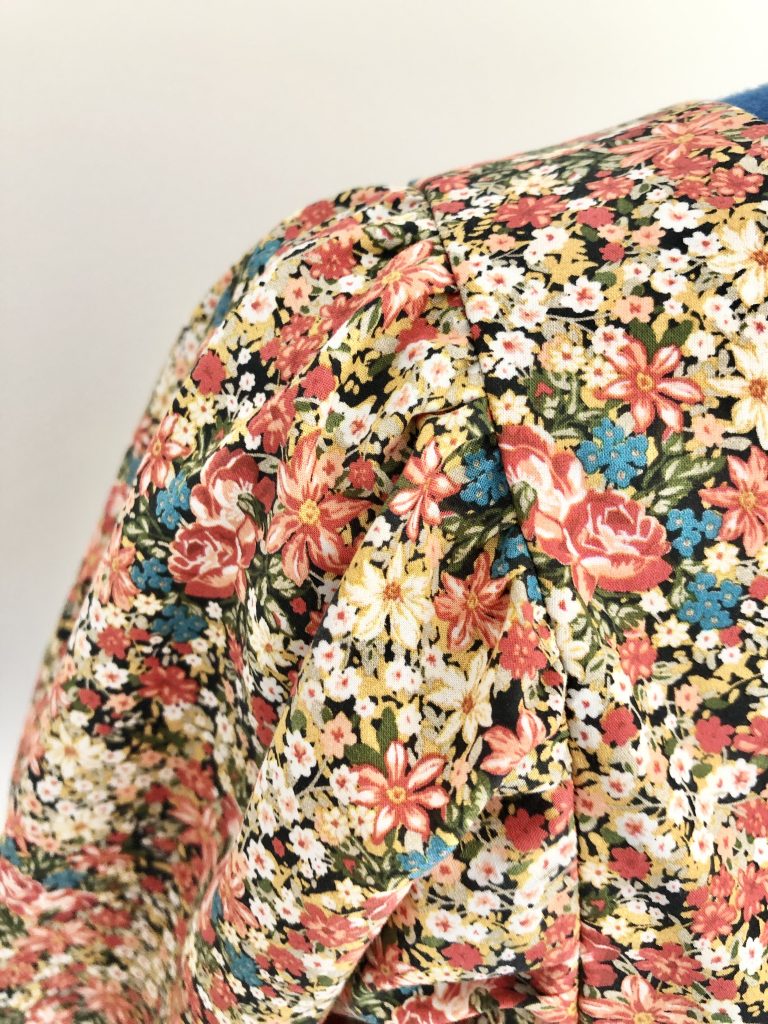
The top has gathering under the bust and around the sleeve seam. The neckline has a narrow V-neck opening.
Different Versions
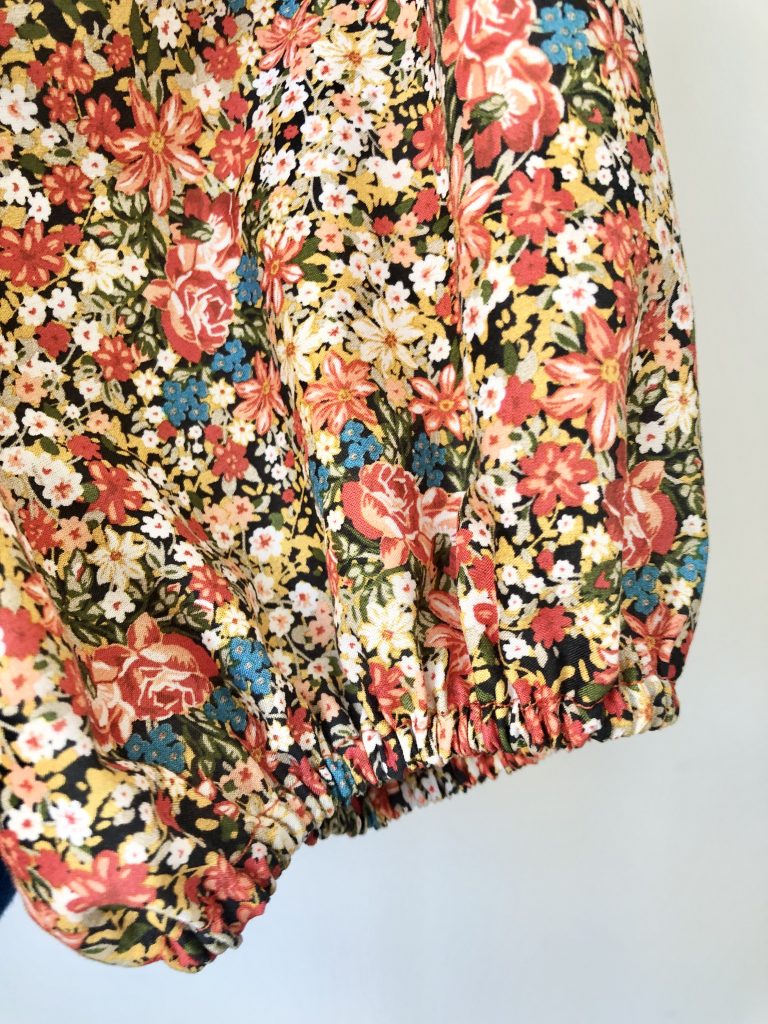
I made version C (the shorter one) but with the sleeves from version D.
My first task to work out how much fabric would be needed to make the version of the garment that Josie had envisaged. This should be a straightforward task which just involves reading the information on the back on the pattern envelope.
However…
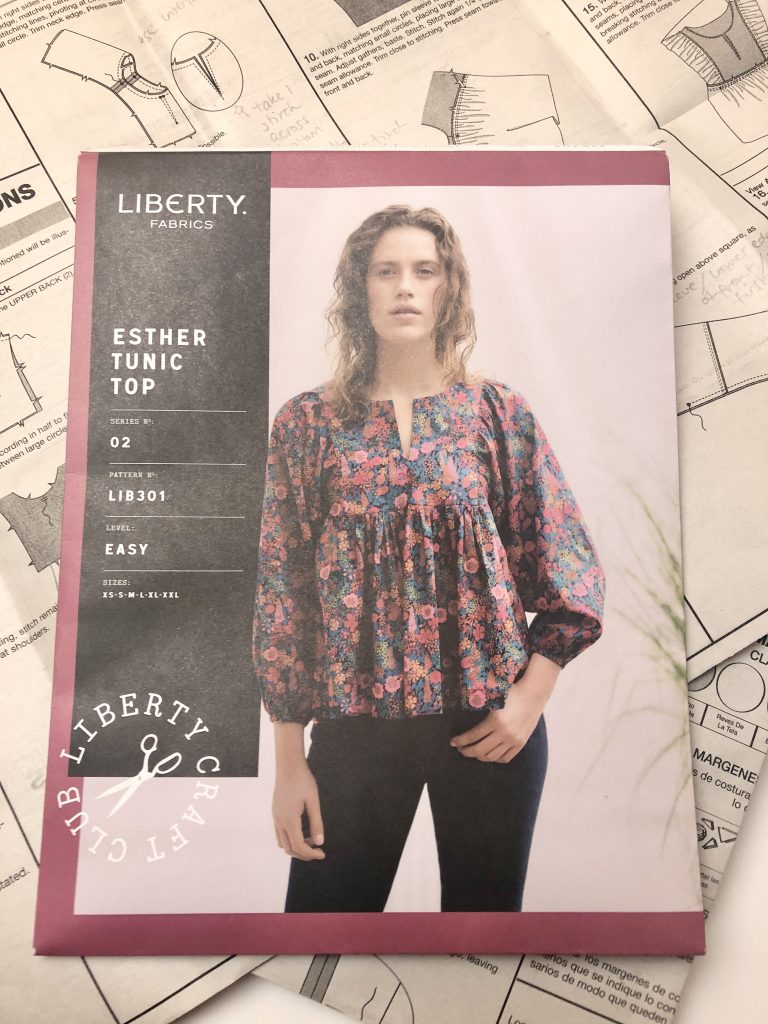
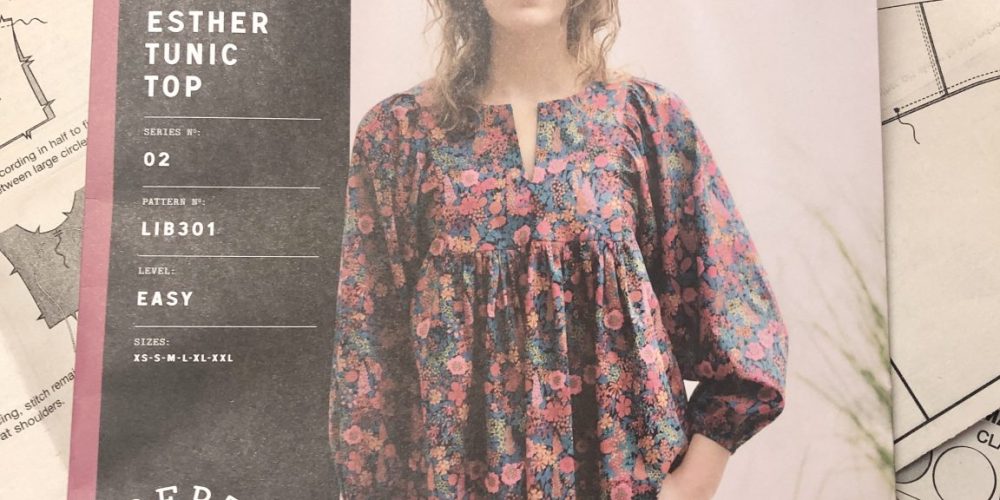
The images on the pattern envelope don’t really help to explain the different versions of this tunic top – there’s only one picture of a woman modelling a top but no indication as to which version she is wearing. The line drawings aren’t much help either as they all look the same length, but aren’t!
It’s also really hard to work out how much fabric is required as you can’t see which element is being referred to as the ‘contrast’ since there are only black and white line drawings of the garment.
The top in the photograph has a sleeve with a gathered cuff and it looks like there is a seam running through her right sleeve. Judging from the length of the top, this could be Version C… or is it Version D? Either way, it’s all made in the same fabric and does not include any ‘contrast’ fabric.
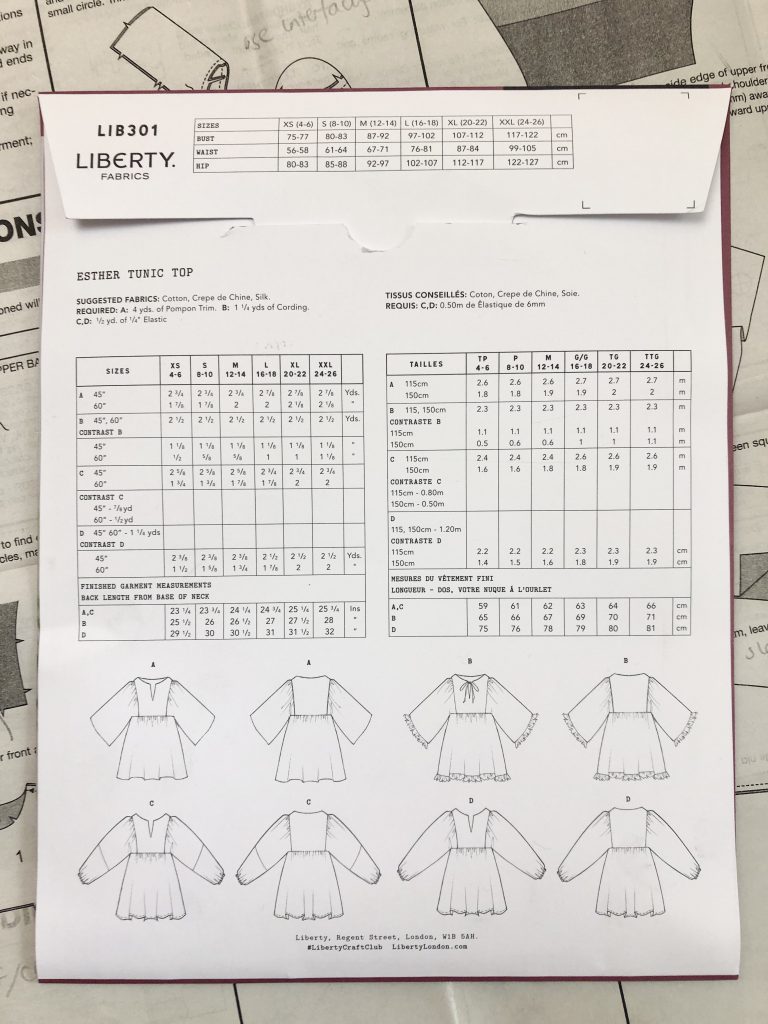
After some time spent reading through the pattern instructions and comparing the cutting layouts I finally worked it all out!
To save you the headache of all of this, I’ve put together the following overview:
A is a top made from all one fabric with ¾ length sleeves (approximately 12cm shorter than versions C and D).
B is a top similar to A in length of bodice and sleeve but with additional ruffles on the end of the sleeves and lower edge. B also has a tie cord at the centre front of the neckline. B is approximately 5cm longer than version A and C.
The fabric measurements on the envelope indicate that the lower front and back, ruffles and sleeves are cut from one fabric and the upper front and upper back are cut from a contrast fabric.
C is a top similar to A but with a full-length sleeve which is made up from an upper sleeve and a lower sleeve.
The fabric measurements on the envelope indicate that all the pattern pieces except the lower sleeves are cut from one fabric, and the lower sleeves are cut from a contrast fabric.
D is a tunic with a full-length sleeve. This is approximately 15cm longer than version A and C, and 10cm longer than version B.
The fabric measurements on the envelope indicate that the upper front, upper back and sleeves are cut from one fabric and the lower front and back are cut from a contrast fabric.
How Much Fabric Do You Need?
Use the information from the pattern envelope for Top A as your starting point and then calculate the additional length of fabric required for the sleeves, tunic length and ruffles as necessary.
Measurements below are for the largest pattern size and you may be able to get away with less.
To make Version B all in the same fabric, you’ll need an extra 45cm of fabric to cut the ruffles.
To make Version C all in the same fabric, you’ll need an extra 60cm for narrow 45″ (115cm) fabric, or an extra 30cm for 60″ (150cm) wide fabric.
To make Version D all in the same fabric, you’ll need an extra 80cm for narrow 45″ (115cm) fabric, or an extra 70cm for 60″ (150cm) wide fabric.
Cutting Out the Pattern
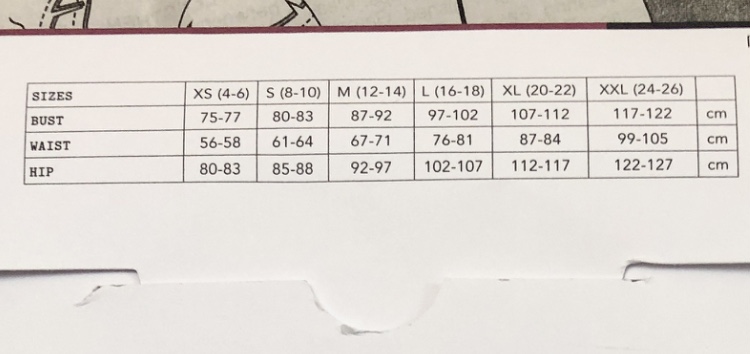
First compare your own measurements to the chart on the flap of the envelope, then look for the ‘Finished garment measurements’ to help you choose the right size. Additional measurements for the bust can be found on the upper front pattern piece inside the pattern envelope. I really wish they’d print this information on the pattern envelope!
There is 9cm or 10cm (3 ½” or 4”) of ease included at the bust for each size so you may find that you can fit into a smaller size than the envelope measurement chart suggests.
The ‘finished bust measurements’ taken from the upper front pattern piece are:
XS 34 1/2 inches / 87cm
S 36 inches / 92cm
M 40 inches / 101cm
L 44 inches / 111cm
XL 48 inches / 121cm
XXL 52″ / 132cm
After cutting out the paper pattern, I would strongly advise pinning the upper front and back pattern pieces together at the shoulder seam and doing a quick tissue fit by trying on the paper pattern. Check where the upper front and lower front will join and then decide if you’re happy with this. For a fuller bust you may wish to lengthen the top section to drop the seam line slightly.
If you’re cutting all the pieces from the same fabric, use the cutting layouts for ‘Top A’ (150cm / 45” fabric width) as your starting point as the other versions for B, C and D assume that a contrast fabric is being used for parts of the garment.
Check you can fit everything onto the fabric before cutting anything out.
Transferring pattern markings
Make sure to transfer the small circles and square pattern markings.
I also placed a small snip to mark the lower edge of the centre front and centre back of the upper sections and a small snip to mark the top edge of the lower front and back sections. This will help when distributing the gathering on the lower section.
Making up the garment
I found the instructions easy to follow but I did make a little mistake with the front opening.
I followed the instructions and also marked the stitching line of the centre front using a disappearing marker.
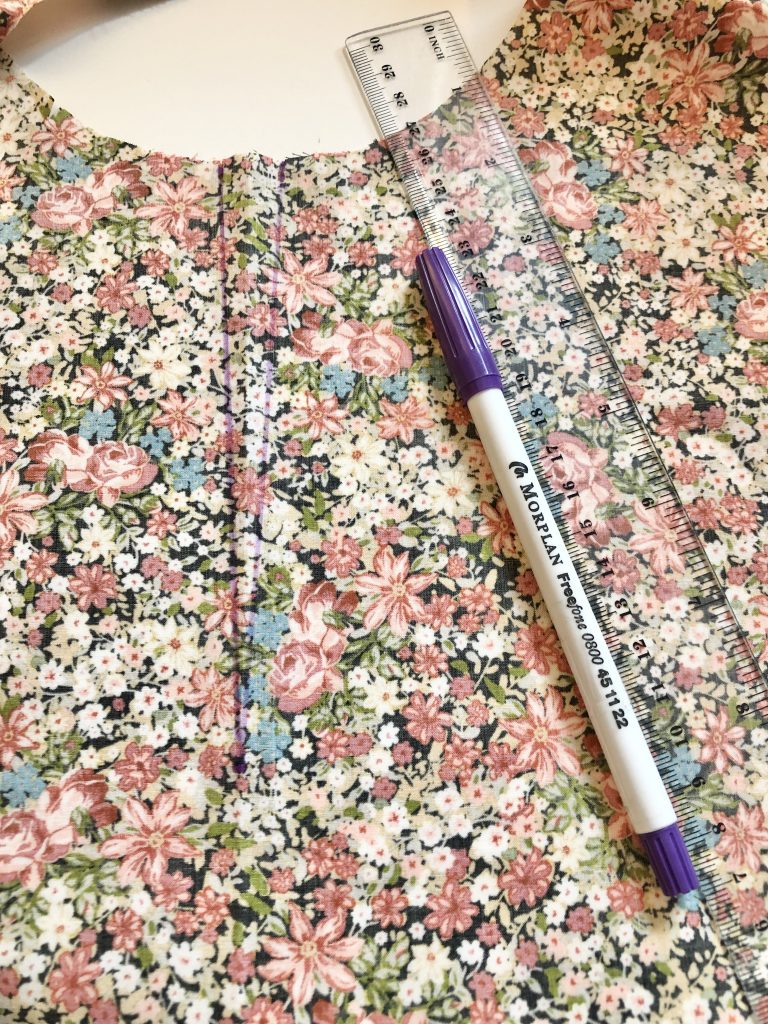
I stitched along the seam line around the neckline and along the centre front V shaped stitching line. When I reached the tip of the V, I pivoted slightly and took 1 stitch across the fabric before pivoting again and heading back up the other side of the V.
I find that this technique allows the stitches to hold the fabric better and gives a neater point when turning… or so I thought at the time. Read on to the end before doing this on your own garment!
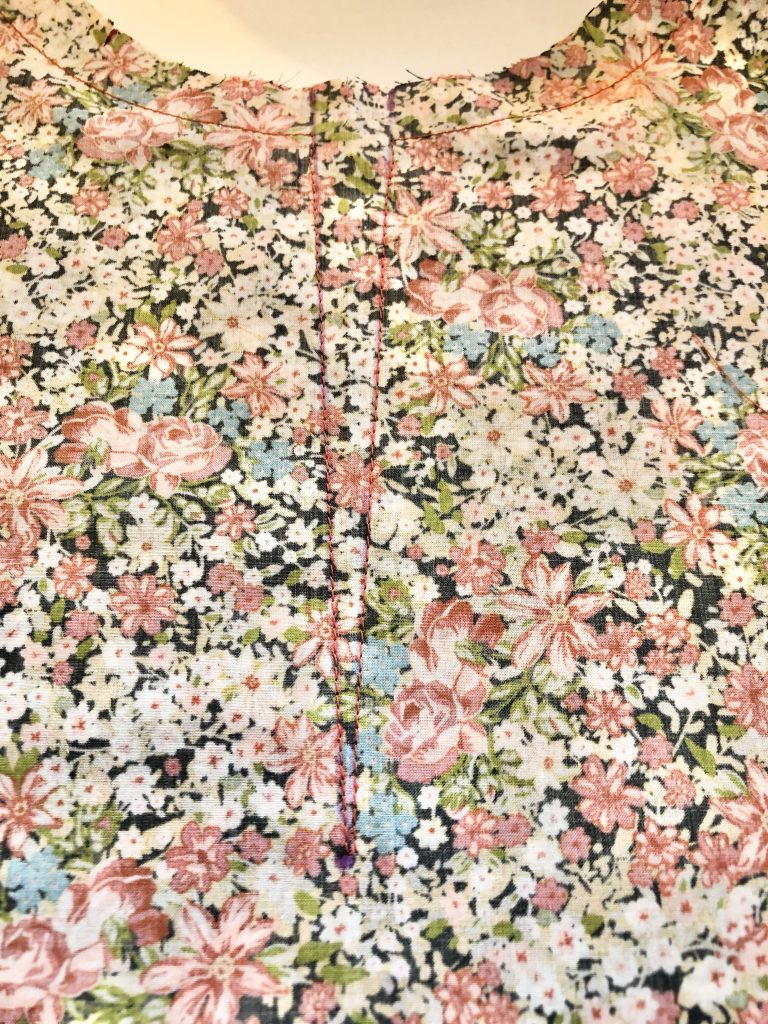
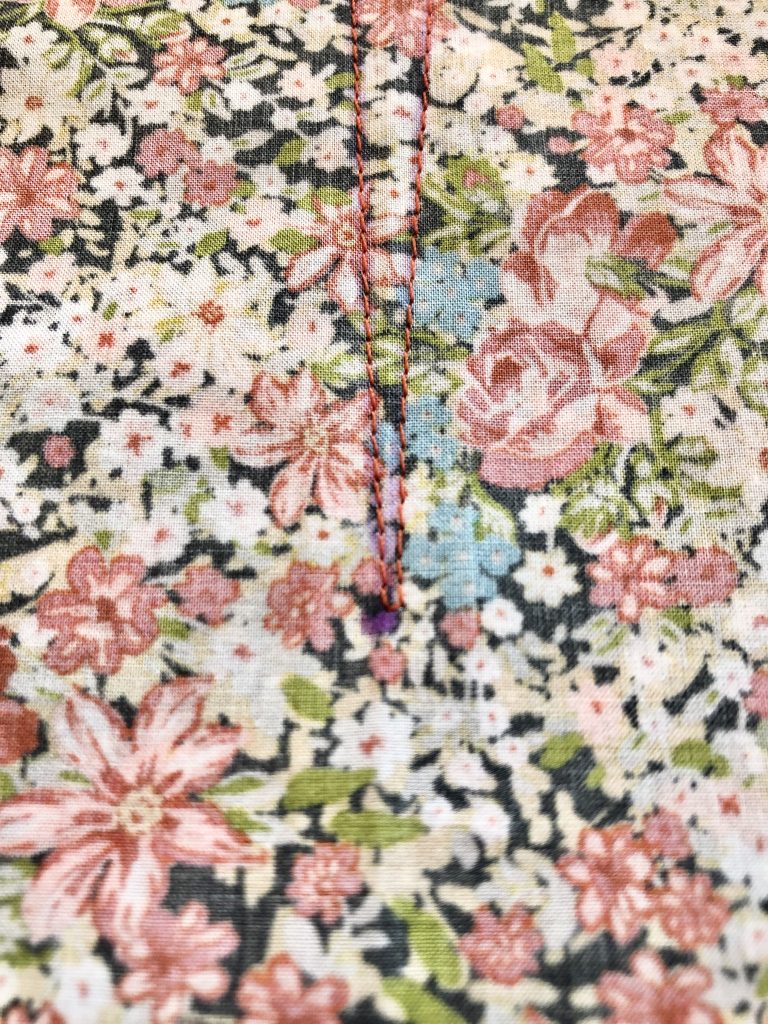
After stitching, I trimmed the neckline and cut along the slash line up to the tip of the V.
I clipped the fabric around the curve, making a short cut into the seam allowance up the stitching line in a number of places. I also trimmed the corners at the top of the V section.
Trimming and clipping the seam allowance will allow the fabric to sit flat once it is turned to the right side.
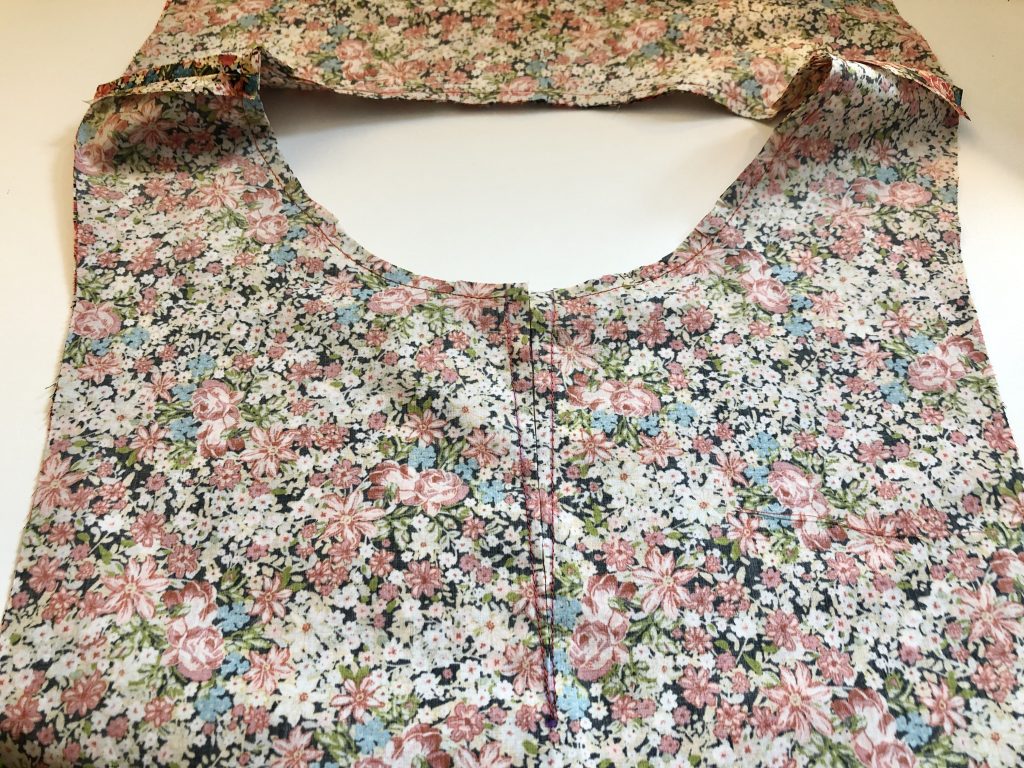
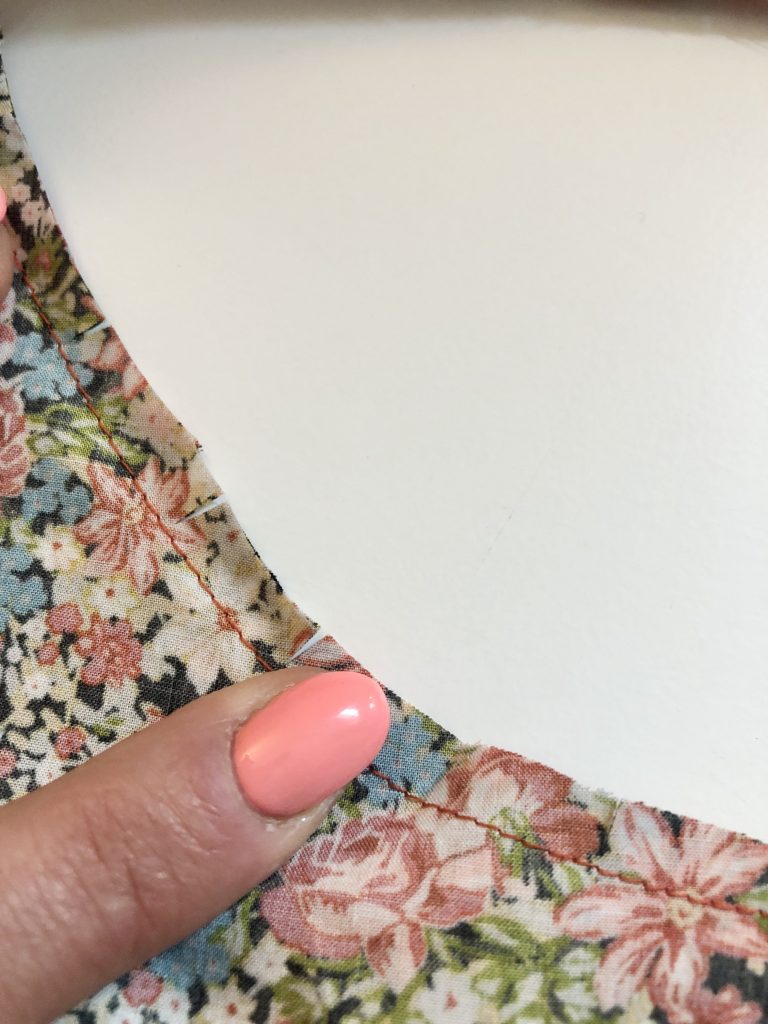
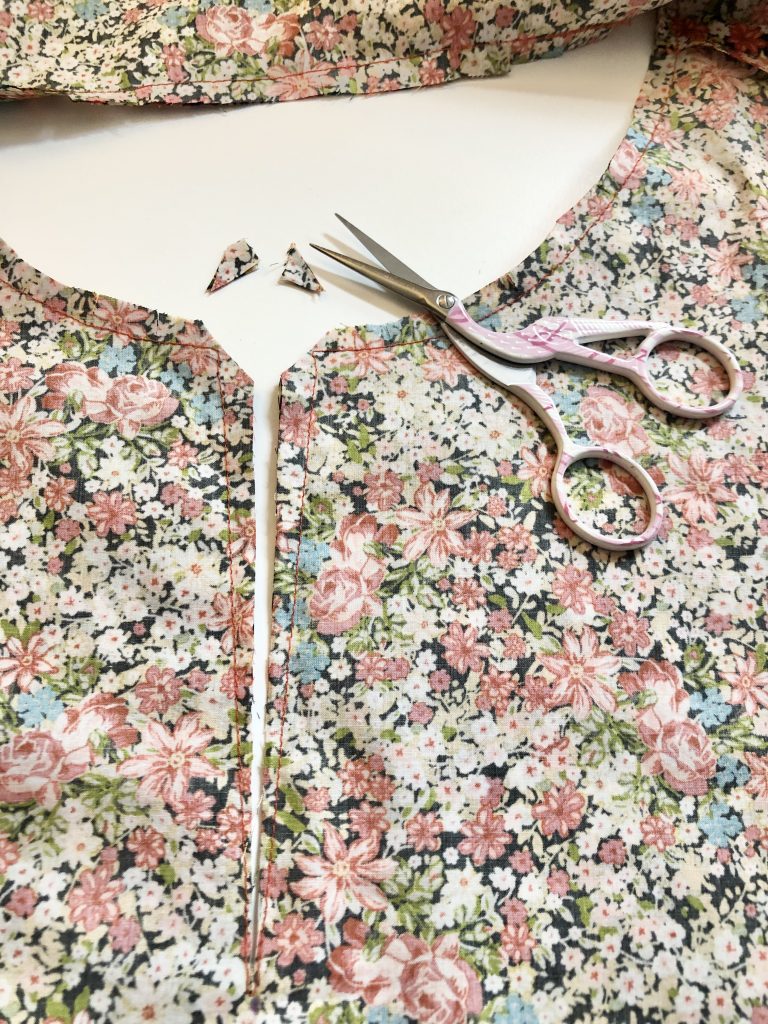
When I turned the fabric to the right side, some of the stitching began coming away from the fabric and a little hole appeared at the centre of the V. This was due to the weight of the fabric and how close the stitching line is to the raw edge once the slash line is cut.
This can be avoided by stabilising the fabric before stitching..
To stabilise the fabric edge, apply a strip of very lightweight fusible interfacing to cover the stitching line and circle marking of the upper front around the V section on both the outer layer and facing layer.
Thankfully I managed to rescue my top by taking a slightly wider stitching line at the V section. If I’d not told you about my little mistake, I don’t think you’d ever know.
After fixing the little hole, I turned the fabric out to the right side and understitched as much of the neckline as I could so this would make the facings sit flat to the inside of the garment. I understitched along both side of the V opening – see the close ups for more detail on where I started and stopped my stitching.
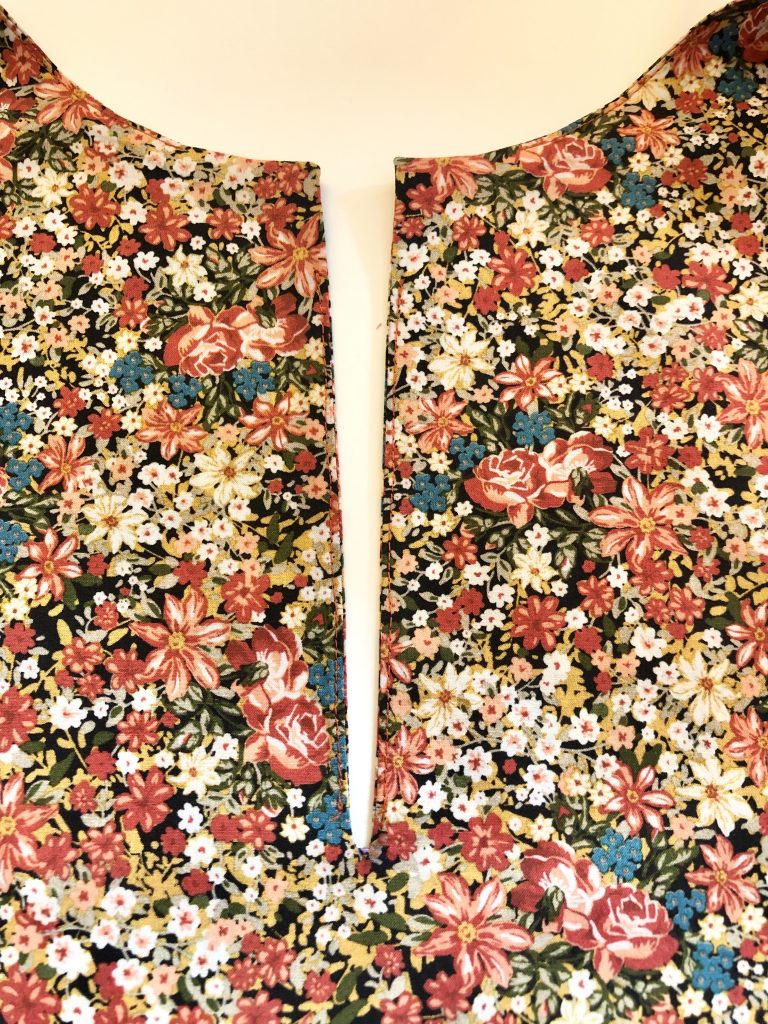
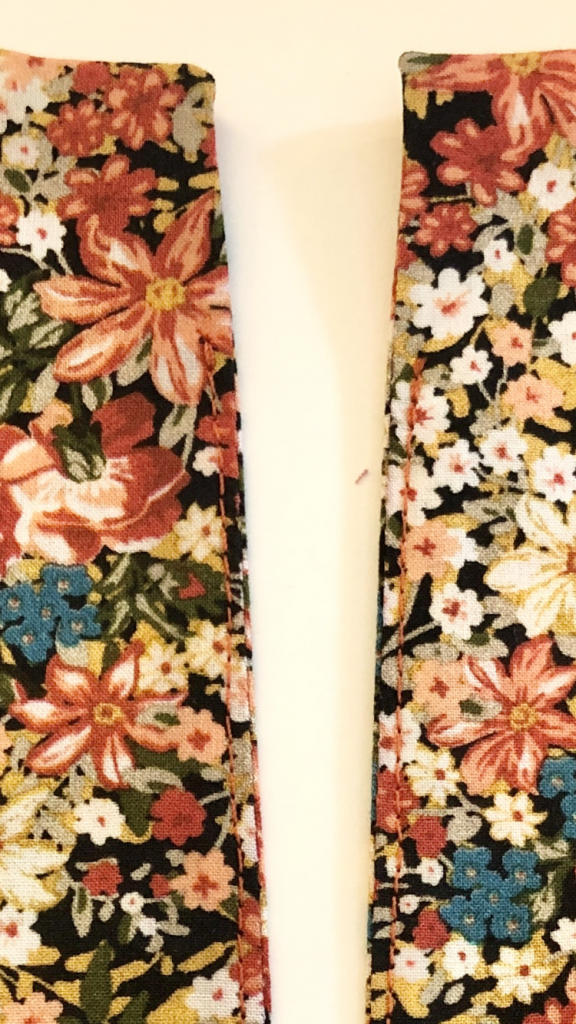
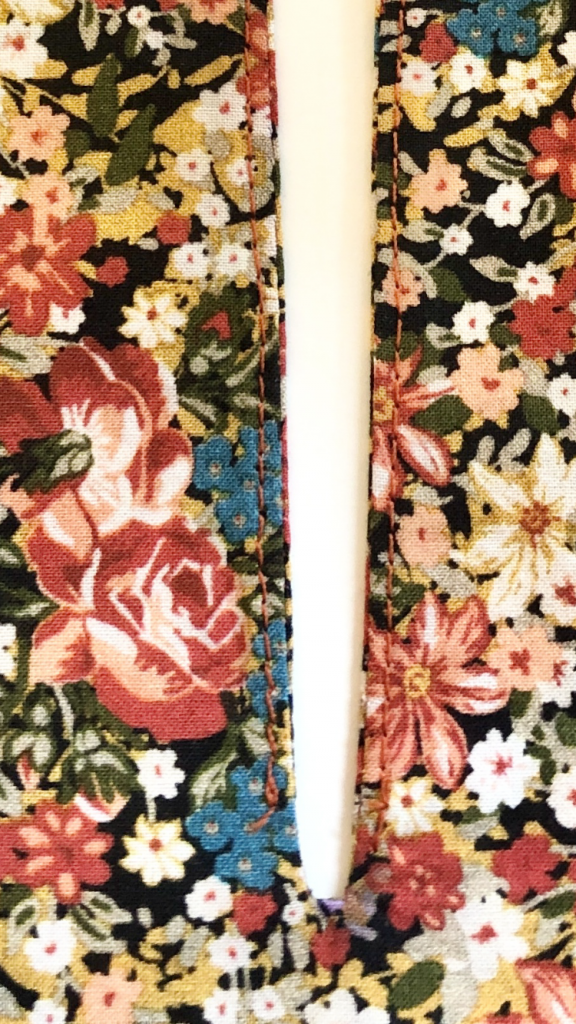
If you’re wondering what on earth understitching is then you’re probably not alone.
Understitching is like magic – it helps facings or linings stay in place on the inside of a garment and stops them from rolling over to the outside of the garment.
Understitching is a line of stitching sewn using a regular length of stitch (2.5mm in my case). The stitching is done from the right side of the facing or lining and goes through the facing and seam allowance, but not through to the main garment fabric. It can only be seen on the inside or wrong side of the garment.
If you want to see how this is done, then see my video below on how to attach a facing. The instructions for sewing the understitching start from 11:42 but you can see the preparation before this of trimming, layering and clipping the seam allowance.
In the video, I press the seam allowance towards the facing but this can’t easily be done on the Esther tunic, so you have to feel for the seam allowance as you stitch.
After understitching, give the garment a really good press around the neckline.
When you follow step 6 to baste the raw edges of the front and back pieces together, don’t worry if the raw edges don’t match perfectly. It’s better that the two layers sit flat without any puckering.
Gathering
When gathering the fabric and join the gathering to the bodice, always stitch with the gathering on top so you can make sure that you don’t accidentally pleat the fabric as you stitch.
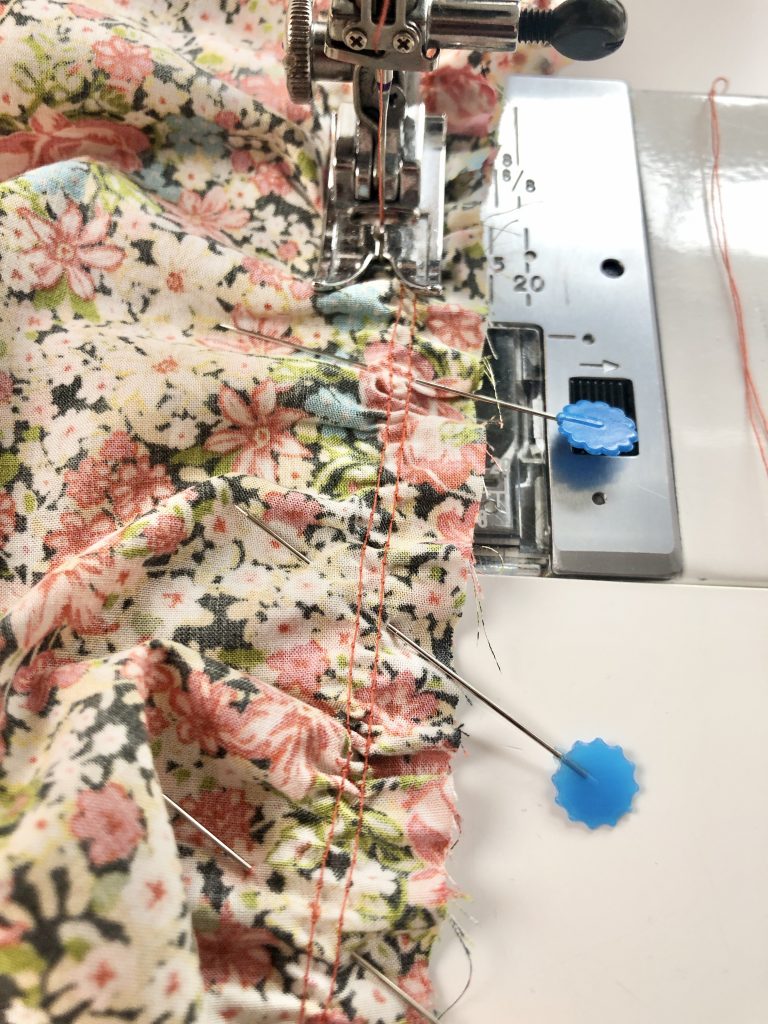
I’ve made a video below on how to create gathering. This is a video I made for my students to help them create samples of different techniques.
Attaching the Sleeves
When attaching the sleeves, double check that you are matching the sleeves to the right side of the fabric (the side without the understitching around the neckline)…yep I almost did this bit wrong!
Edge Finishing
There are no instructions about edge finishing seam allowances. On the whole these can be done as you go along but you may find it easier to edge finish the sleeve seam and the lower edges of the top after completing step 10. Then edge finish the upper edge of the lower front and back before gathering in step 13.
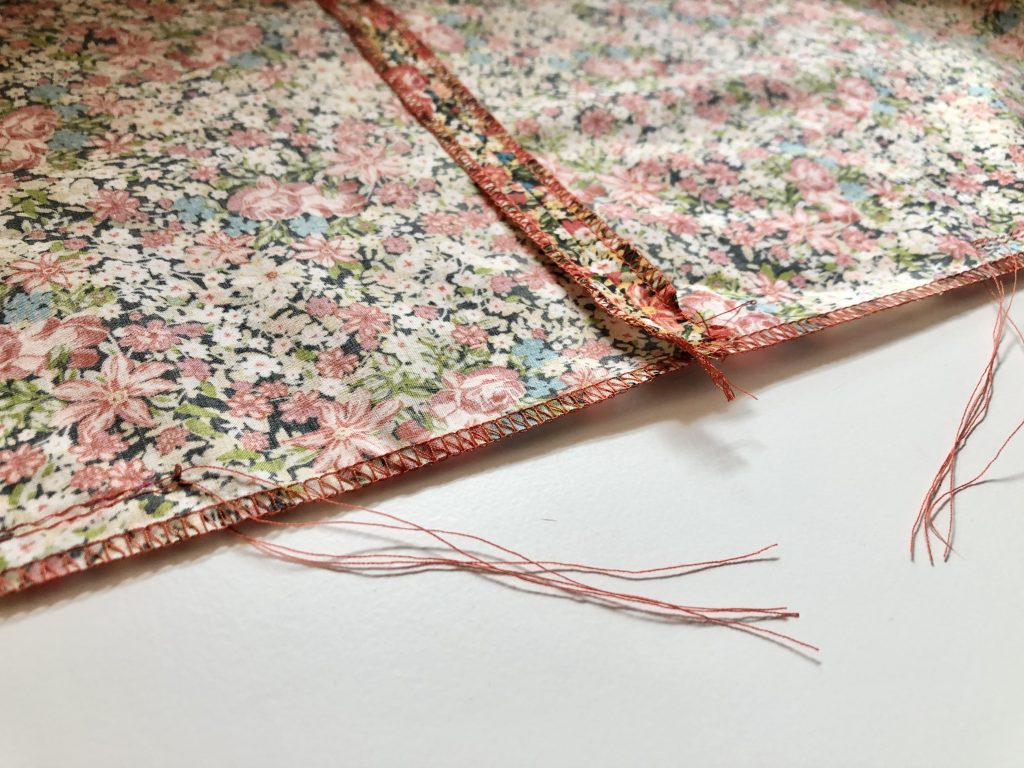
I edge finished all the seams with a 3 thread narrow overlocking (serging) stitch. This is my preferred method for overlocking woven fabrics which don’t easily fray. Simply remove and unthread the left needle of your overlocker (serger) to create a narrower stitch.
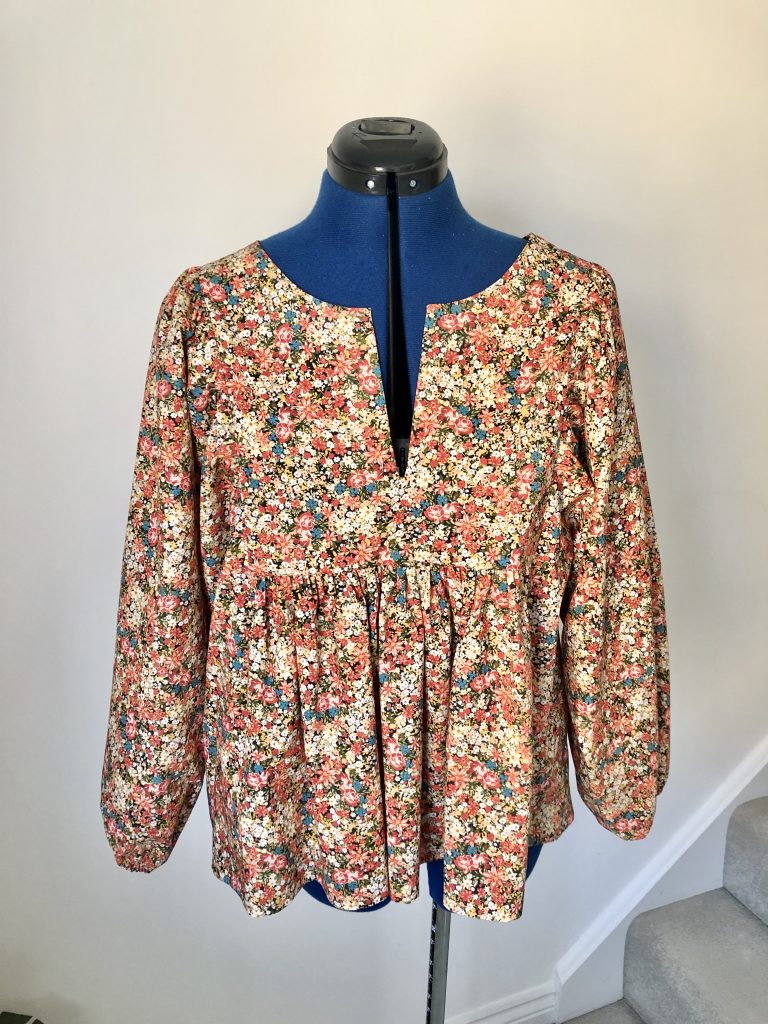
The garment looks great on the pattern envelope and on my mannequin but I don’t feel comfortable in this style. There’s too much fullness across the bust which isn’t flattering on my figure. It probably looks best on someone with a smaller bust.
If the seam line across the front and back of the top was a little lower then it may create a different shape and look better on me.
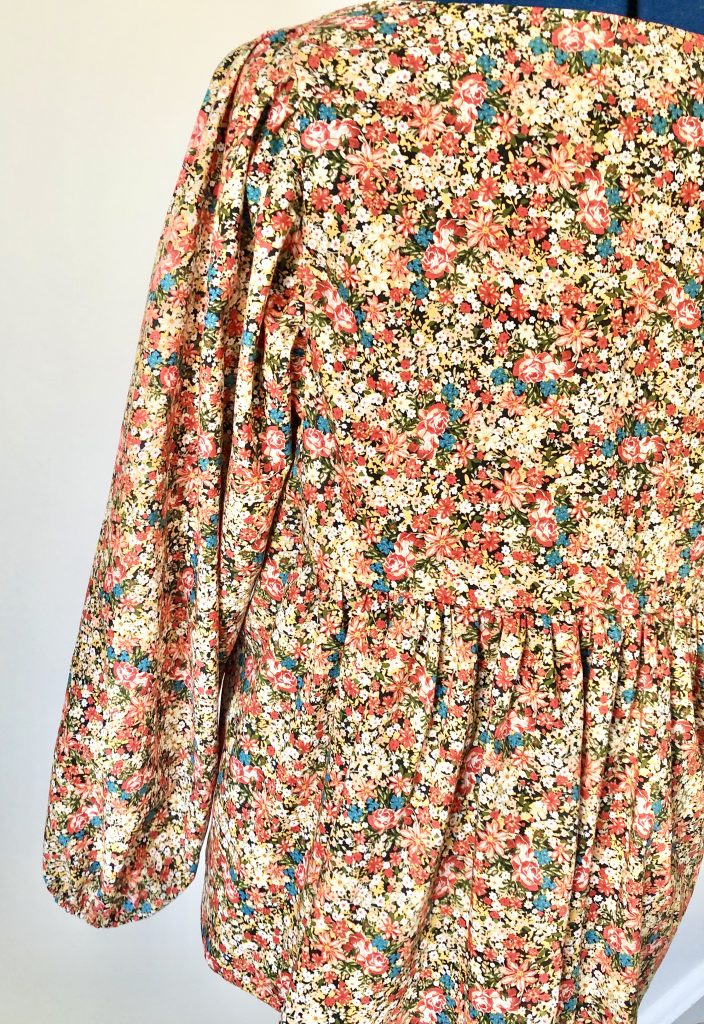
Here’s a few more images of the top on my mannequin…

15 thoughts on “Esther Tunic Top – Liberty Fabrics”
Julia, thank you so much for your very detailed review of the Esther top! I have been searching for reviews on this top and found none with a google search. I searched the hashtag #esthertunictop on Instagram and found your post, and here I am reading your blog! I really appreciate all the effort that went into this post. I am making this top with fabric and the pattern from Minerva and will be back soon to refer to the post before I cut out.
Hi Stephanie
I’m so pleased that you’ve found the post, and have found it so useful.
😊
Great advice, I feel ready to get sewing this now.
Thank you
I’m glad you found this useful.
Happy sewing! 😊
ThankYou for all the helpful hints for the. I recently purchased the pattern and plan to make for my 16 year old granddaughter who likes the pictured version. I was trying to figure out which line drawing Is the version in the photo and decided to look for a review to see what.comments were out there. You are so right, the drawings do not at all reflect the short photo version nor the version with poms that is constructed in the instructions. I am still wondering which sleeve is in the photo as it looks 3/4 length. And I cannot figure out why those wide sleeves need a slit at the edge. I have Tana Lawn for the make and really appreciate your neck slit story and advice to use fusible interfacing I am considering adding a center front seam to avoid the slit construction. This pattern is also a mix of cm, inches and yds which makes it confusing too. Thanks again for taking the time to make such a complete review!
Hi
I’m so pleased you found me 🙂
I think the pictured sleeve is from view C – it looks like there’s a seam running through it, although why they wouldn’t have just used the longer sleeve from D I don’t know.
Good luck with your version – hopefully you can learn from all of my mistakes!!
Happy sewing
Julia
x
A great and very detailed review, and the only one I’ve been able to locate. Appreciate the time you’ve taken to complete it. Could you clarify the suggested yardage needed please? Not sure why more extra 60” fabric is needed than extra 45” fabric in calculating for versions C and D. Thank you.
Hi Judy
Sorry – I thought I’d already replied to this.
I made an error and I’ve corrected this now in the blog post.
Thanks for spotting this!
Julia
😊
Hi Julia,
Hoy many metters of fabric de you finally need? I dont know how much i have to buy to sew a S size…
Thank you very much,
Rosa
Hi Rosa
It depends on which style of tunic / top you wish to make – will it all be in the same fabric? Do you want long or short sleeves, or a long / short tunic?
To make version D (the long option with long sleeves) all in the same fabric I think you’ll need 3.5m of narrow (115cm wide) fabric or 2.5m of wide (150cm) fabric.
I hope that helps.
Julia
x
Really pleased to have found this post; great to have such a detailed review. I sought a review because, in reading through the instructions – I’ve not even cut the garment out yet – it looks like there’s a small part of the underarm sleeve seam which is left completely unsewn (leaving a hole?), even when the bodice and sleeve are joined, where the instruction is to break stitching at squares? Is this right? Thanks.
Hi Mags
I’m so pleased you found my review! 😊
Don’t worry – there won’t be a hole in the underarm seam. Because of the way the garment is constructed and how the seam allowances sit from previous steps, you need to stitch to the square from one direction, then start again from the square and stitch in the other direction. It will make more sense when you get to this stage. So long as you mark the squares and stitch accurately there won’t be a hole when you’ve finished.
I hope that helps!
Julia
Thanks so much, Julia, for the explanation. Yes, that really helps. Mags
Thank you for such detailed information both missing from the instructions and on your making of the garment. Liberty owe you fees! 😉. I’ve book marked your post!
Thank you so much for your wonderful feedback!
I’d send Liberty an invoice if I thought they might pay! 😂
Interestingly, I was looking at another of their patterns yesterday which was equally as unhelpful!
Happy sewing!
Julia
Comments are closed.