
This was it! I was ready! I’d read through the book, thought it through in my head and hoped that I knew what I was doing.
Step 8 – Making the dress. By this stage it was August and I’d got about 10 weeks to go. Perhaps the added pressure of time would speed me along.
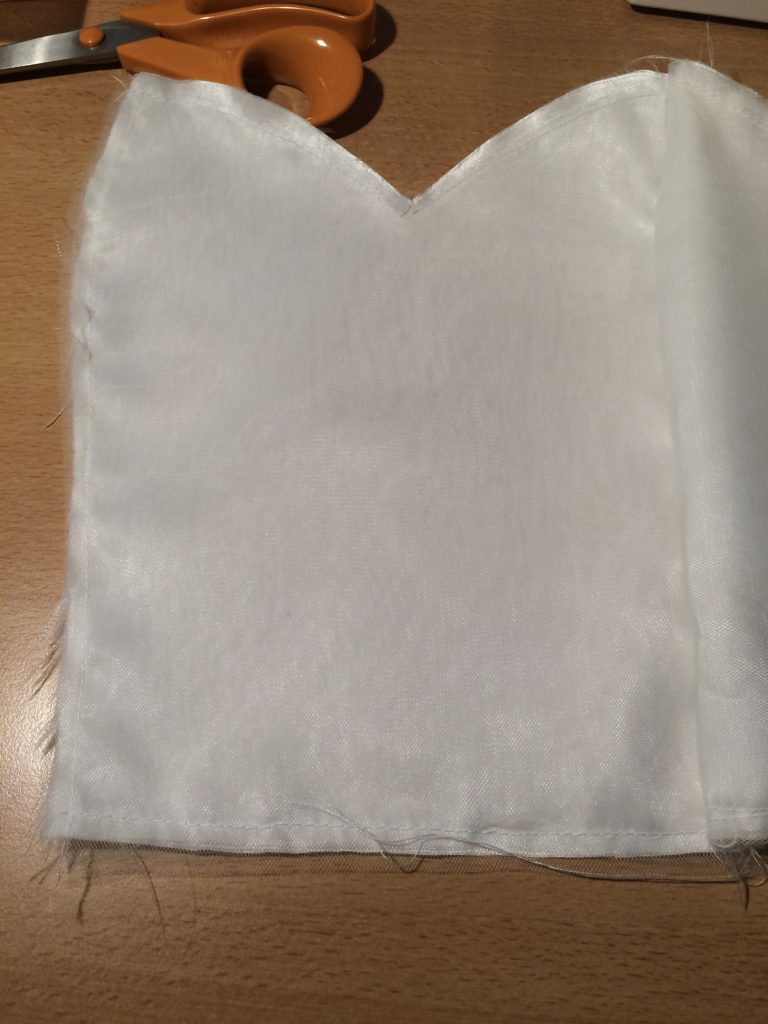
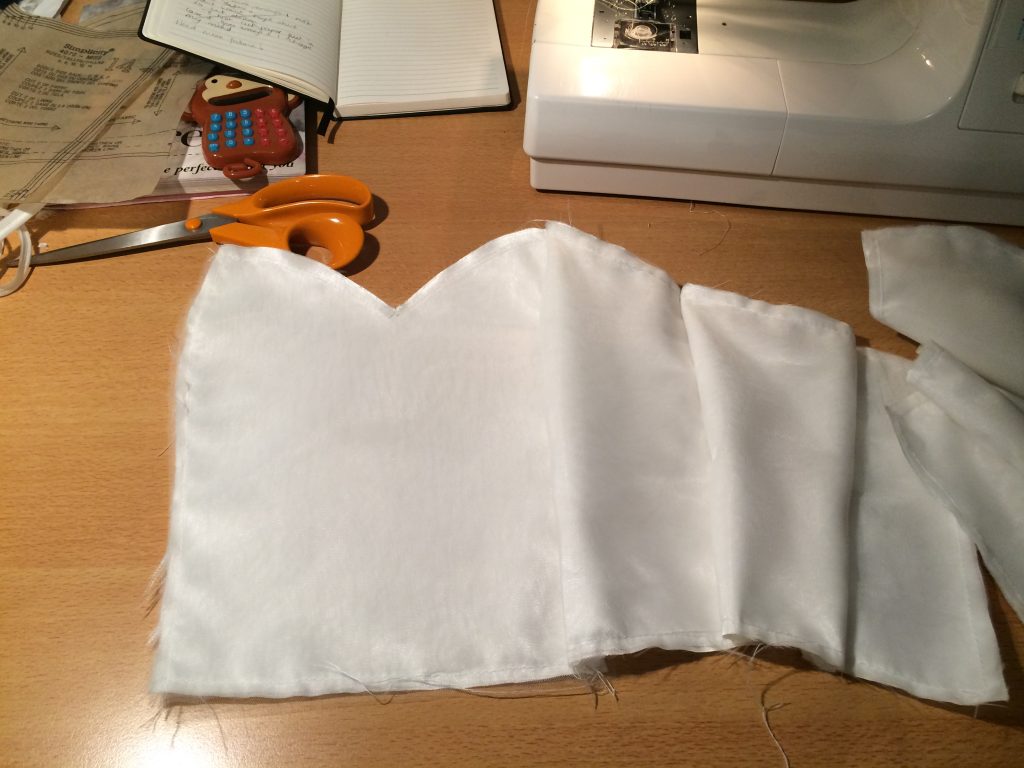
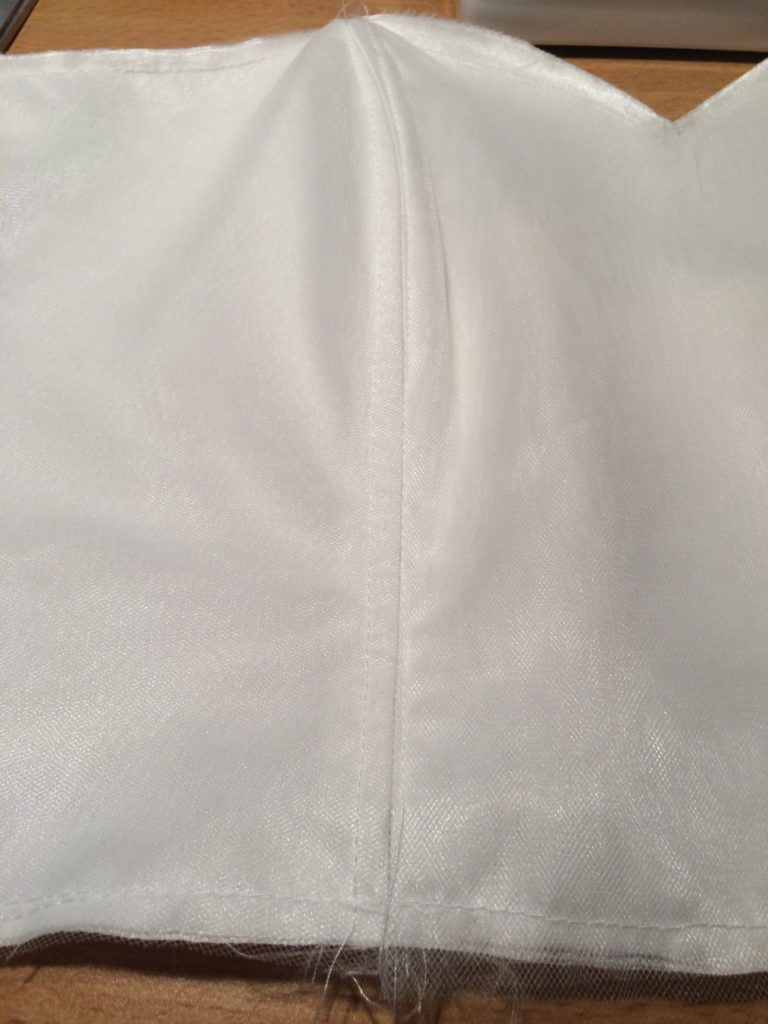
I cut the bodice sections from the satin. I cut two layers for each of the panels to make it really firm. I then cut two layers of tulle to layer on the top. I thought this would be the best backing for the lace motifs that would be applied to the bodice. After cutting out four layers of fabric for each panel, I stitched the satin layers together, then attached the tulle. Finally I pieced the panel sections together to create the front of the bodice.
The next stage was to apply the boning. I know the best and most hard wearing boning is the metal stuff but I was only planning on wearing this dress once and didn’t want the expense of metal boning or the faff of dealing with it so I went for the cheap plastic option.
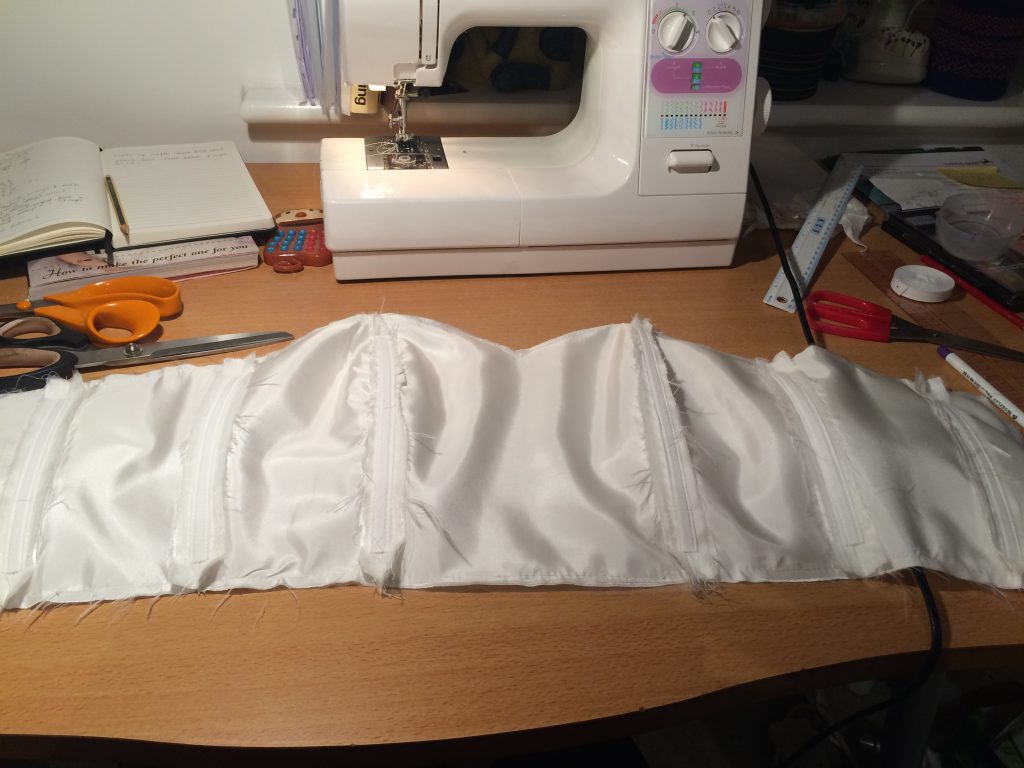
I stitched strips of satin bias binding to the seams of the bodice to create channels for the boning to slide into. These were around 2cm shorter at the top and bottom of the bodice to allow for seam allowances and bulk of fabric.
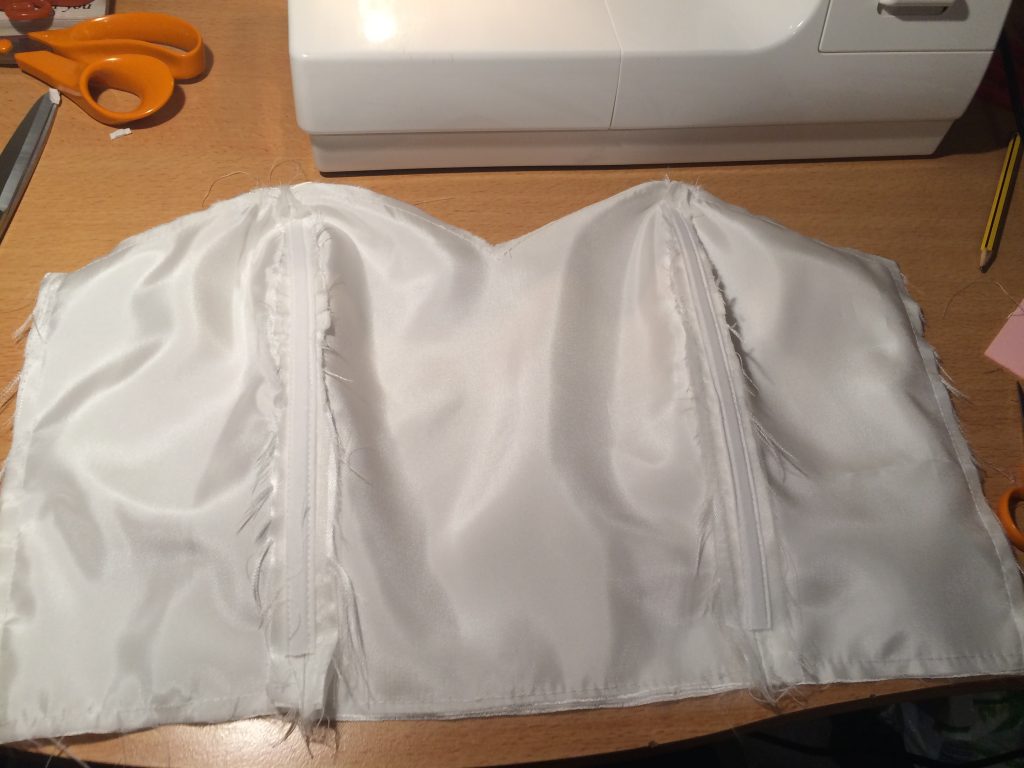
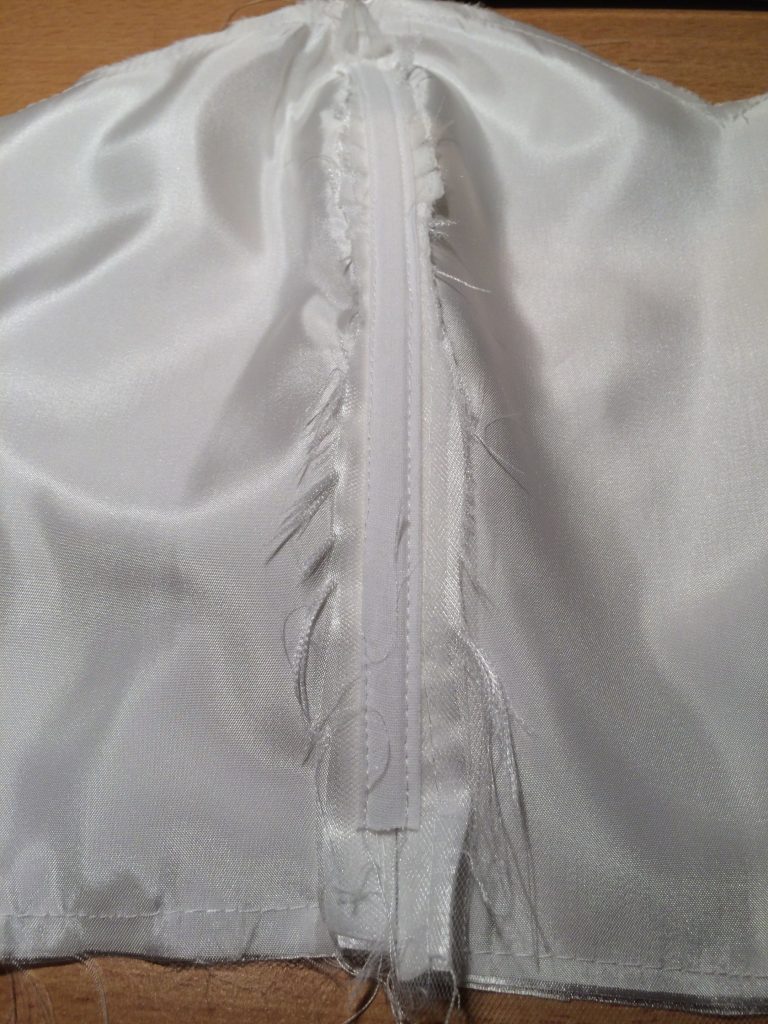
The boning channels created stitch lines on the front of the bodice, but as this was going to be covered in lace it didn’t matter.
I tried the front on the dummy and it fitted!
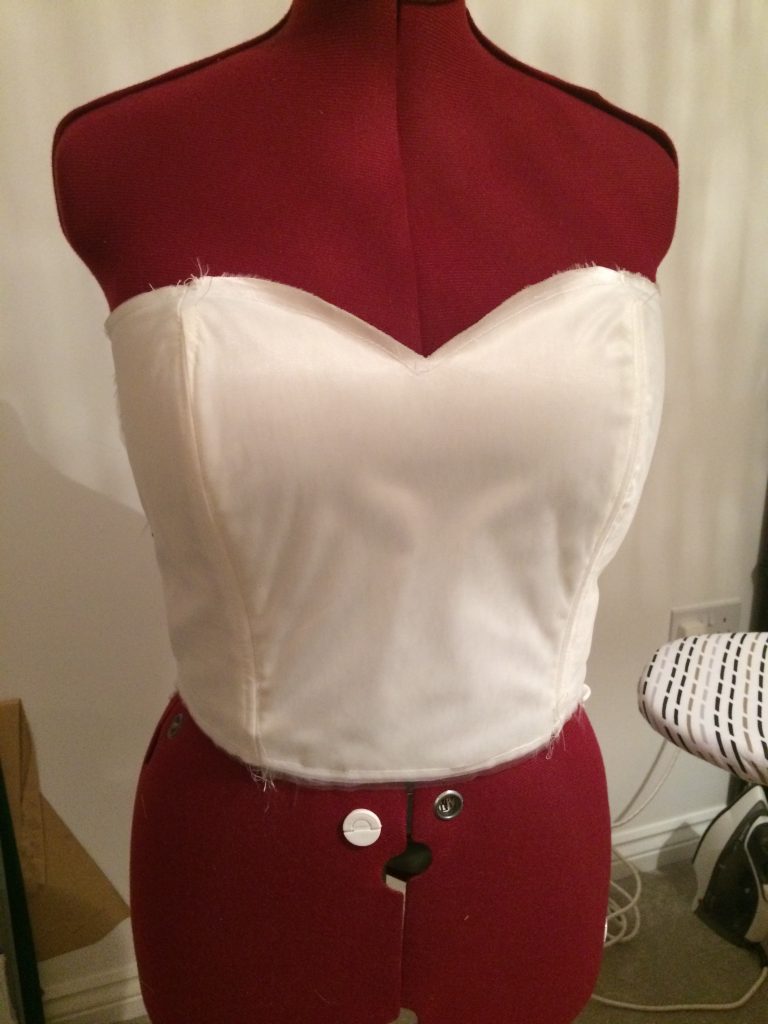
I considered layering the lace on the front of the bodice at this stage and creating a side seam which went through the lace but realised that this wasn’t going to work and would be easier to hand stitch the lace motifs to the bodice once it had been constructed.
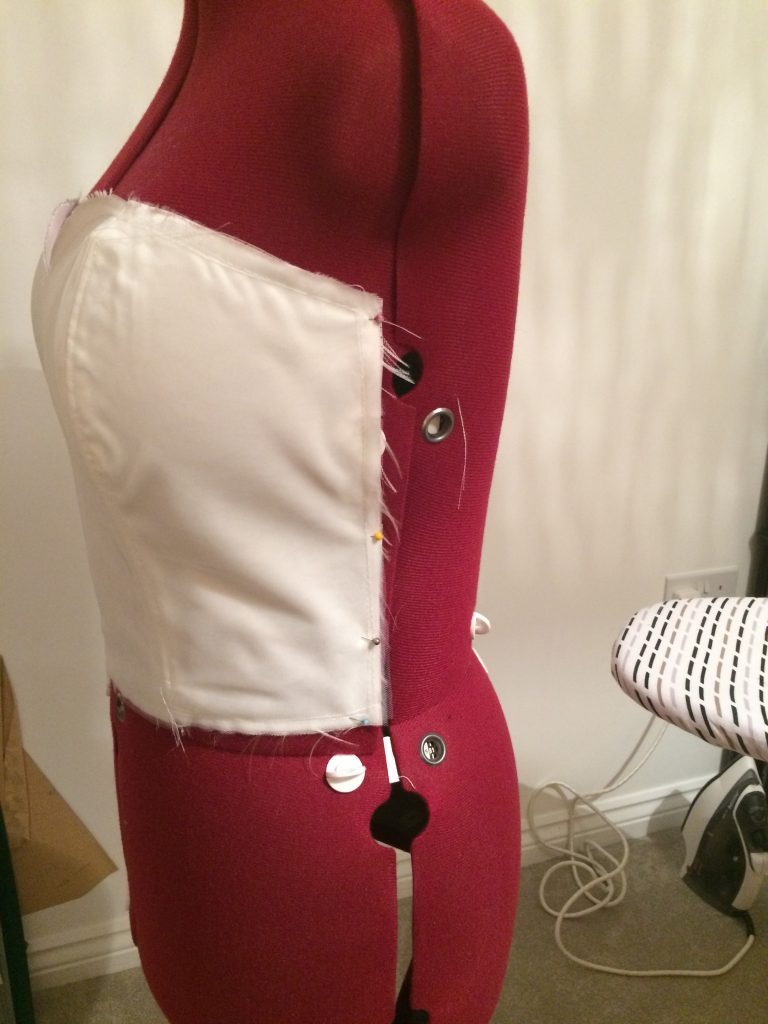
I continued to piece together the rest of the panels, leaving off the placket section.
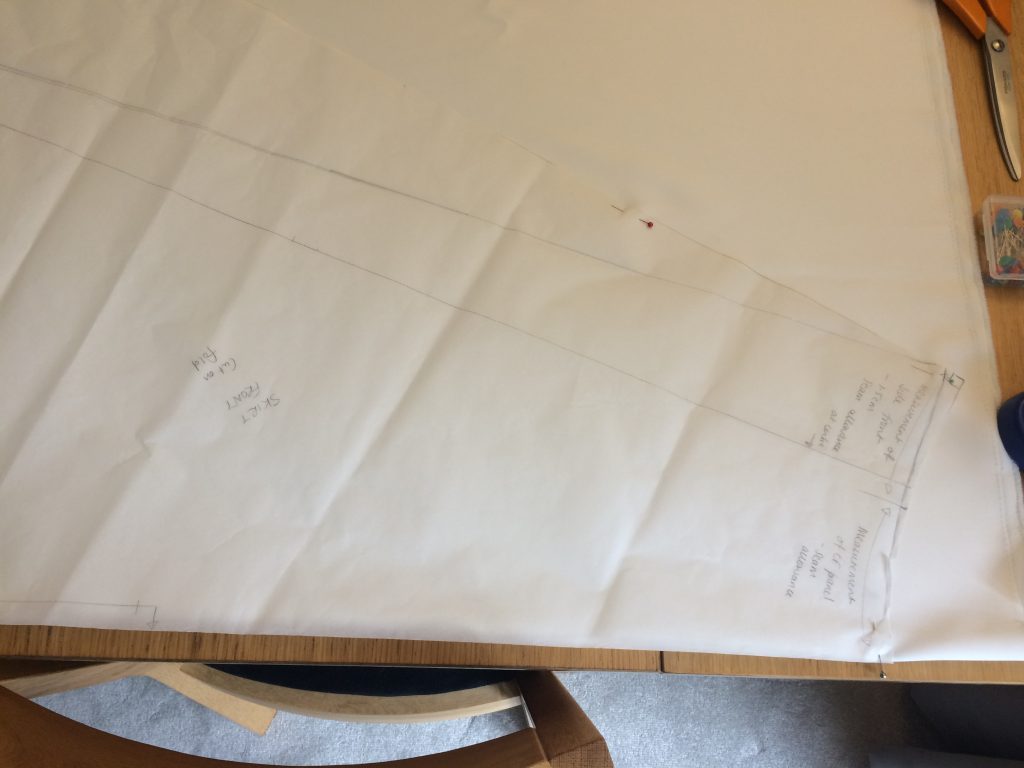
I cut out the panels for the skirt – cutting pieces for the inner lining, the main shell and two layers of tulle. I cut a third layer of tulle but cut the waistline double the width so this could be gathered to create some volume.
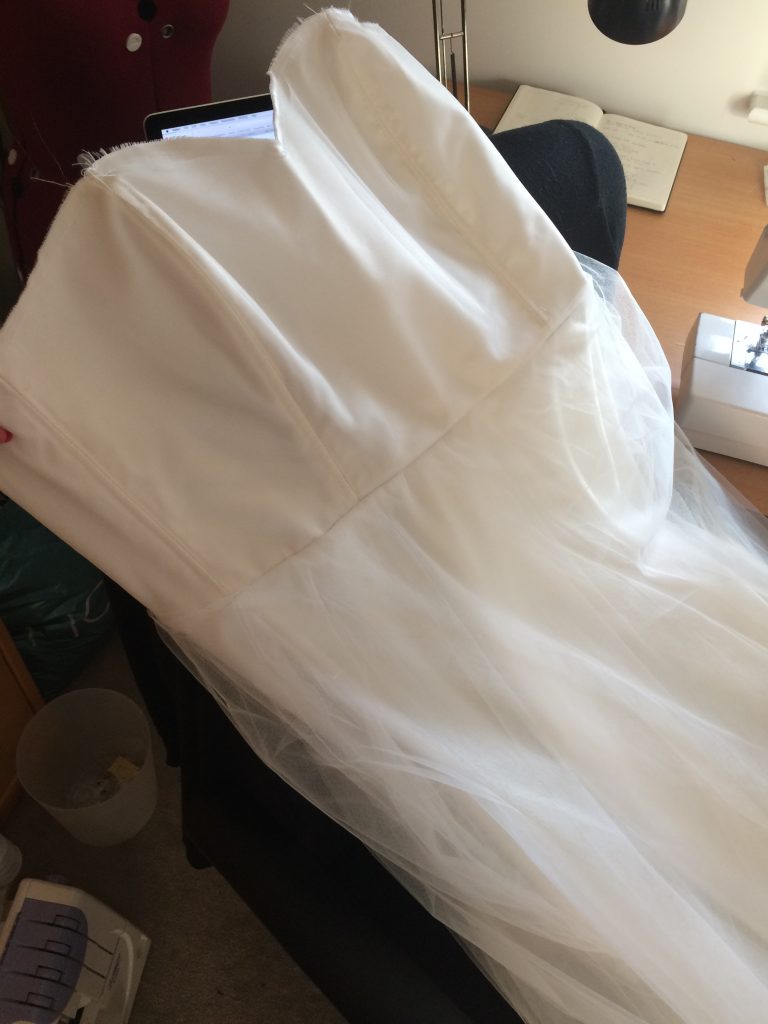
The main shell of the skirt in duchess satin was constructed and the seams overlocked. I left a gap at the centre back from the hip line to the top of the skirt. I pieced together each layer of net, making the seams as usual, but using monofilament clear thread and pressing seam allowances open. I’d considered other methods of seam construction for the tulle but decided these would sit flat and work well.
On the wider layer of tulle I gathered the top edge to match the main skirt size and then attached all four layers together along the waist edge before finally attaching them to the bodice.
For the next stage I needed to create the lacing loops. To do this I made some rouleau loops from the duchess satin. In The Wedding Dress book, Becky describes how to use cotton tape to space the loops equally. I tried this approach, marking out the cotton tape and then pinning on my rouleau strips.
I attached these to my calico toile to see how they would look and I wasn’t happy. The loops weren’t even and looked rather messy. I think this was mostly my own fault for being a bit hasty but I needed a different approach so I could create neater and more regularly sized loops.
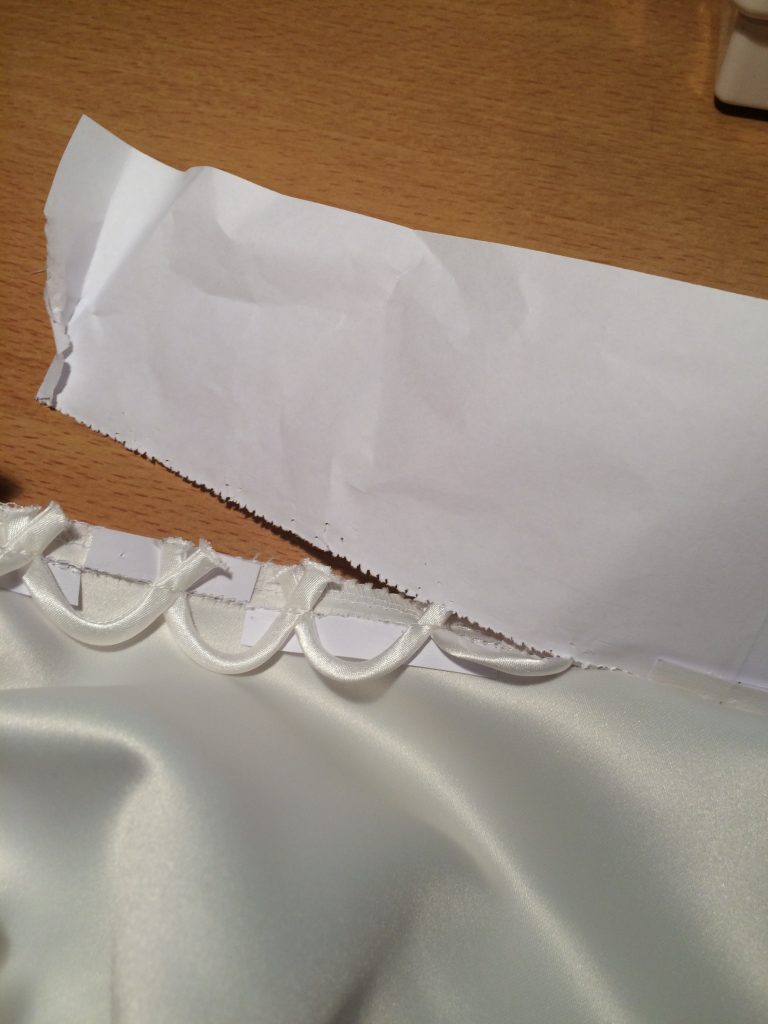
After further research and thanks to Laura Marsh, I decided to draw out the shapes for my rouleau loops onto paper.
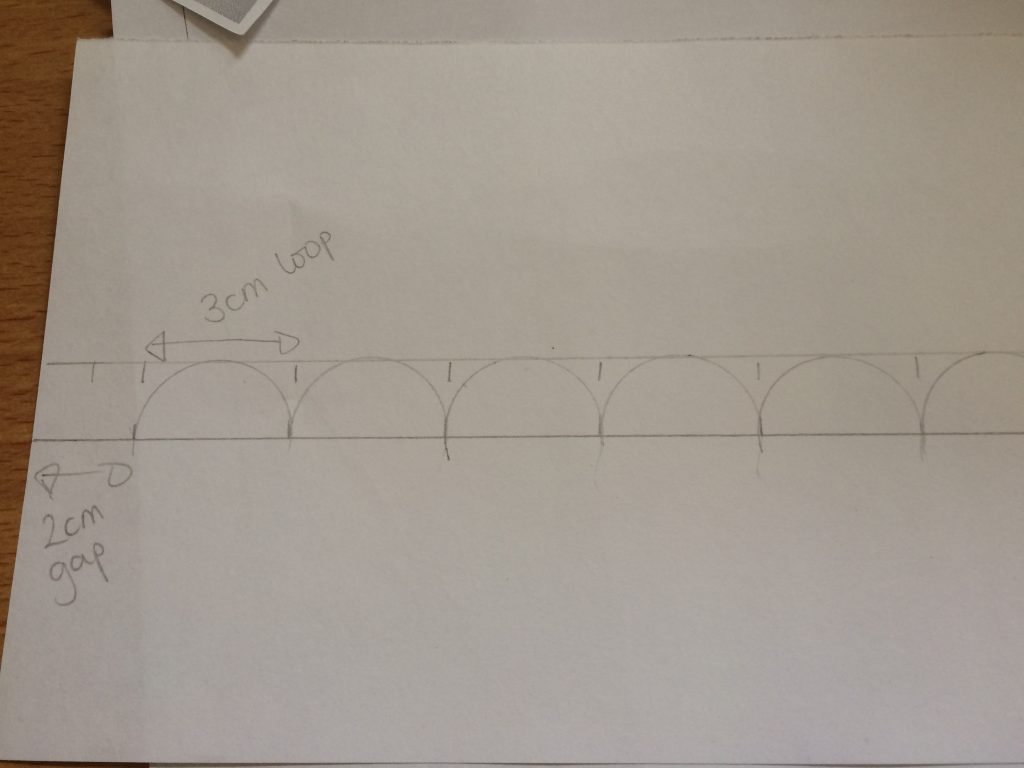
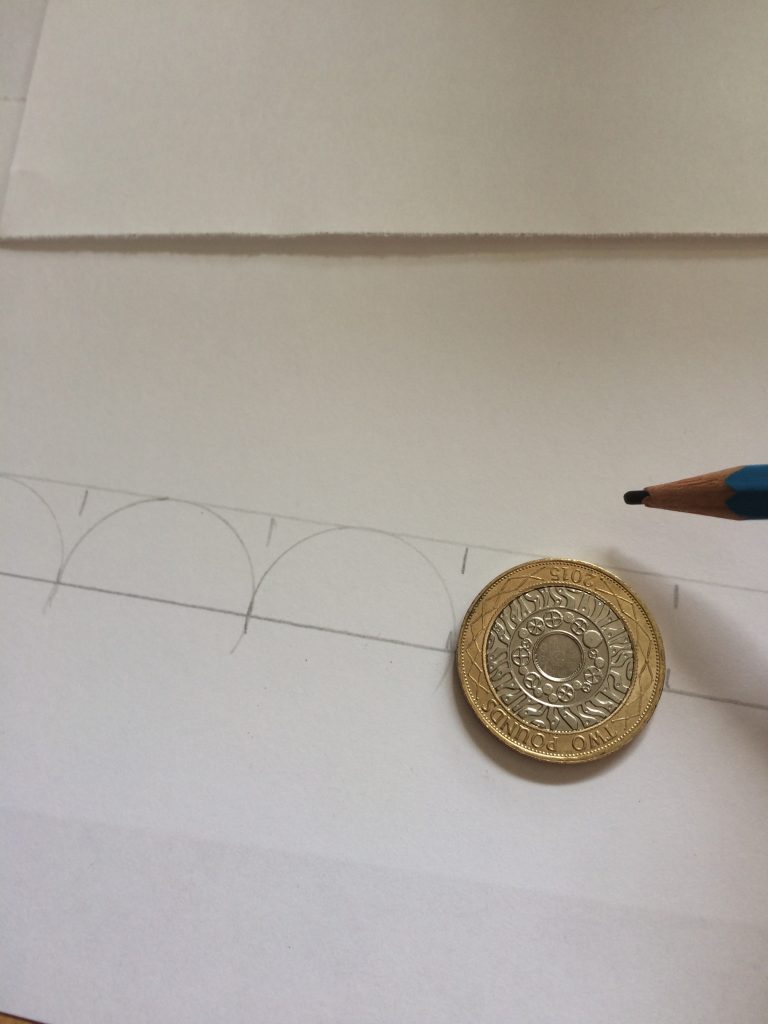
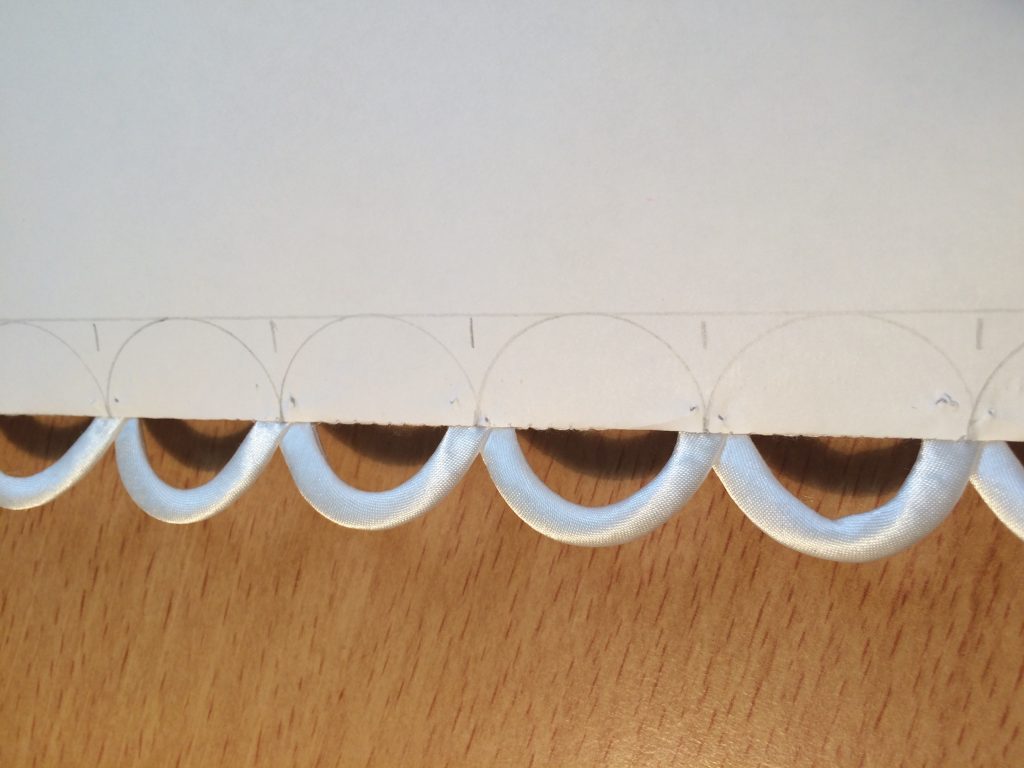
I measured the opening from the top of the bodice down to the hip line of the skirt. I drew a line the length of the opening and then a 2nd line, 2cm away from the first and parallel to it. I left 2cm at the top of the line for seam allowance and bulk of fabric and decided to make each loop 3cm in length. I divided up the sections and then used a £2 coin to create the curves for each of the loop placements.

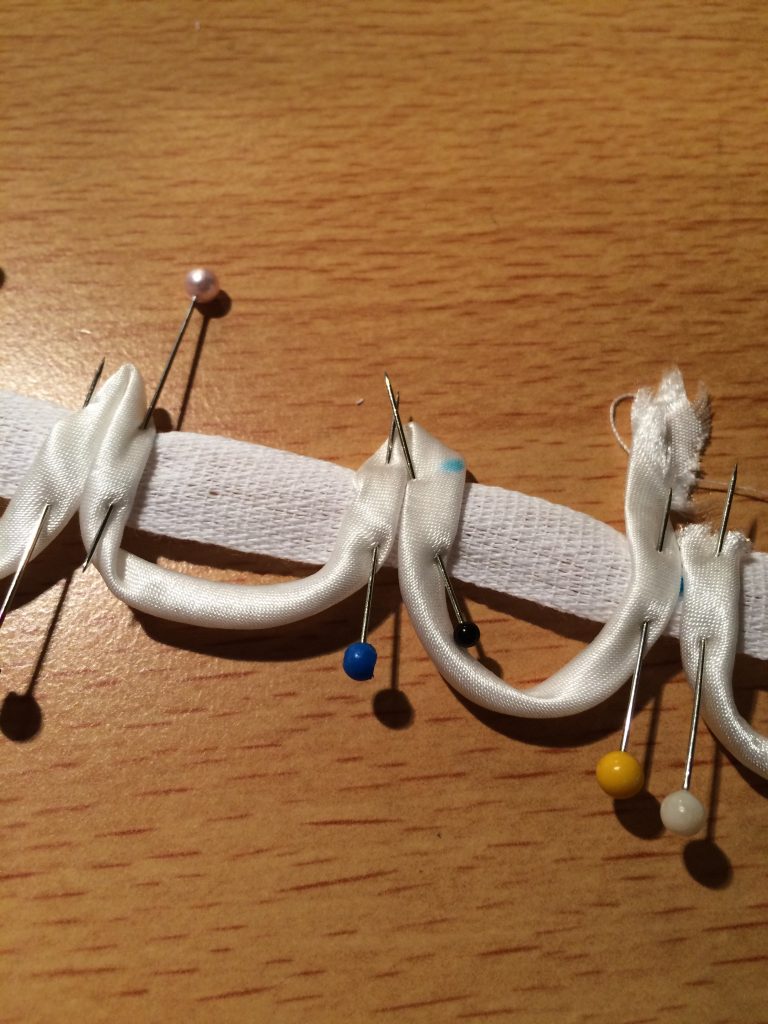
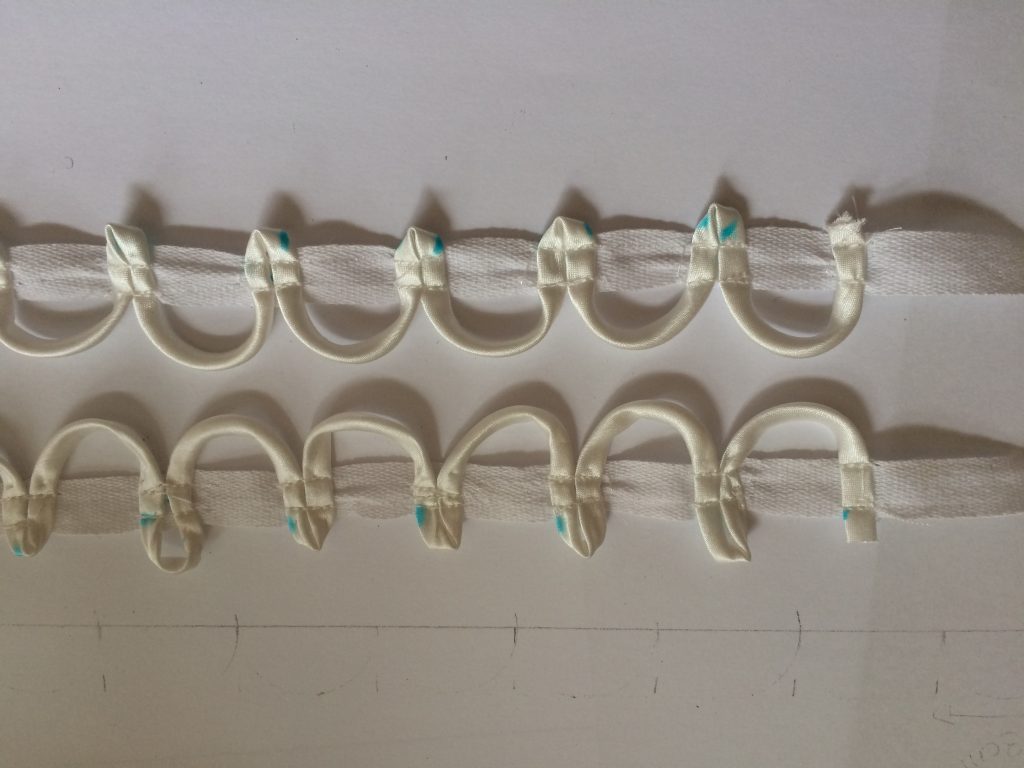
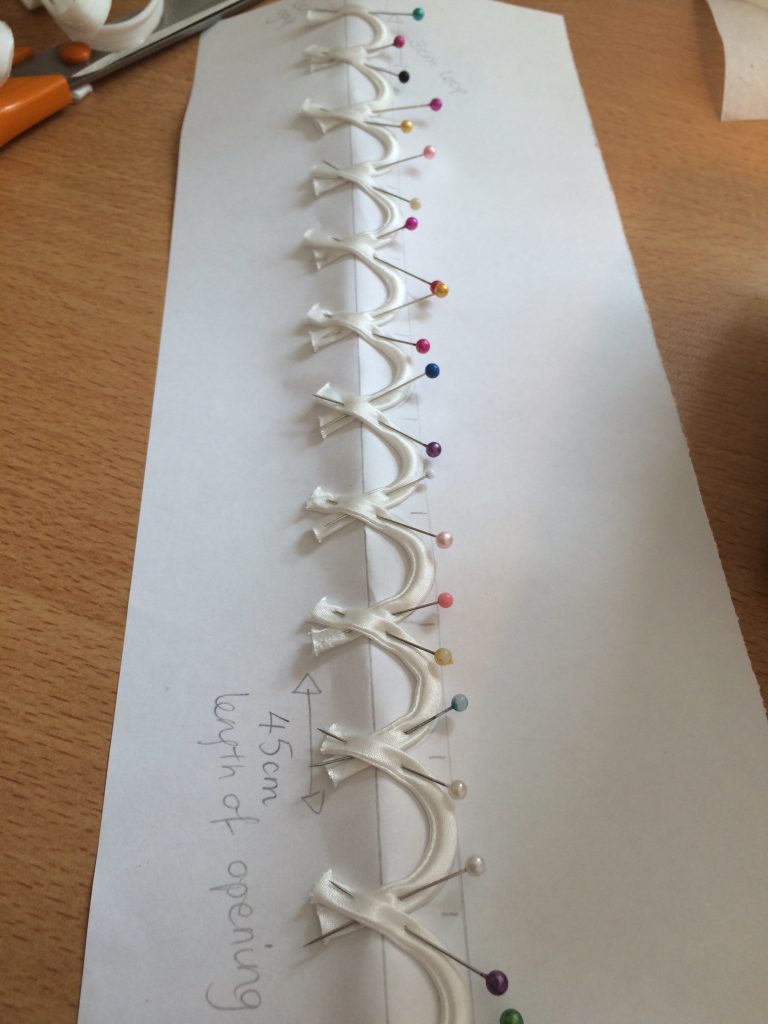
I cut the rouleau strips into shorter 5.5cm strips and then pinned them to the paper, overlapping them each time. I took my time to carefully place the strips this time so the seam line on the rouleau sat along the inner curve.

I created a second strip in the same way but as a mirror image to the first strip.
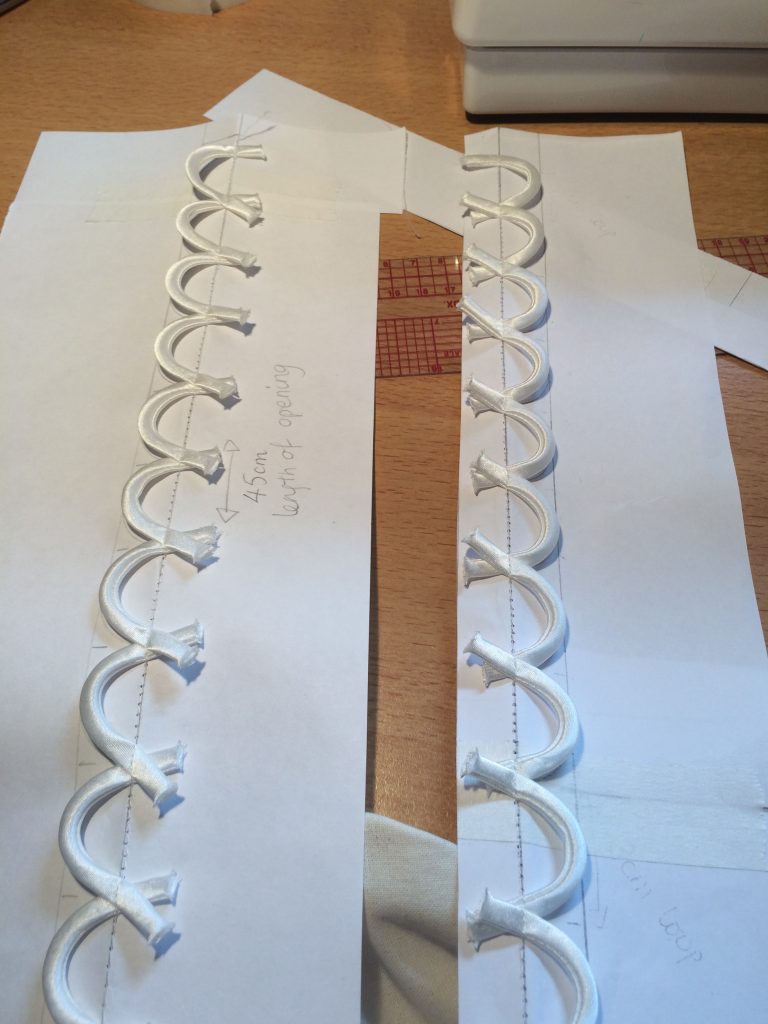
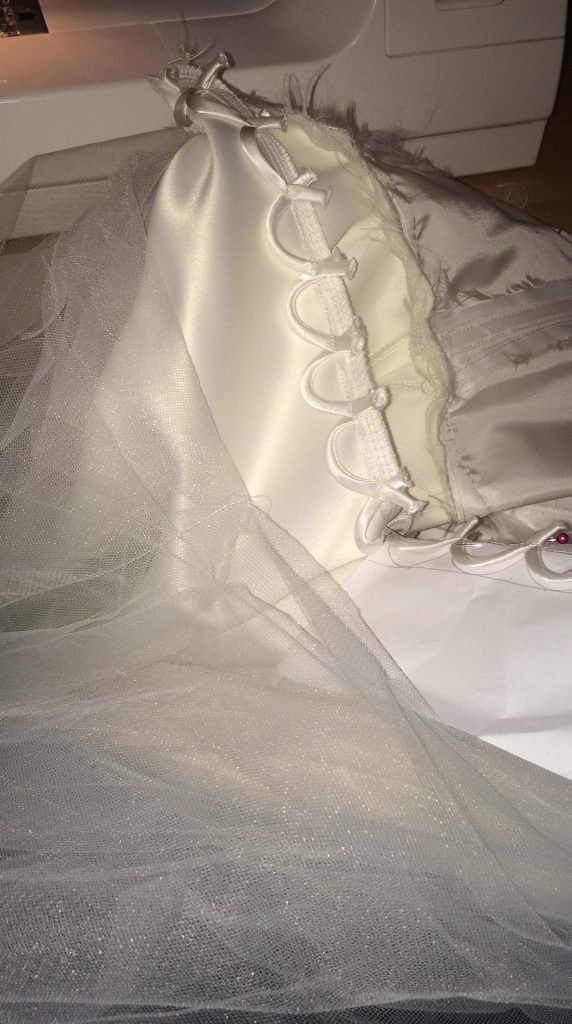
I could see by folding the paper out of the way that these rouleau loops were much more successful than the first.
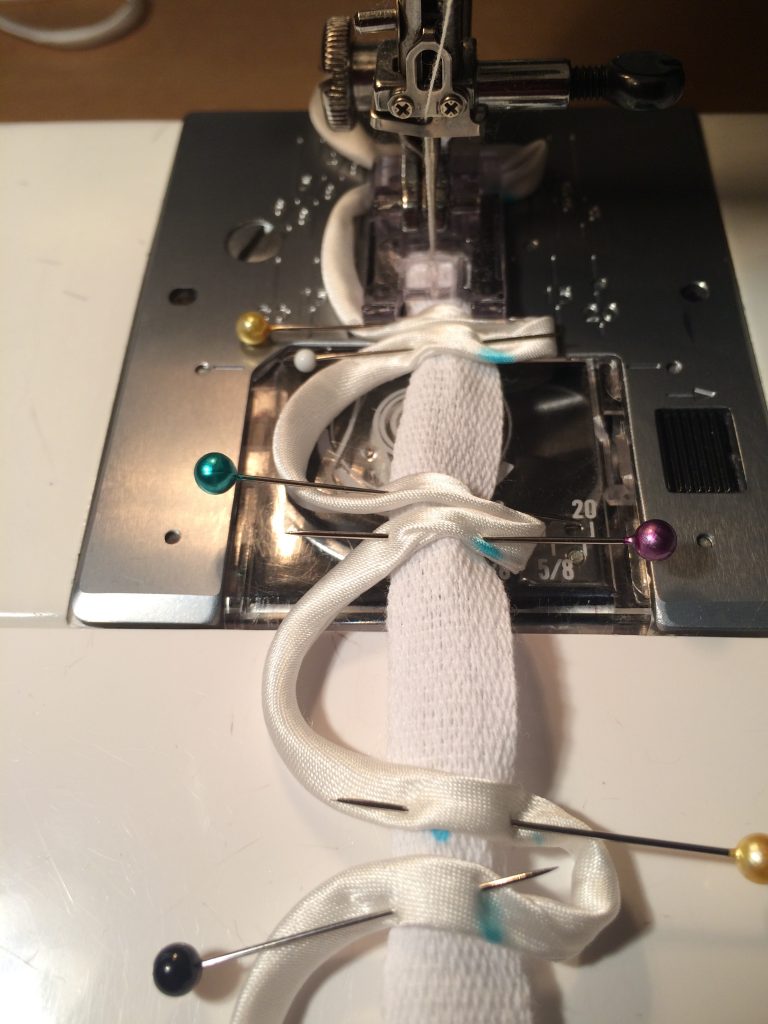
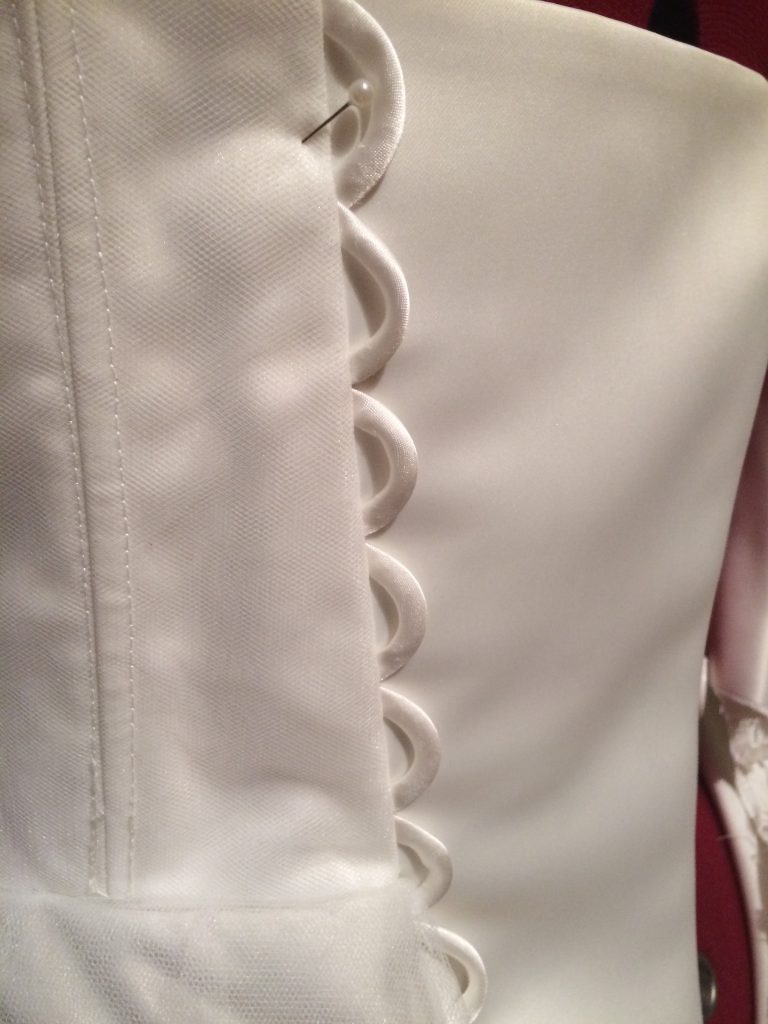
Still attached to the paper, I positioned the strip 1cm from the raw edge of the back opening and stitched the loops in place, using the edge of the paper as a stitching guide line.
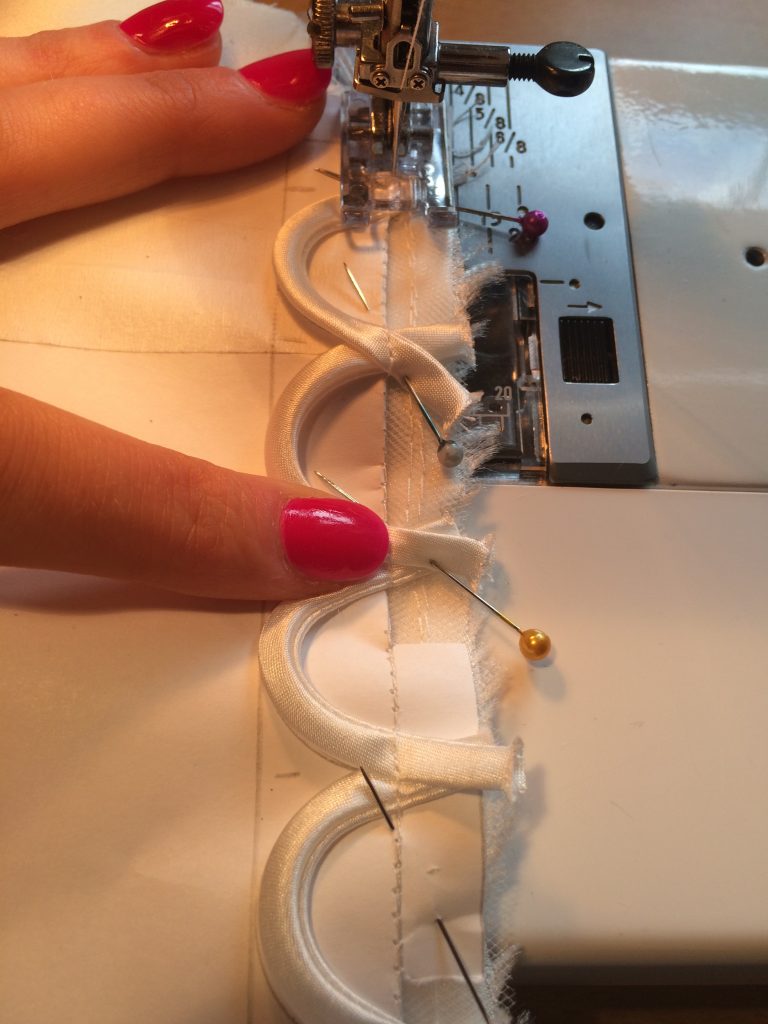
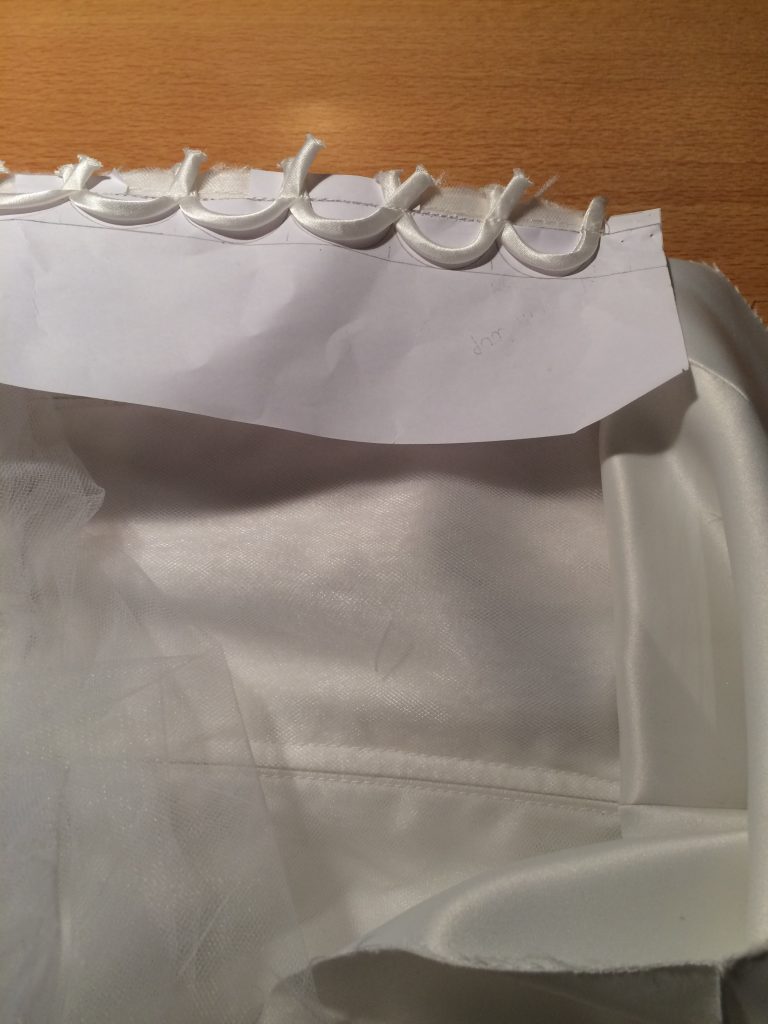
I then gently pulled the paper away, leaving the loops attached to the dress. This method worked really well!
I’m sure other wedding dress makers would say I’ve constructed the dress in a strange order, but this way worked for me. The next stage of the process was to finish off the top of the bodice by attaching the lining.
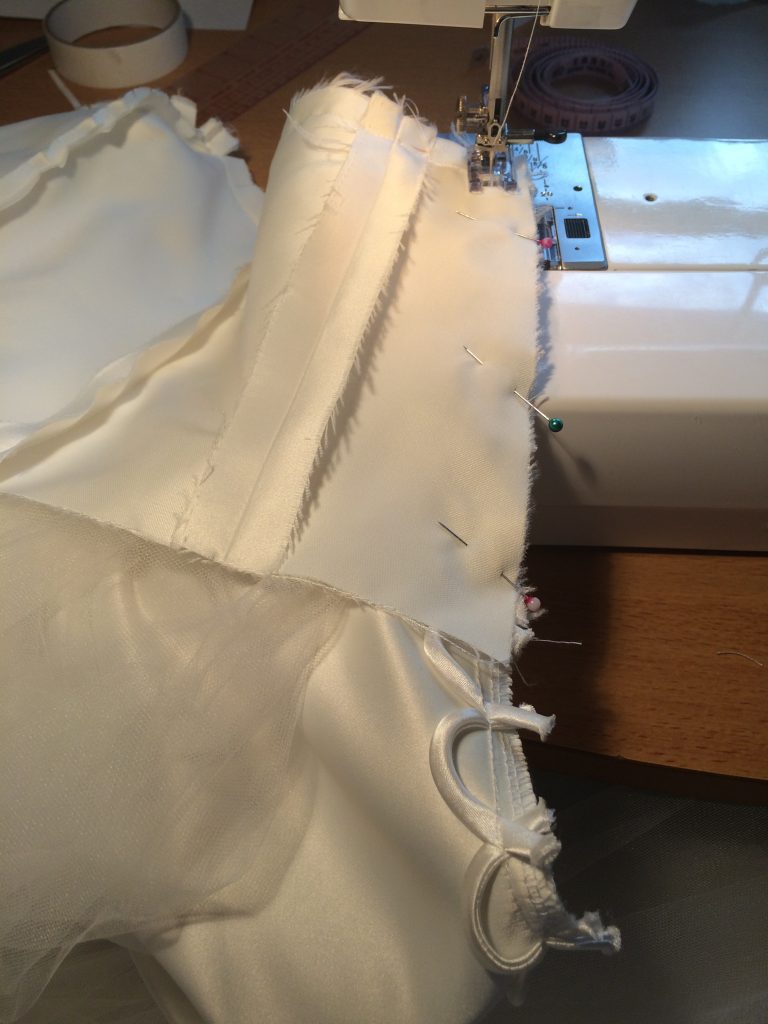
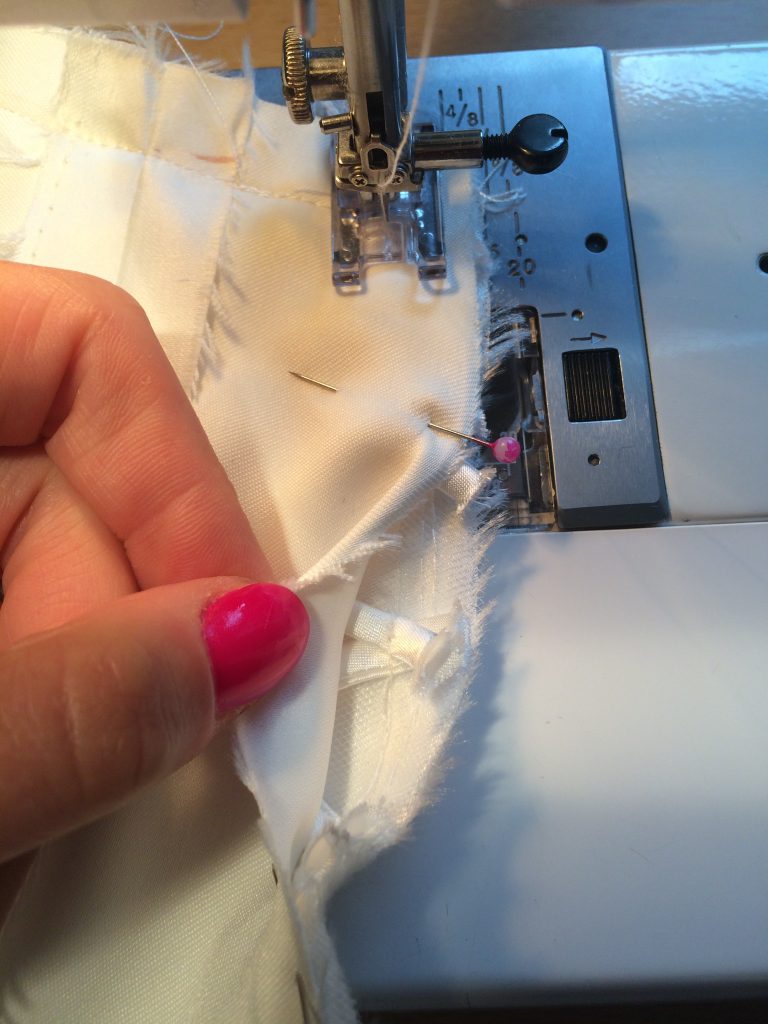
I cut out the bodice panels again and stitched each panel together before pressing open the seams.
The bodice lining was then placed right sides together to the bodice and stitched in place, enclosing the rouleau loops inside.
For the left back opening, the placket was attached.
At this point I was a bit worried – either my mannequin is too big, or my dress is too small!
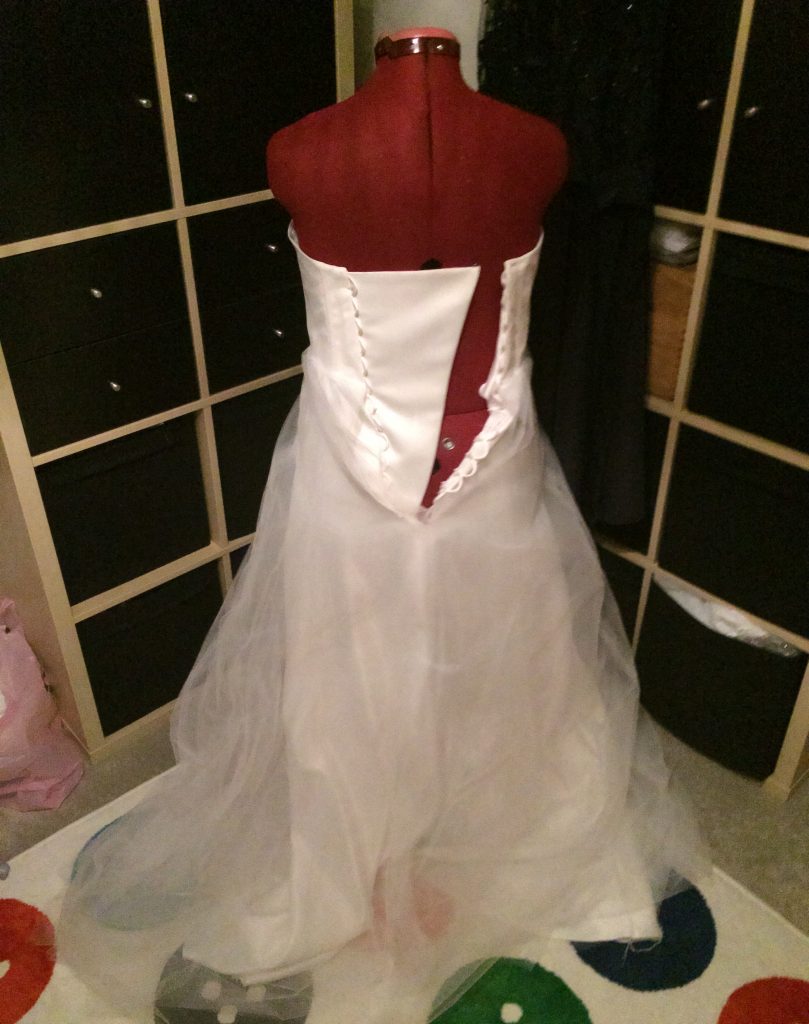
Thankfully it was the mannequin that was too big!
The next phase of construction was the lace. This was going to take the most time as it was going to be stitched on by hand.
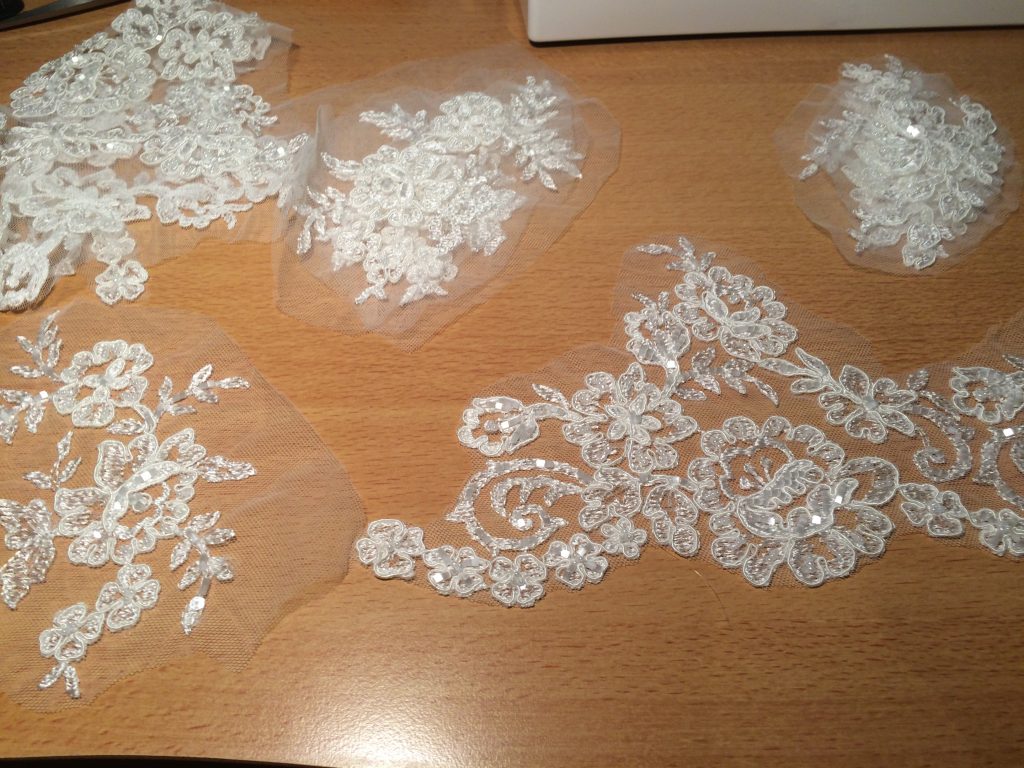
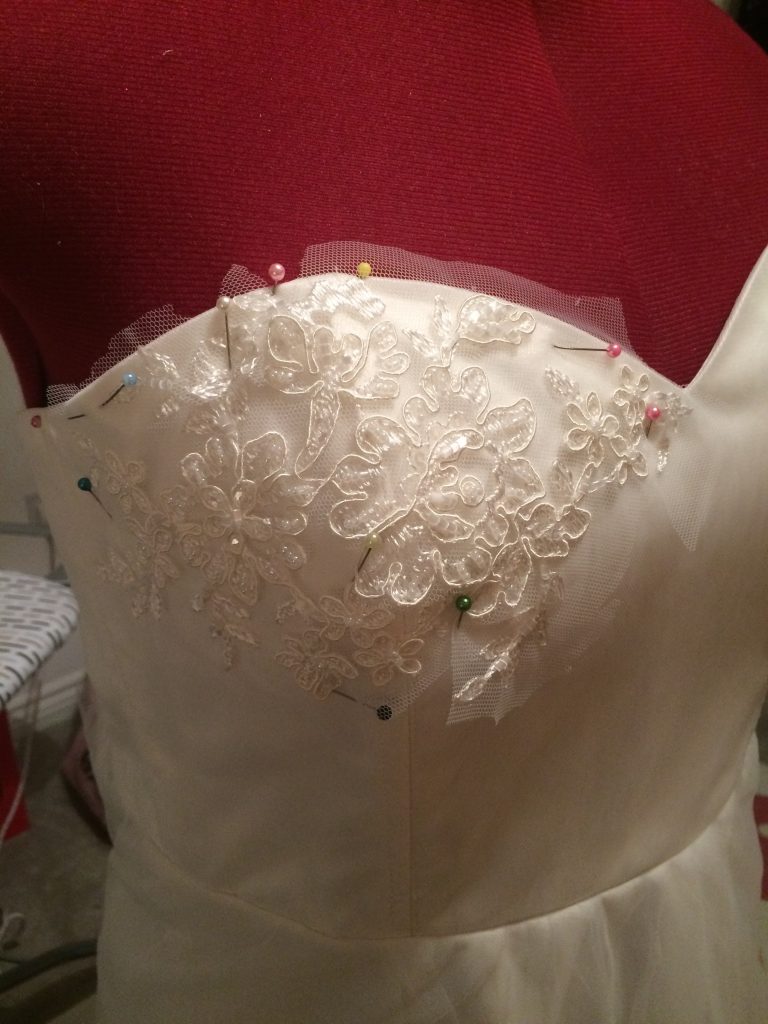
I’d bought some really beautiful beaded lace, but as I’d bought it online I’d not realised how far spaced out the motifs were. For it to have the desired ‘all over’ coverage that I wanted, I’d need to cut the lace motifs from the tulle they were sewn onto, pin them in place on the bodice and then hand stitch them.
The motifs were cut from the fabric, roughly at first and then more carefully to remove most of the tulle.
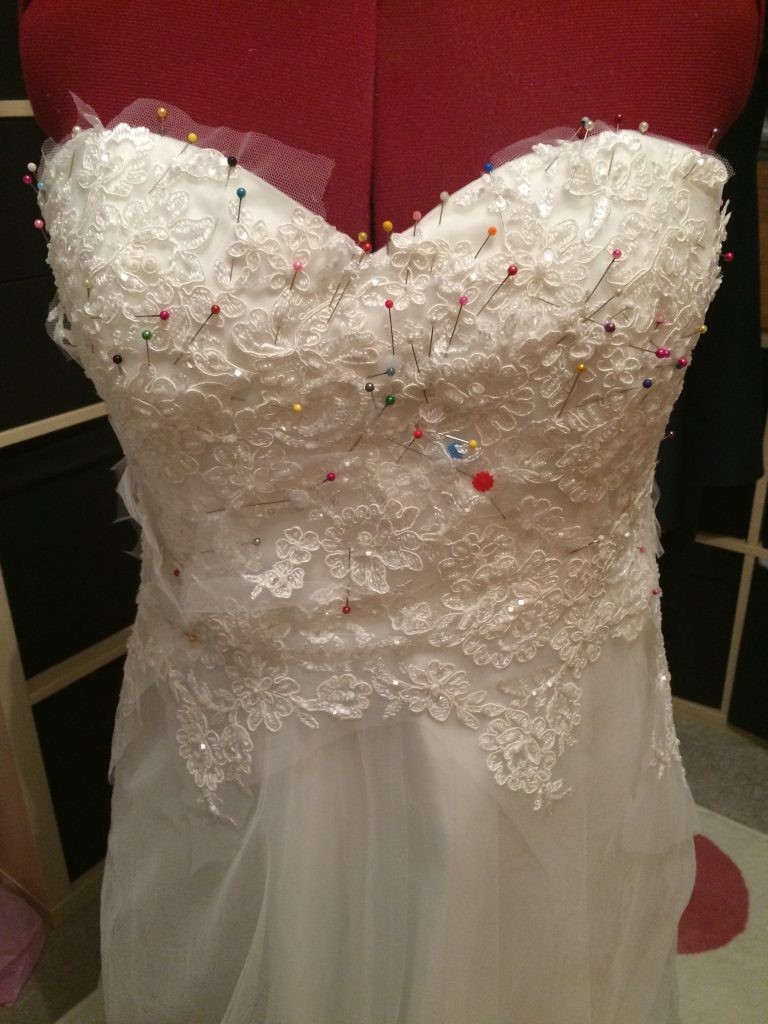
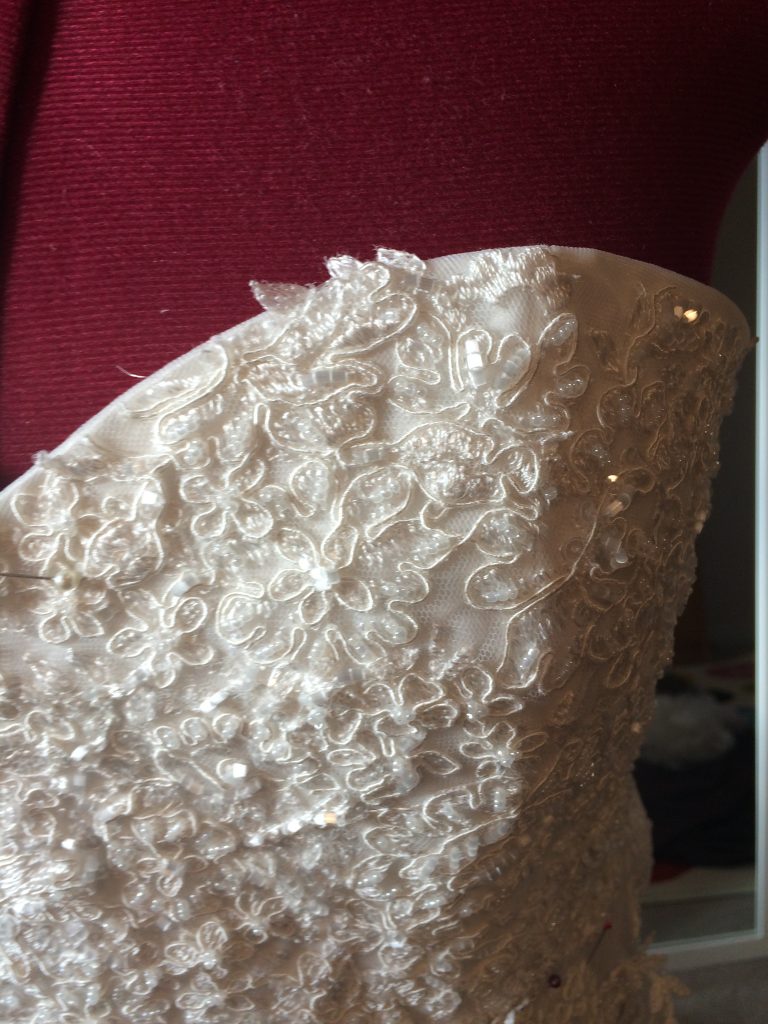
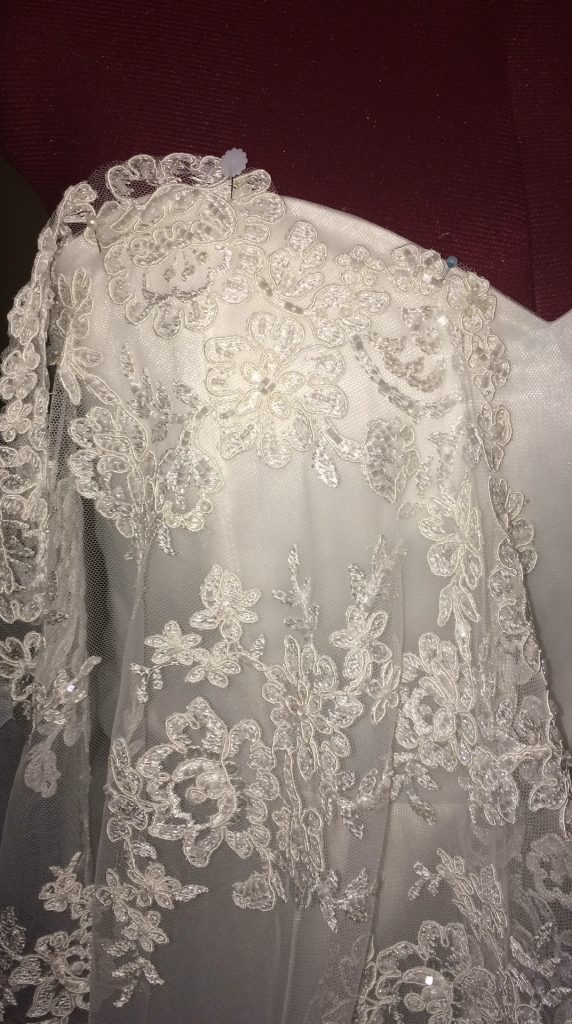
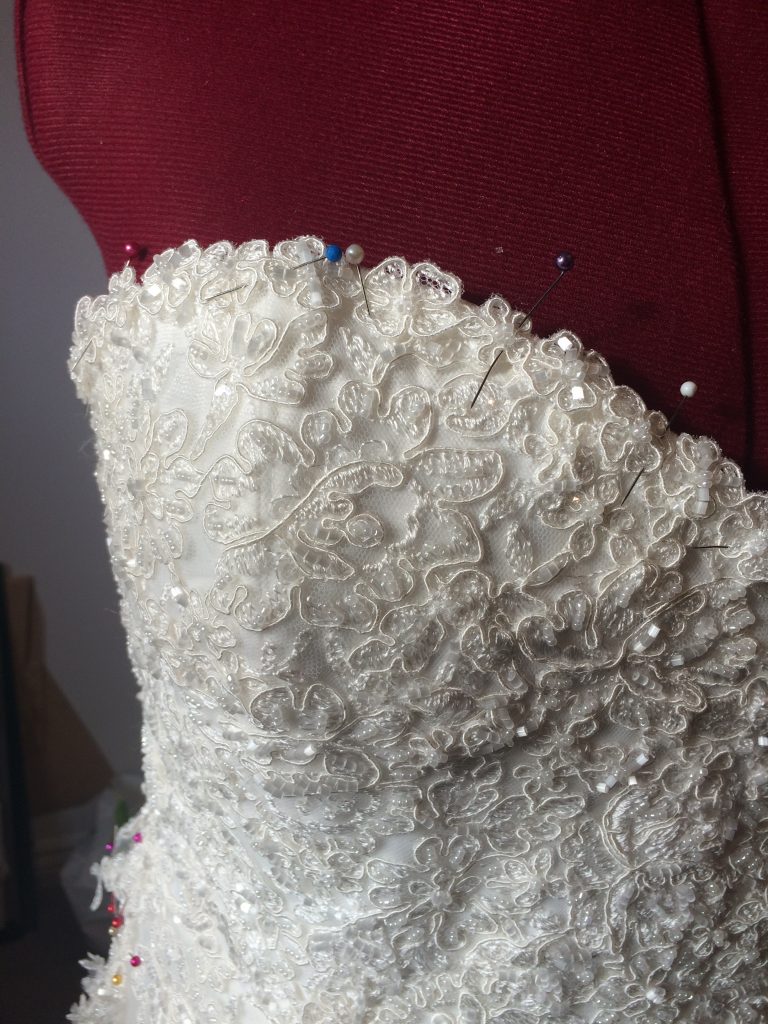
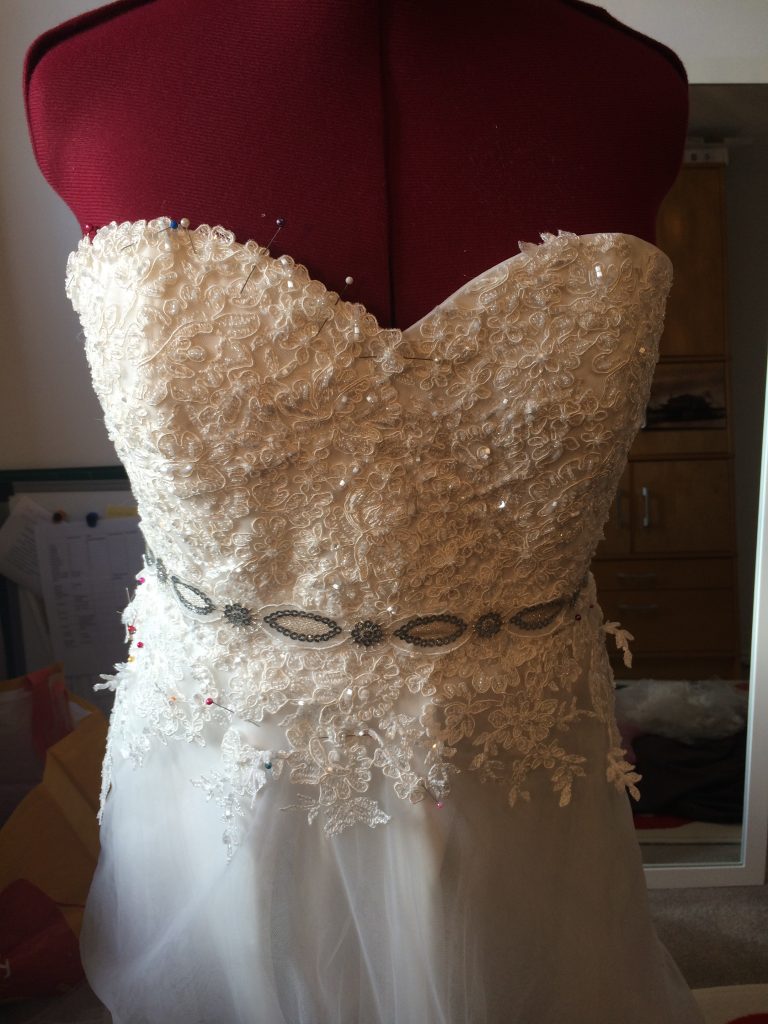
Once the lace was attached I decided to use part of the floral lace trim from the lower edge of the fabric to edge the top of the bodice.
I’d originally wanted the lace motifs to continue from the bodice onto the skirt and then be randomly scattered over the tulle of the skirt. Having spent countless hours hand stitching to cover the bodice and top of the skirt I changed my mind about the extra scattered motifs!
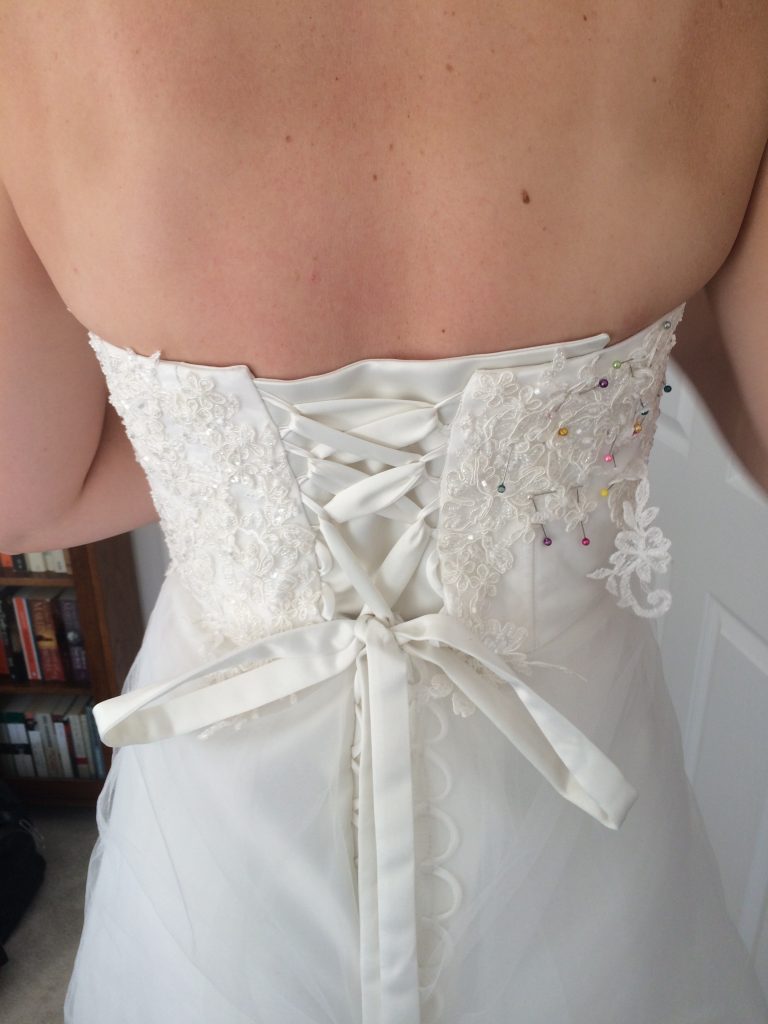
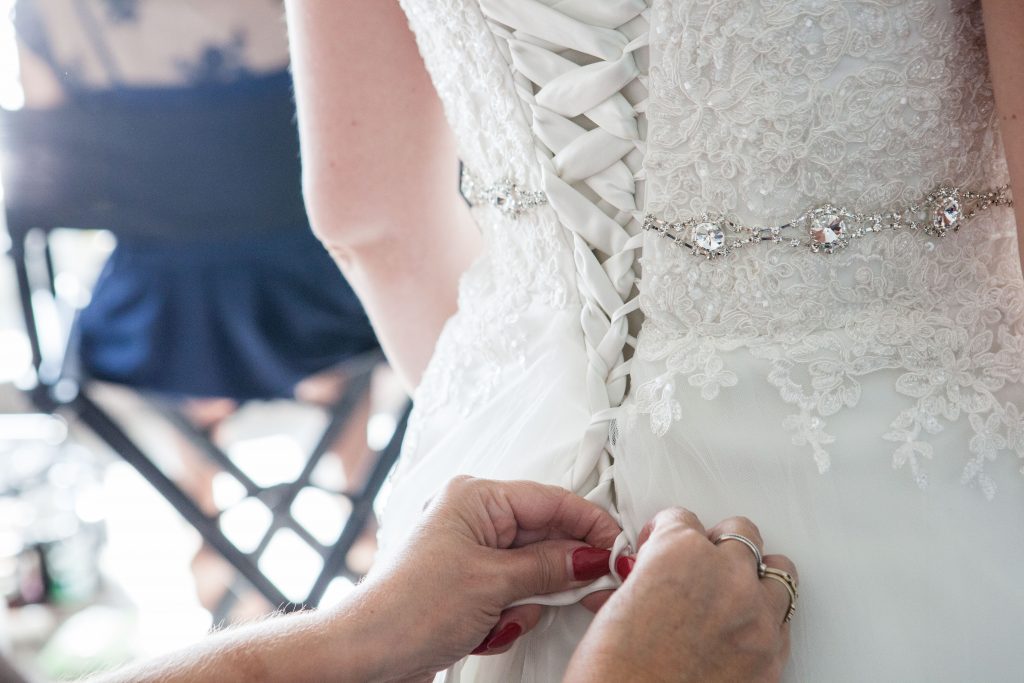
Next, I created the lacing for the bodice using the duchess satin. I needed around 4m of bias strips, each 5cm wide. The lacing was created in the same way as the rouleau strips, but using much wider fabric strips.
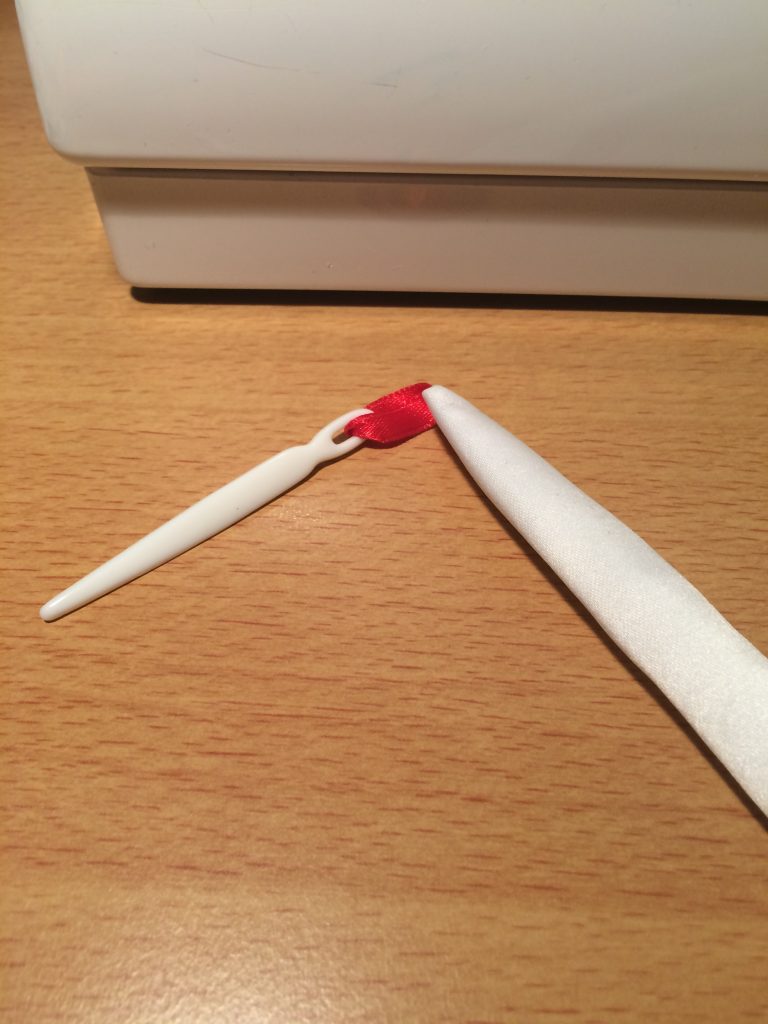
I attached a small length of ribbon and a plastic bodkin to the end of the lacing strip so this could be turned through more easily.
The lacing was then pressed so the seam lay along one edge.
I then started experimenting with different ideas for a sparkly belt.
I was getting really worried about how the dress would fit so I asked a friend to help me to try the dress on so I could check it would meet at the back. Thankfully the diet plan had worked and so had my sizing calculations! – it fitted with room to spare!
I also invested in a smaller mannequin!
All this hand sewing was taking its toll and I needed a break! by this time I’d pretty much finished the bridesmaid dresses, apart from hemming so I decided to make a second wedding dress for the evening. Yes – I know, that’s crazy, but the second dress was completed in a very short time and allowed me to use up the extra duchess satin, tulle and lining fabrics that I’d bought. I’ll be writing more about the second dress in another post.
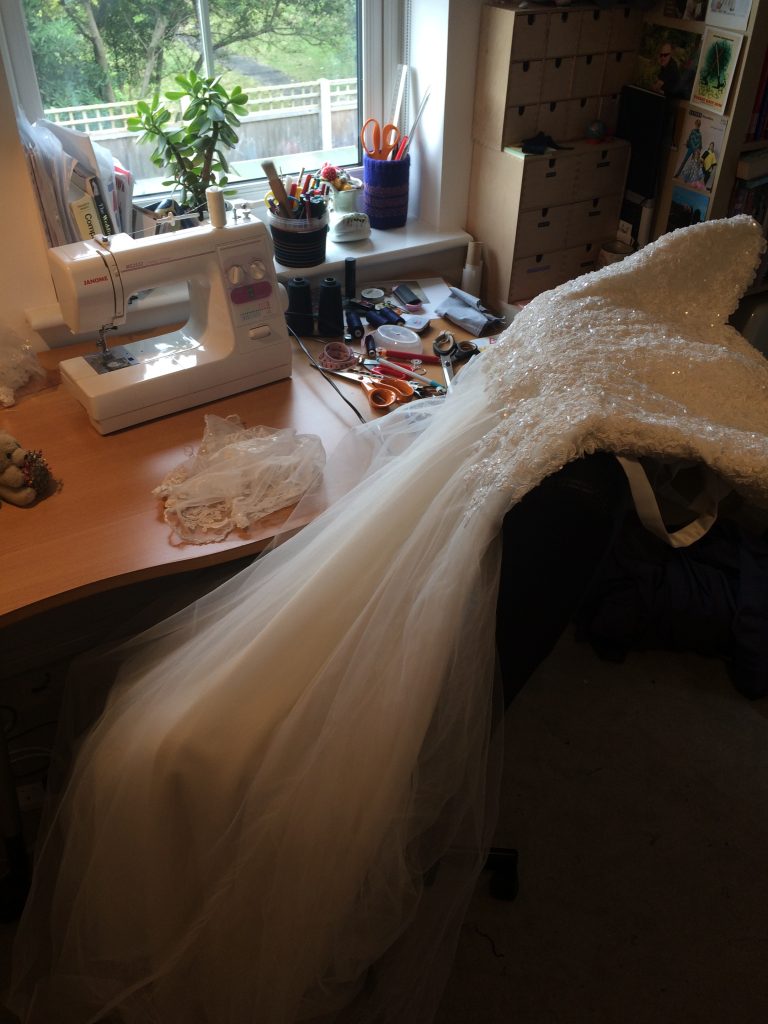
After putting off the final stages of dress construction I got back on with it. I needed to create the inner skirt lining, attach this and then trim the tulle fabric to the correct length.
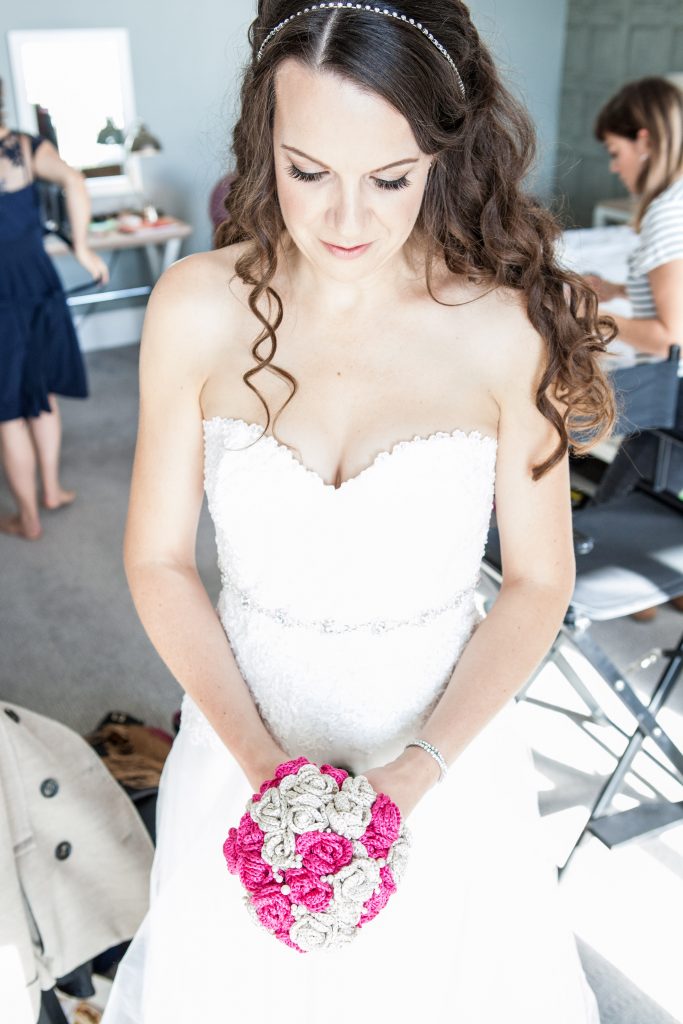
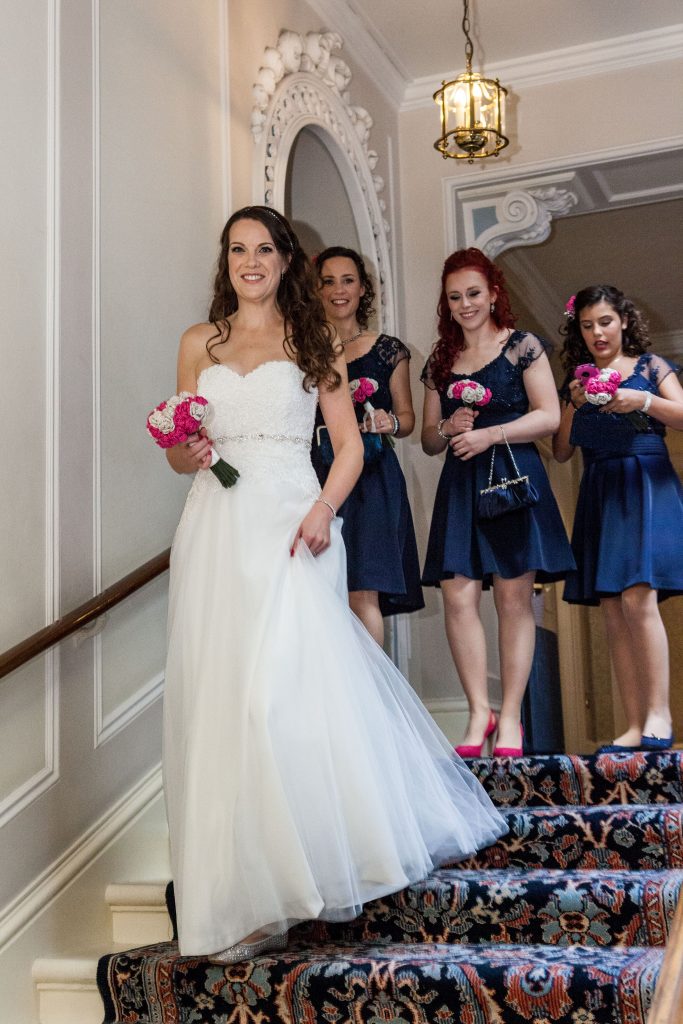
Finally the dress was finished!!
This is by far my most favourite project to date and I’m really happy with how it turned out. Thankfully I managed to hide it from my fiancé until our wedding day.
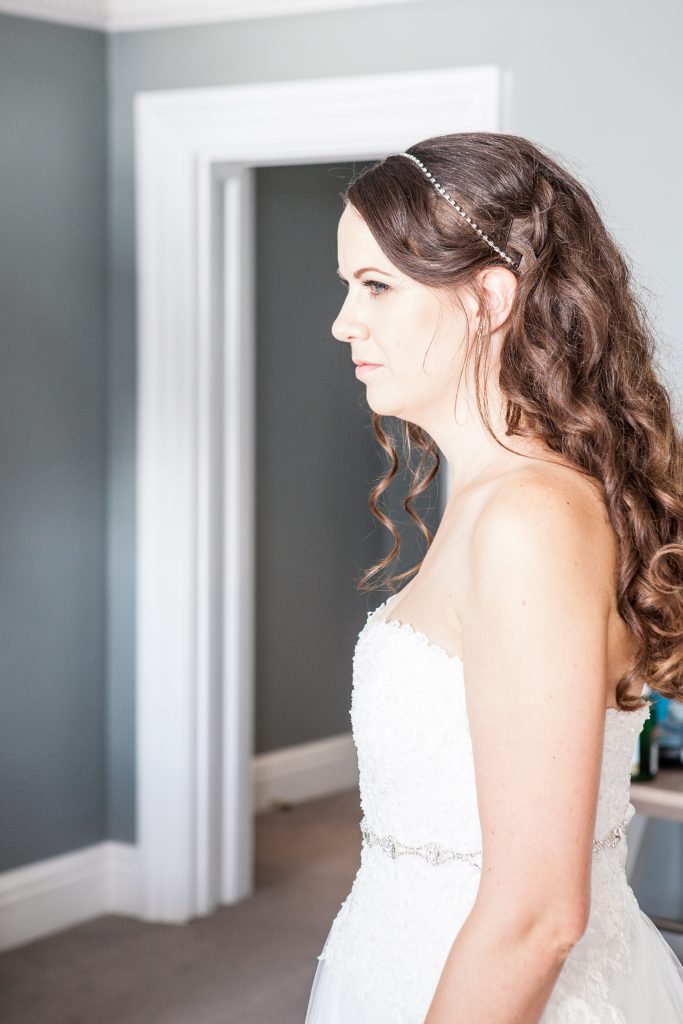
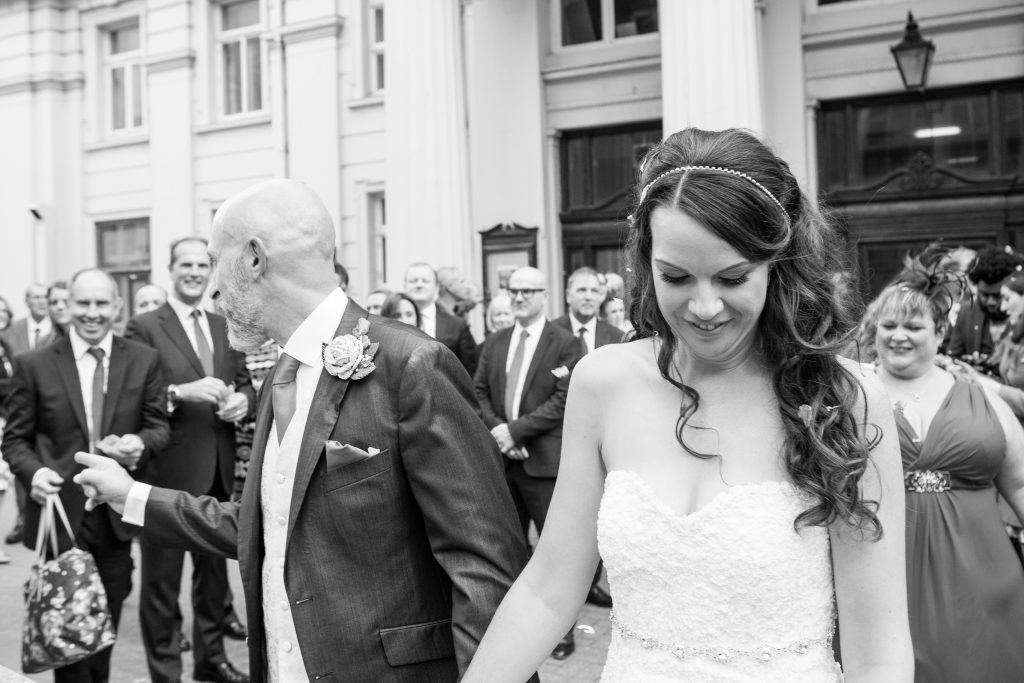
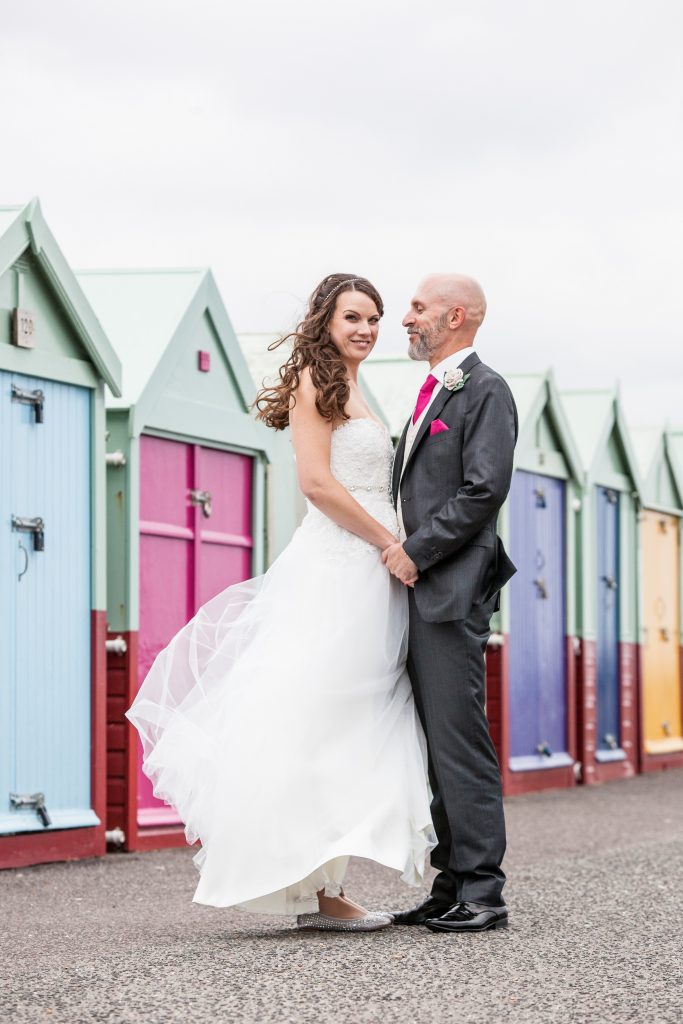
Thanks to Philip Bedford for his fabulous wedding photos!
Coming soon:
Making my bridesmaid dresses, wedding dress number 2, the garter and my bridal bouquet!


