I’d done the research, chosen a style and bought some fabric. Now I was ready to begin the making process!!
I’ve made a lot of dresses, but this wedding dress was going to take me into new territory and I was a little bit scared! – I was having a few doubts about my skills. What if I can’t finish the dress in time? What if I make it and it looks terrible? What if I actually can’t make it? I had to stop the worrying and get on with it!
Step 6 – Choose / draft a pattern.
I’m a bit lazy when it comes to drafting my own patterns – well, maybe not lazy. Perhaps I could look at it more as taking a practical approach, in terms of how much time I have and being realistic about what I can achieve in that time. I generally use commercial patterns and then tweak them to suit my own style requirements. What’s the purpose of drafting a pattern from scratch when someone has already done this hard work for you and you can simply buy the pattern already done? There’s no point in reinventing the wheel is there? When it comes to commercial patterns for wedding dresses, there’s quite a limited stock. I trawled the internet and looked through all the pattern books in Fabric Land but didn’t come up with anything that would totally work for me. Instead I bought this, Simplicity 4070:

I thought I could use the pattern for the bodice, adapt this by making it slightly more shaped around the bust and adapt the back panel to allow for the corset style lacing. I was planning on losing some weight for the wedding and thought the corset style would be the easiest way to ensure a good fit since you can just tighten it, or loosen it on the day.
Step 7 – Making the toile. By now it was July. I measured my bust and then compared this to the finished garment measurements on the envelope. I cut my pattern in a size 14 and hoped for the best.
I tried on the bodice and it fitted pretty well but needed some slight adjustments at the seams to create a closer fit at the top. I also wanted the bodice to be shorter so the skirt would flare from above the waistline and create a slimmer looking silhouette. I shortened each piece by 4cm and drew a new line for the centre front / neckline shaping. I didn’t want to cut anything off the paper pattern in case I use this for something else so I just drew the lines onto the paper and traced this onto the fabric.
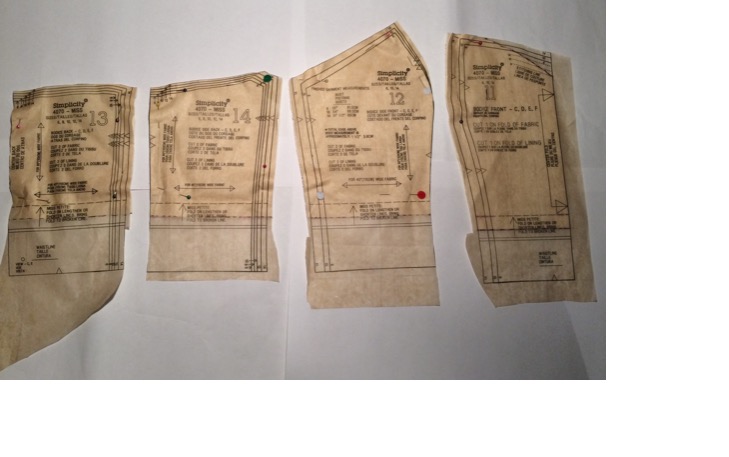
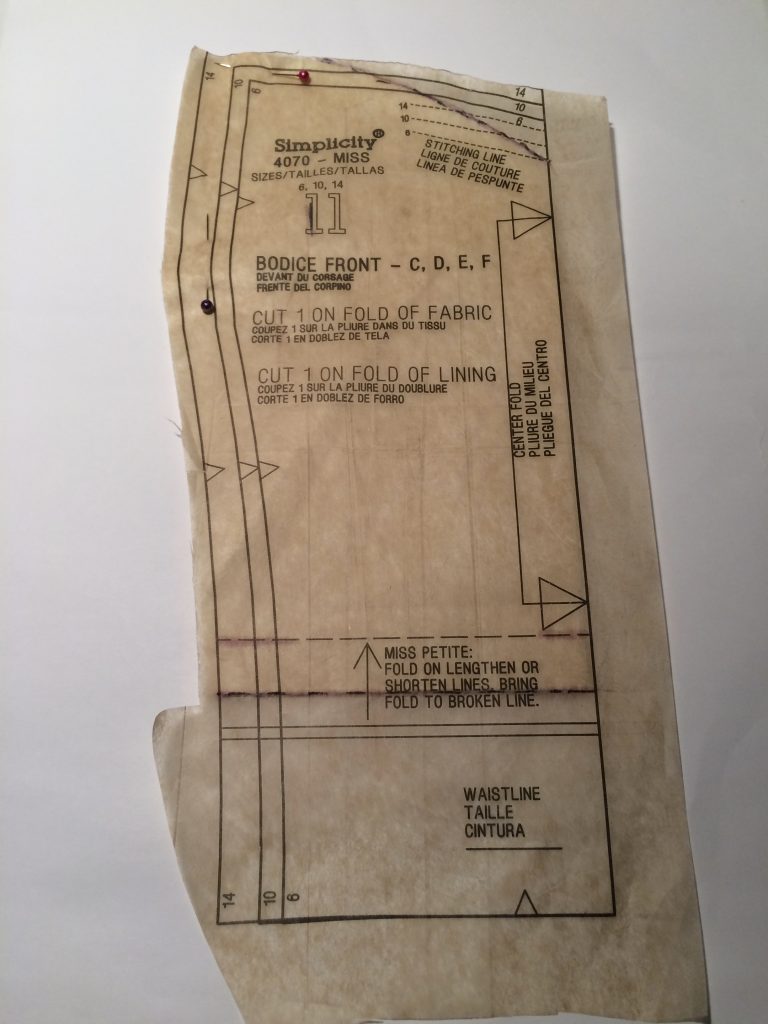
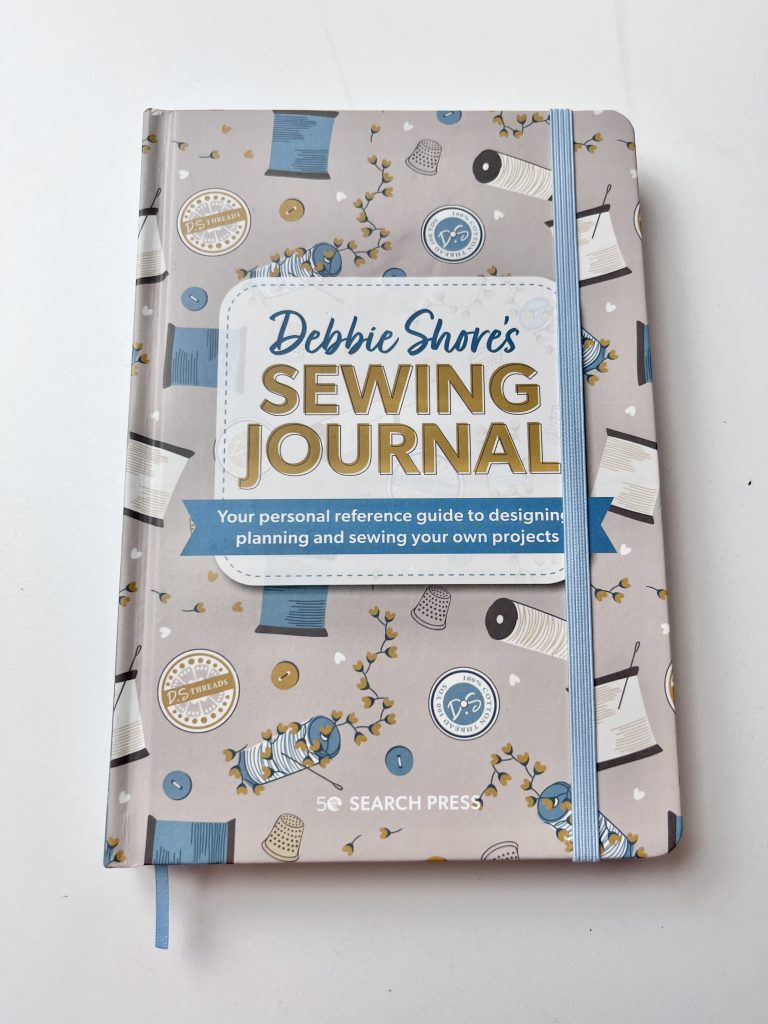
The centre back piece would require more adjustments to allow for a placket and lacing. I bought the most amazing book which helped me with how to do this:
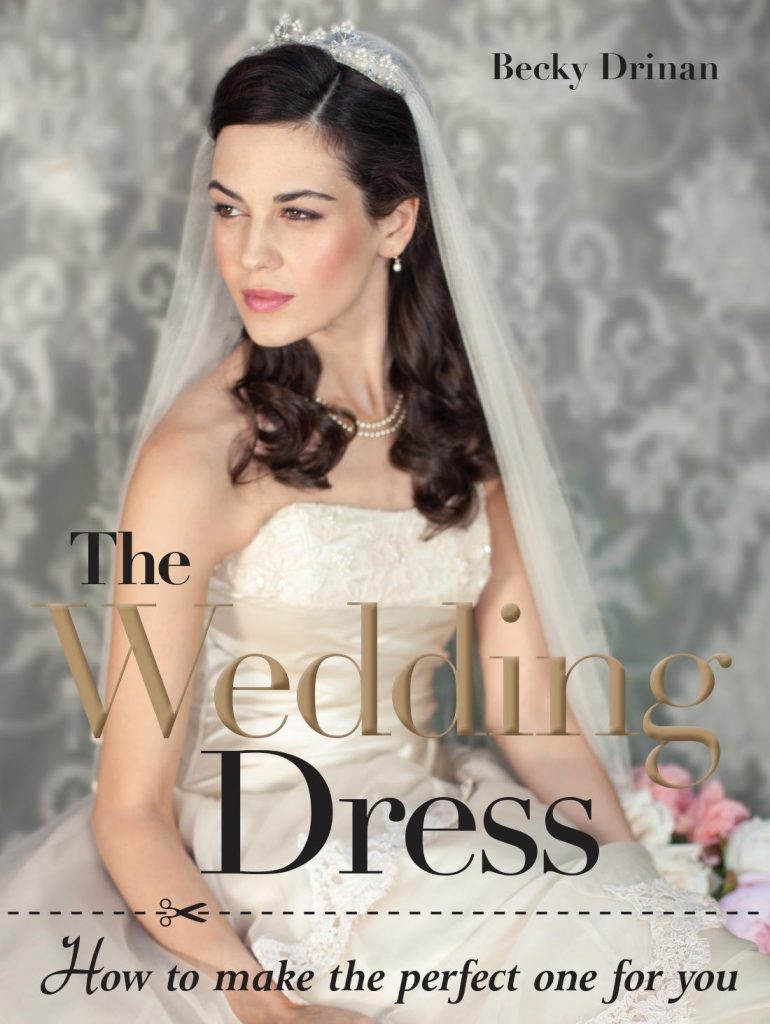
Becky really clearly explains how to cut the centre back panel into two to create a new back pattern piece and a placket pattern piece like this:
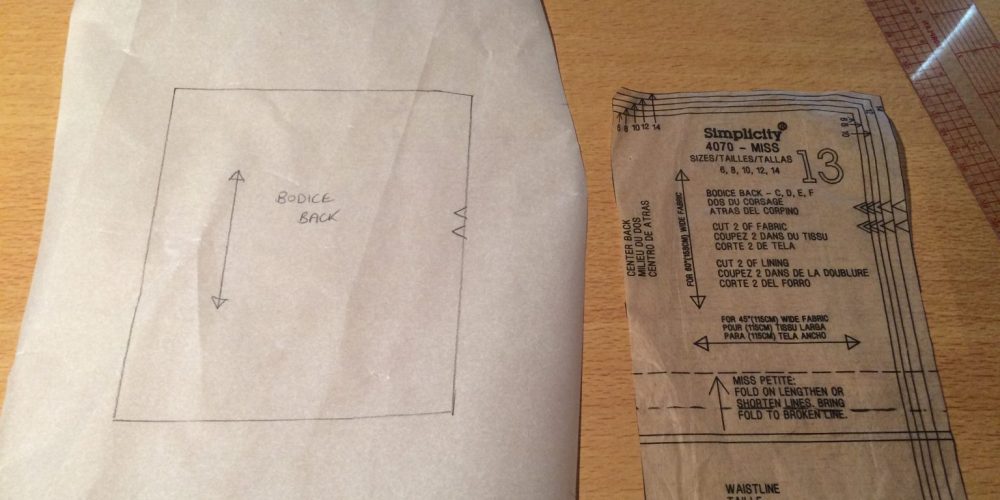
I traced the back pattern piece:
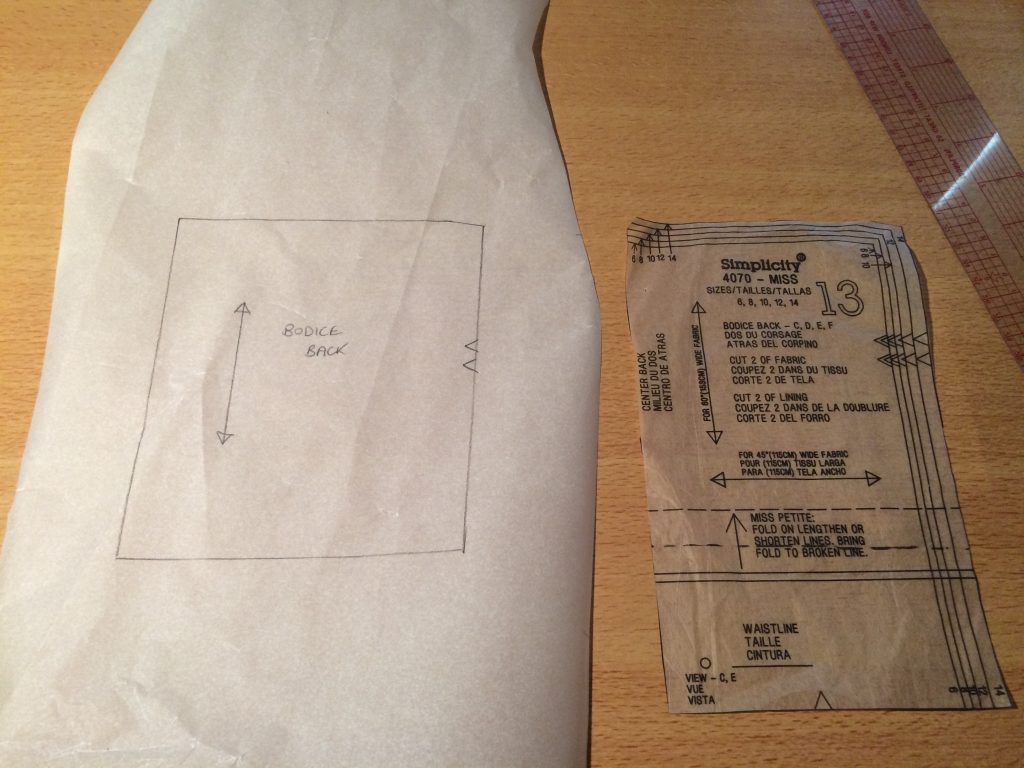
Then removed the seam allowance from the centre back seam line.
Then I drew a line from the bottom left to 2/3 of the way along the top edge.
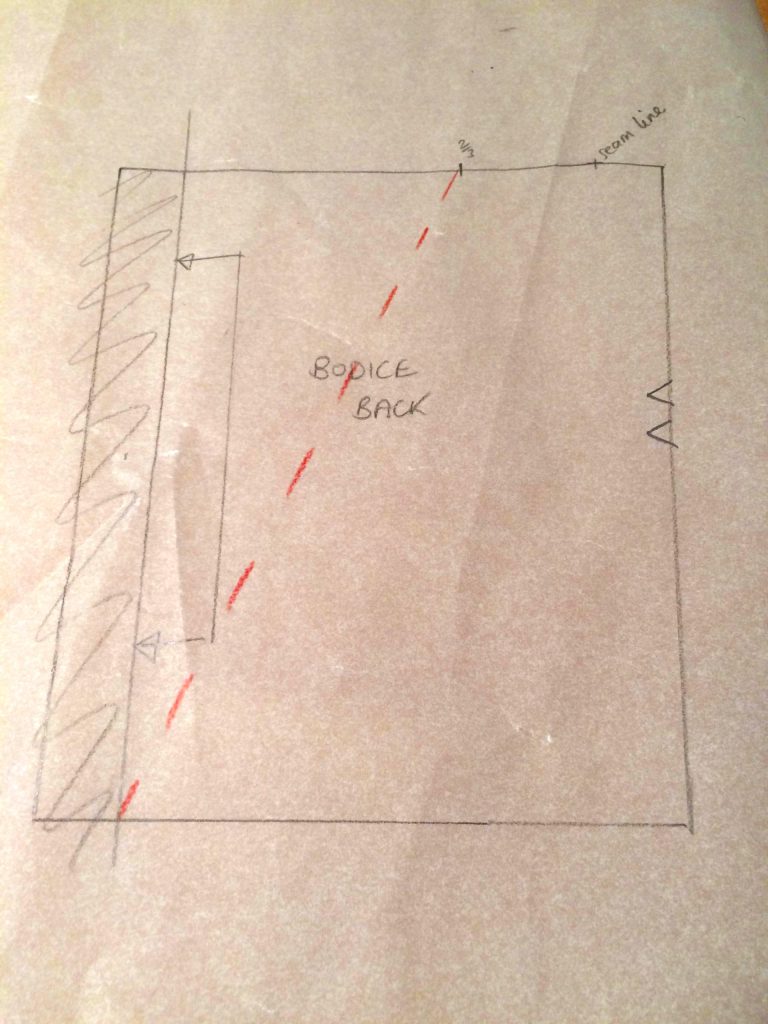
I then cut along this line to separate the two pieces.
On the placket section I added 4cm to the slanted edge to allow for seam allowance and overlap.
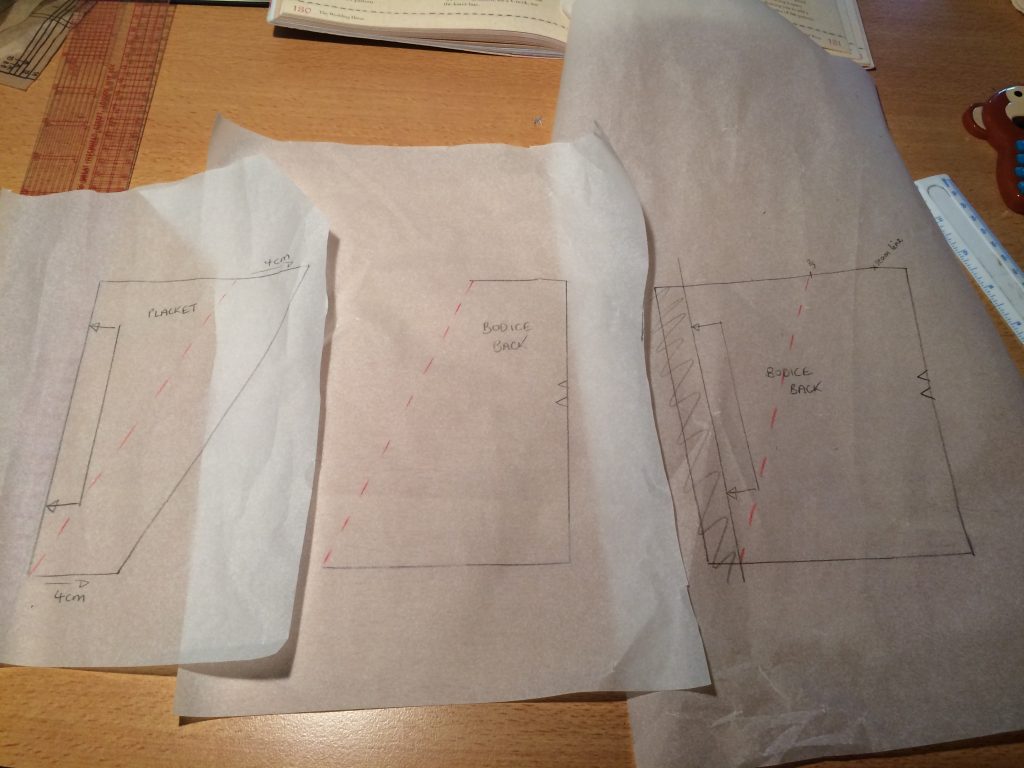
I then added 1.5cm seam allowance to the slanted edge of the centre back and marked a notch on both the placket and centre back to help match up the pieces when constructing.
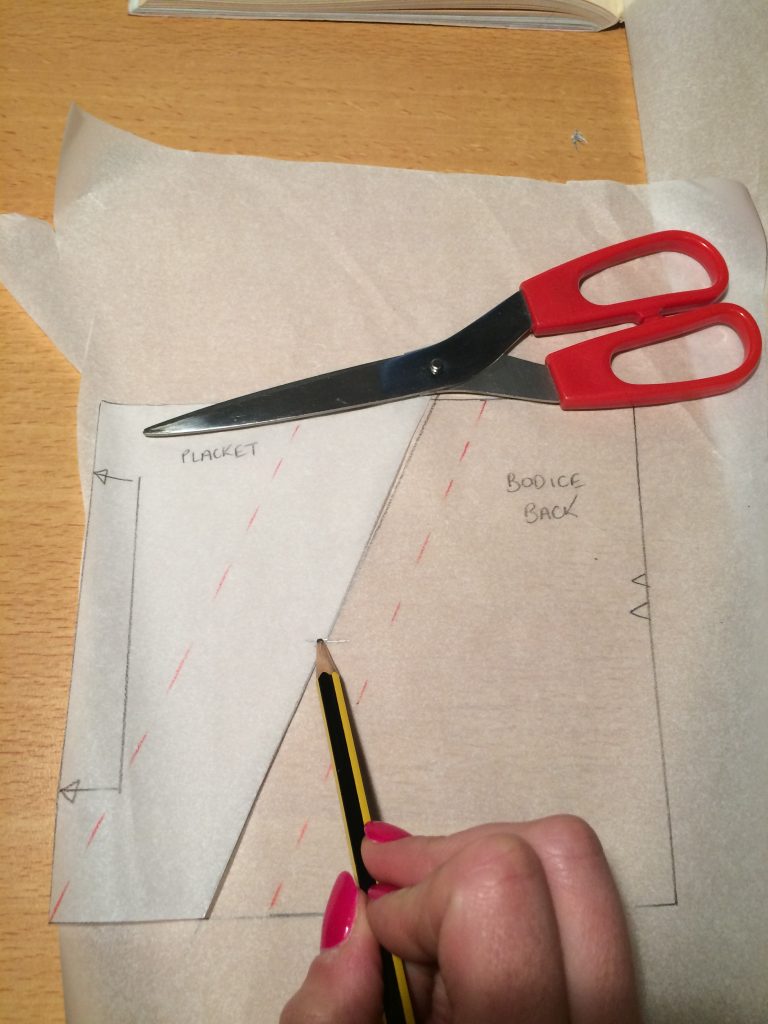
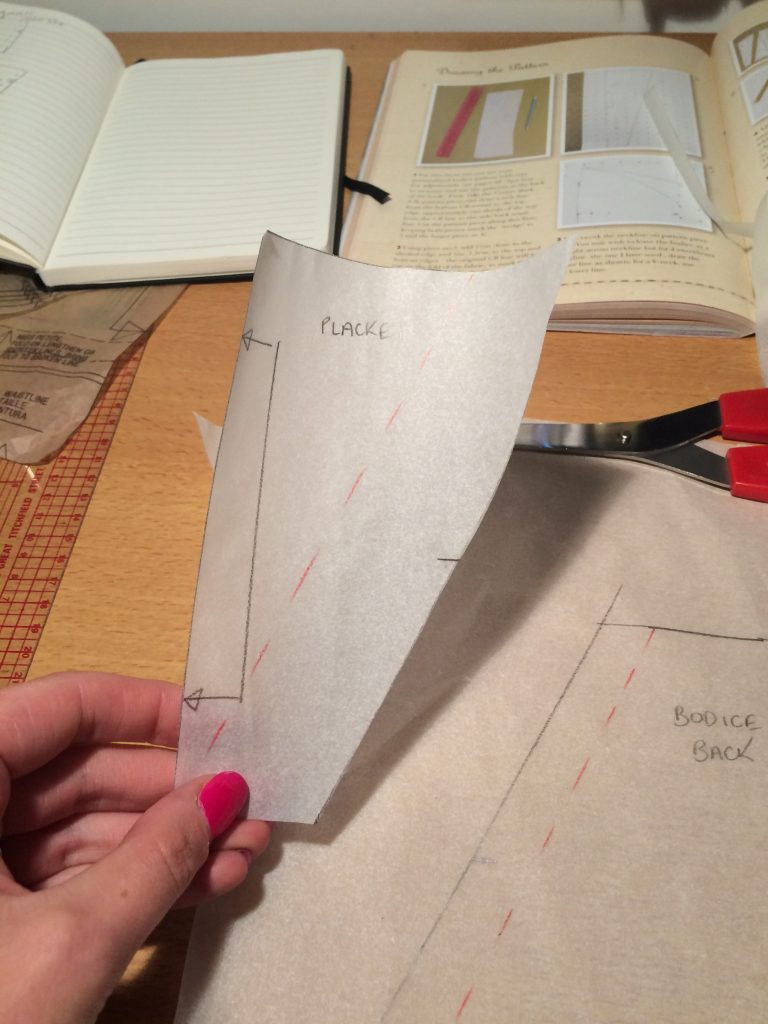
After doing this I realised I’d need to adjust both these pieces further as I needed to extend the placket into the skirt section of the dress, so the lacing would continue from the bodice section down to the hipline. I extended the placket piece by around 14cm and then redrew the slant. I amended the back panel piece so the angle of the slant matched that of the placket.
I then drafted the pattern for the skirt using tips from Becky’s book.
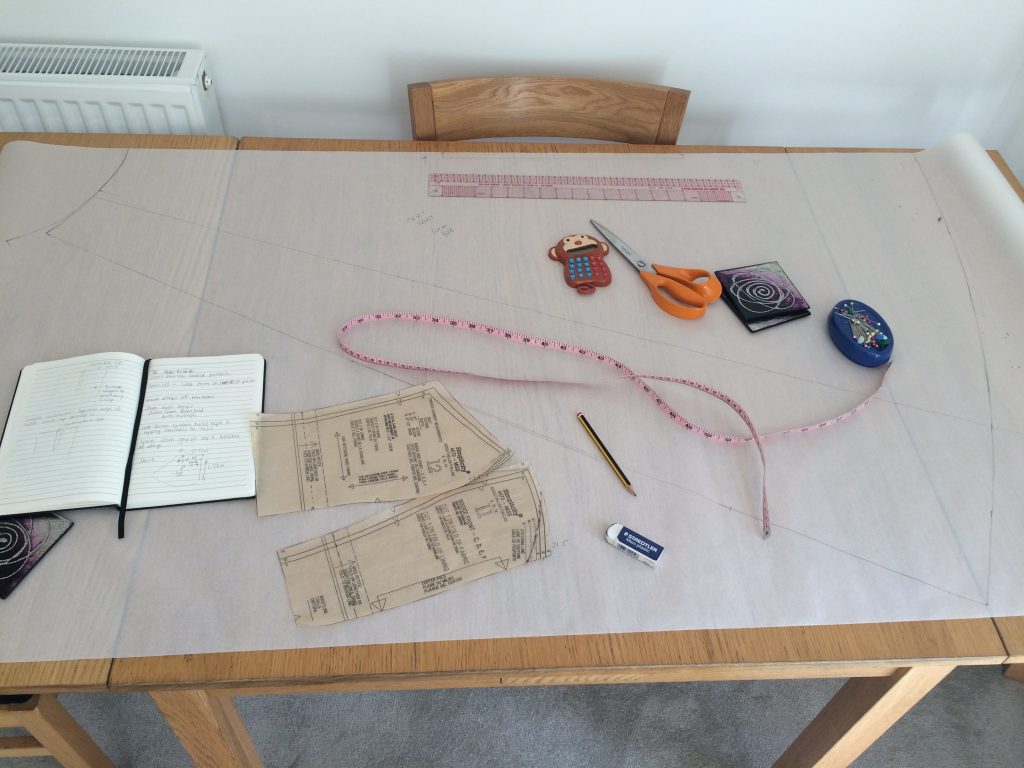
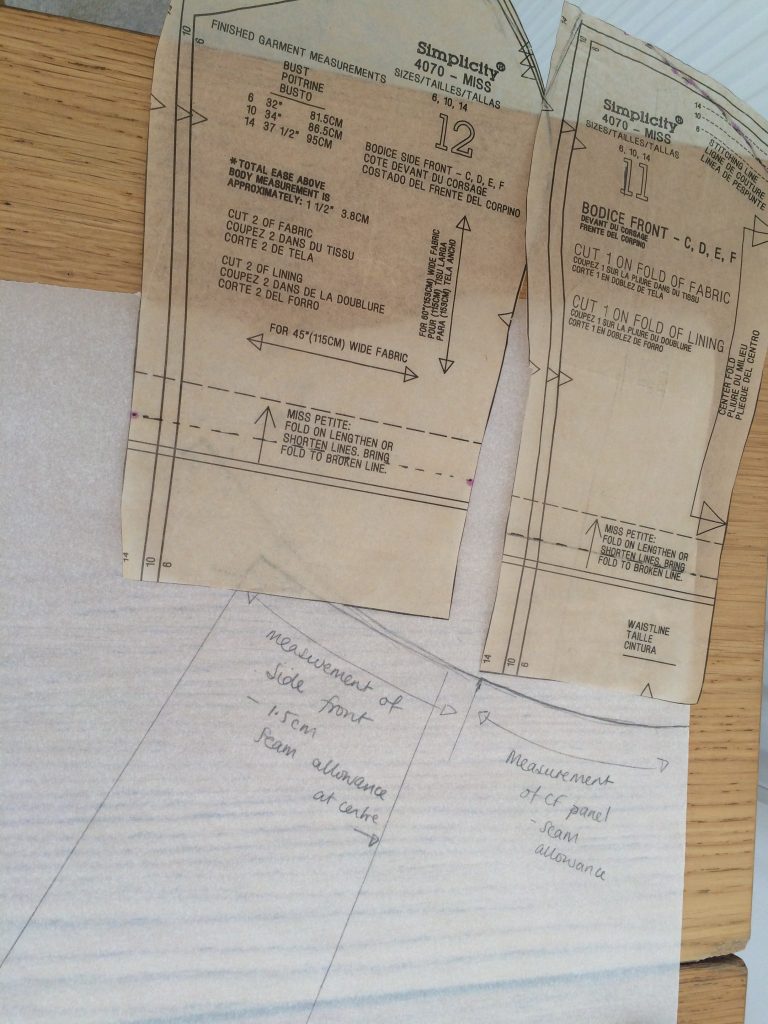
I decided not to create a toile of the skirt as the duchess satin was so cheap, I thought I’d go for it and hope it fitted.
The fabric wasn’t really wide enough for my pattern pieces so I thought I’d be clever and take out some of the fullness in the skirt.
This was a really bad idea as it wasn’t going to leave enough room for my fullness around my bum!
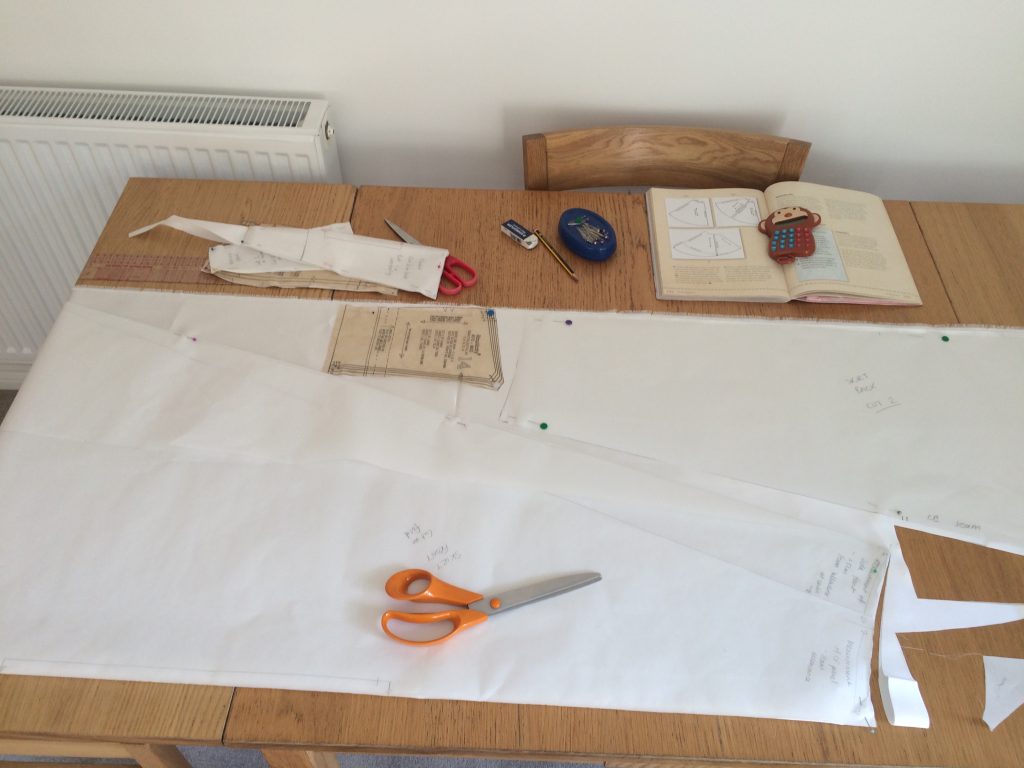
While making up the skirt I managed to spill tea all over it! It didn’t fit ether so at this stage things weren’t going so well. I headed back to Fabric Land for more satin so I could start the process again.
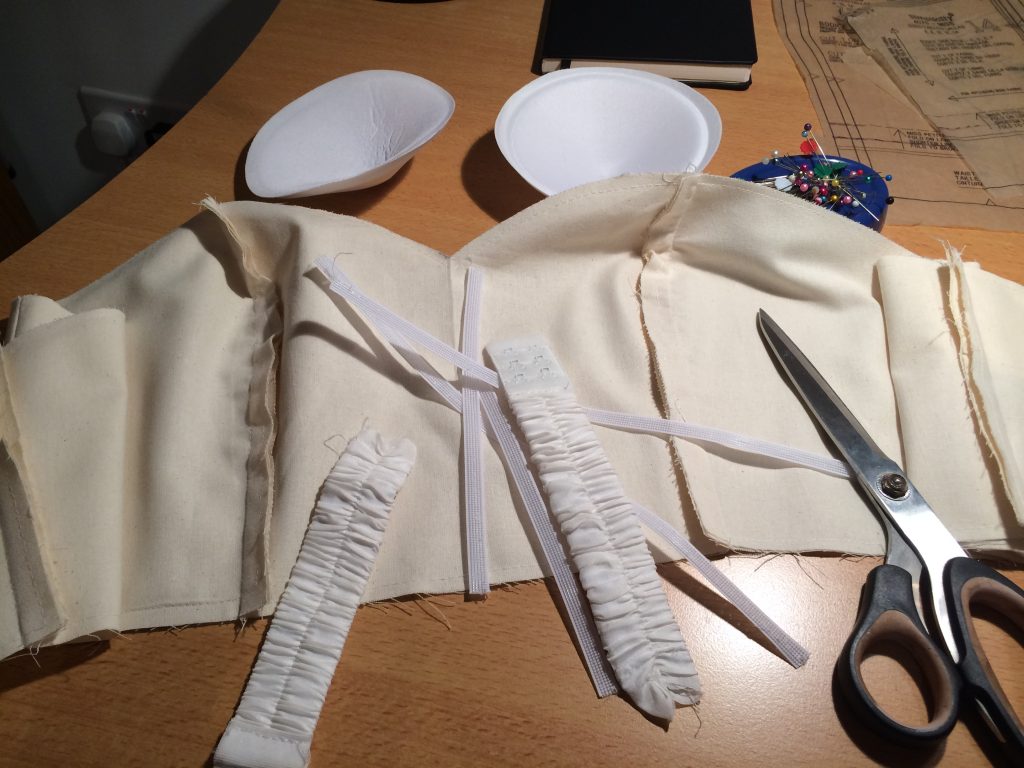
I made another toile of the bodice from calico so I could trial a few more of the techniques before doing them ‘for real’ on my dress. I wanted to make sure that the method I would use to apply the boning would work and that I could create perfect loops for the lacing.
This was going to be a long process….
Other reads:
The Making of my Wedding Dress – Part 3 – Constructing the Dress

2 thoughts on “The Making of My Wedding Dress – Part 2 – Creating the Pattern and Toile”
Hi Julia!
I’ve had this pattern for years and have decided that I wanted to use it for my wedding dress. That’s when I stumbled upon your blog! There were a lot of inspirational ideas that I think I might be borrowing from you! 😉
My problem…I’ve misplaced the instructions for the pattern, and I was wondering if you would be willing to send me the instructions?
Thank you so much in advance!
-Kiera
Hi Keira
I’ll have to have a good rummage through my sewing patterns to find this one – hopefully it’s in there somewhere.
Please email me at julia@houseofmisssew.com with your contact details.
Best wishes
Julia
Comments are closed.